KyleVonnie
Come @ me Bro!
- Oct 26, 2011
- 993
- 176
Hey Devbest,
I recently posted a tutorial on how to make a r63b retro using Xampp, and I was blown away by the feedback by y'all.
I got loads of requests to make another tutorial, but this time using IIS, so here it is!
Before we start, I wanted to say thanks to
When it comes to IIS, I'm NOT the best, so I used Vineens tutorial on IIS - RevCMS to guide me through some sticky parts!
------------------------------------------------------------------------------------------
This tutorial was made while using a Windows 2008 Standard Edition R2 VPS.
------------------------------------------------------------------------------------------
Download Links:
You can find all the links here;
ALL PASSWORDS ARE : KyleVonnie
BcStorm Emulator (Credits to Leon) :
DB SQL : REMOVED
RevCMS :
SWFS :
WinRAR :
If the current SWF Pack is not properly downloading,
here is a backup mirror I have uploaded:
------------------------------------------------------------------------------------------
Step One :
Install MySQL on your VPS
- You should see a similar screen.
- Click on "Install MySQL Products". Follow the steps until you reach this screen:
- Choose "Server Only" and Click "Next >"
- Then click "Execute" and wait for it to execute.
-Eventually you will reach this page, enter a Root Account Password and click "Next >"
(REMEMBER THIS PASSWORD)
- Next, go to "Server Manager" on your VPS.
- On the window, select "Add Roles" as demonstrated below.
- Check the box next to "IIS" and click Next:
- On the following screen, make sure the following are checked/ticked:
Step Two:
Download Microsoft Web Platform Installer:
- Search for "PHP 5" in the search box. Choose any PHP 5.x
- Search for "IIS Recommended Configuration"

- Next download "URL Rewrite 2.0" . This will be already installed for a lot of you.

Step Three:
Go to
- Next, go to C:\inetpub\wwwroot and delete all files that are there.
- Next, Download Winrar from the link above.
- Then Download/Extract the CMS also from the link above.
Step Four:
- Next, go to C:\inetpub\wwwroot\app\management and open config.php. I suggest using Notepad ++ or Sublime Text.
Fill out the config accordingly:
Step Five:
Download Navicat Premium :
- On the Top Left, Click Connection. Name it whatever you choose.
- Make sure the username says "Root" and enter your Root Password below that.
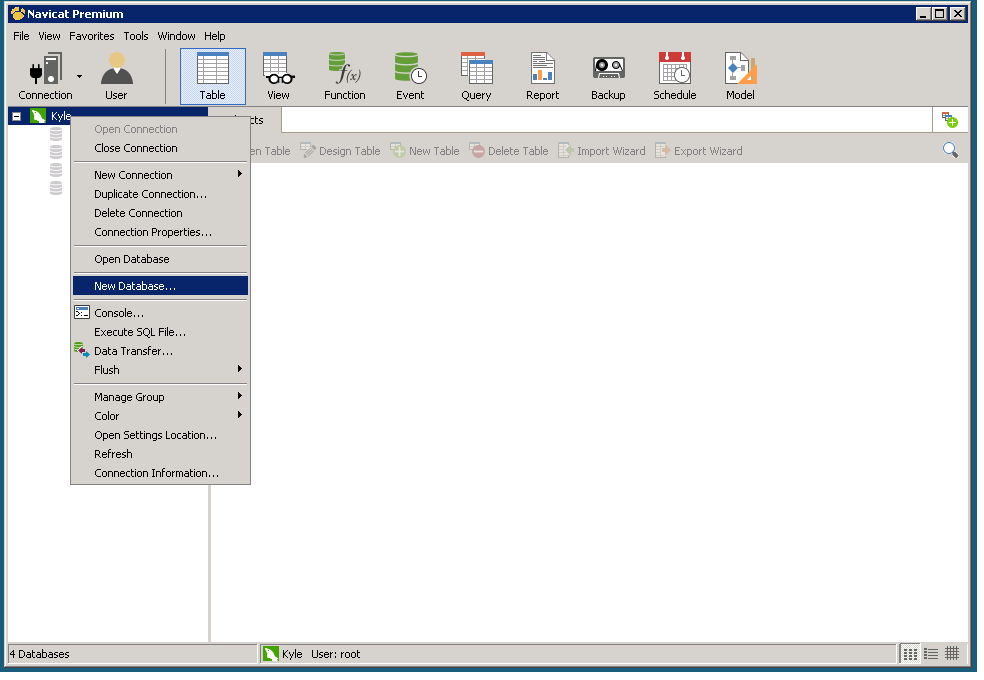
- Right Click on the connection and choose " New Database":
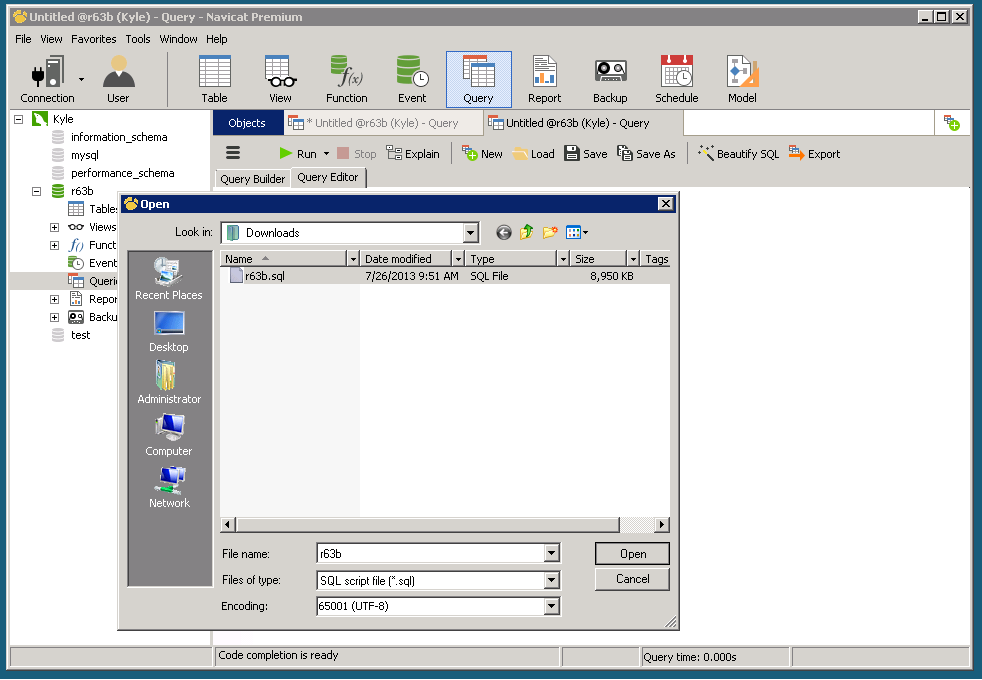
- Click on "Query" then choose "New Query", select "Load".
- Choose the Sql file from the link above.
Step Six:
Credits to Vineen for this part, I copied it directly from his thread!
100% Credits to him for this step!
- Go to Start -> Computer -> Click Organize ▼ then select Folder and Search Options, then go to 'View' tab, uncheck 'Hide extensions for known file types'.
- Now go back to wwwroot, rename your .htaccess file to web.config then hold Ctrl + A and paste the pastie provided below.
Step Seven:
- Go back to
Step Eight: [SWFS]
- Download the SWF Pack from either the original link or the mirror above.
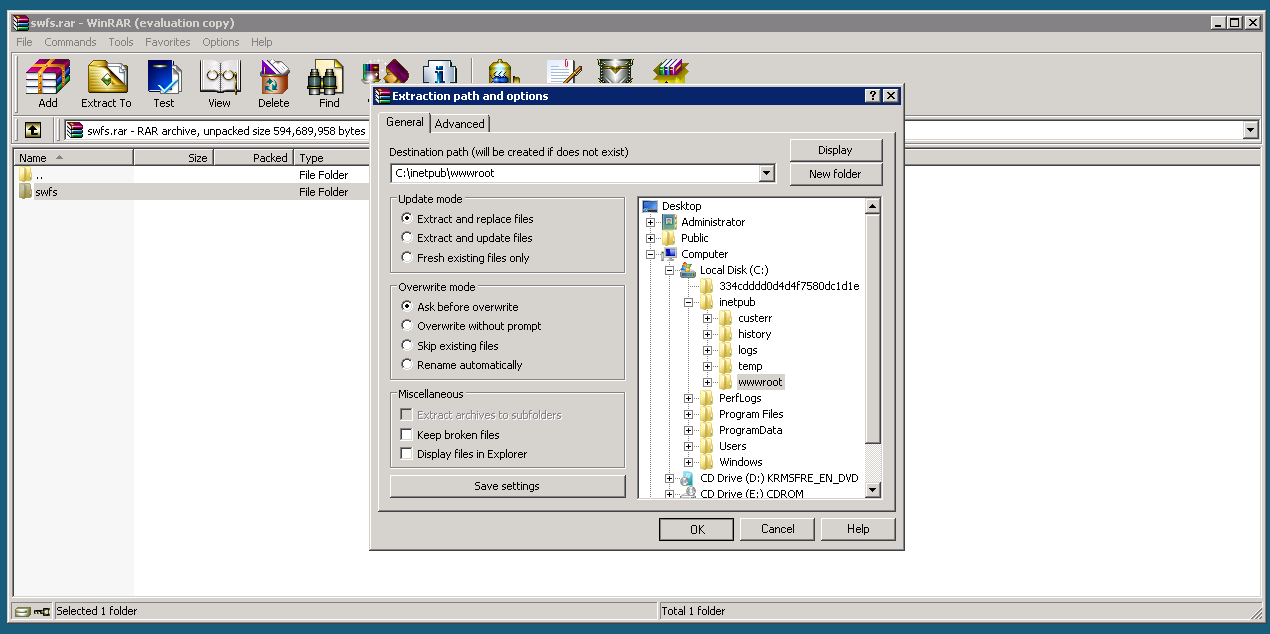
- Extract the whole folder to /wwwroot.
(THIS WILL TAKE A WHILE)
Step Nine:
-Download the BcStorm Emulator from the link above.
- Extract the folder to your desktop.
- Go to bin> debug> settings > and open configuration.ini
- Edit it likewise:
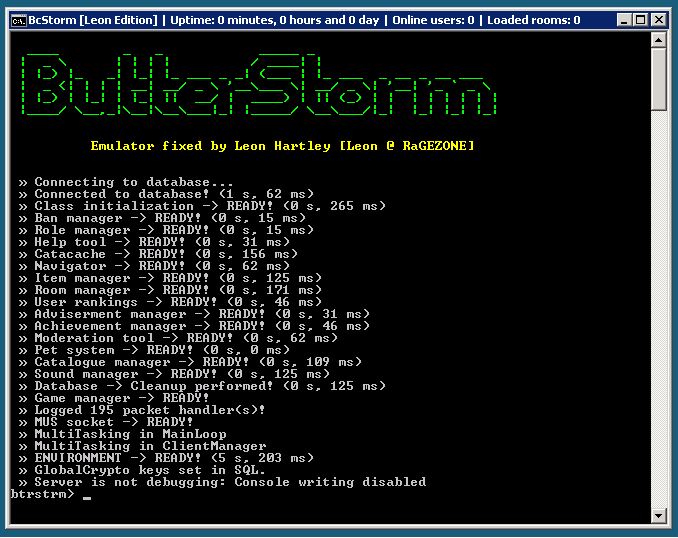
Go back to bin>debug> and open "Butterfly Emulator.exe".
- Once loaded, should look like this:
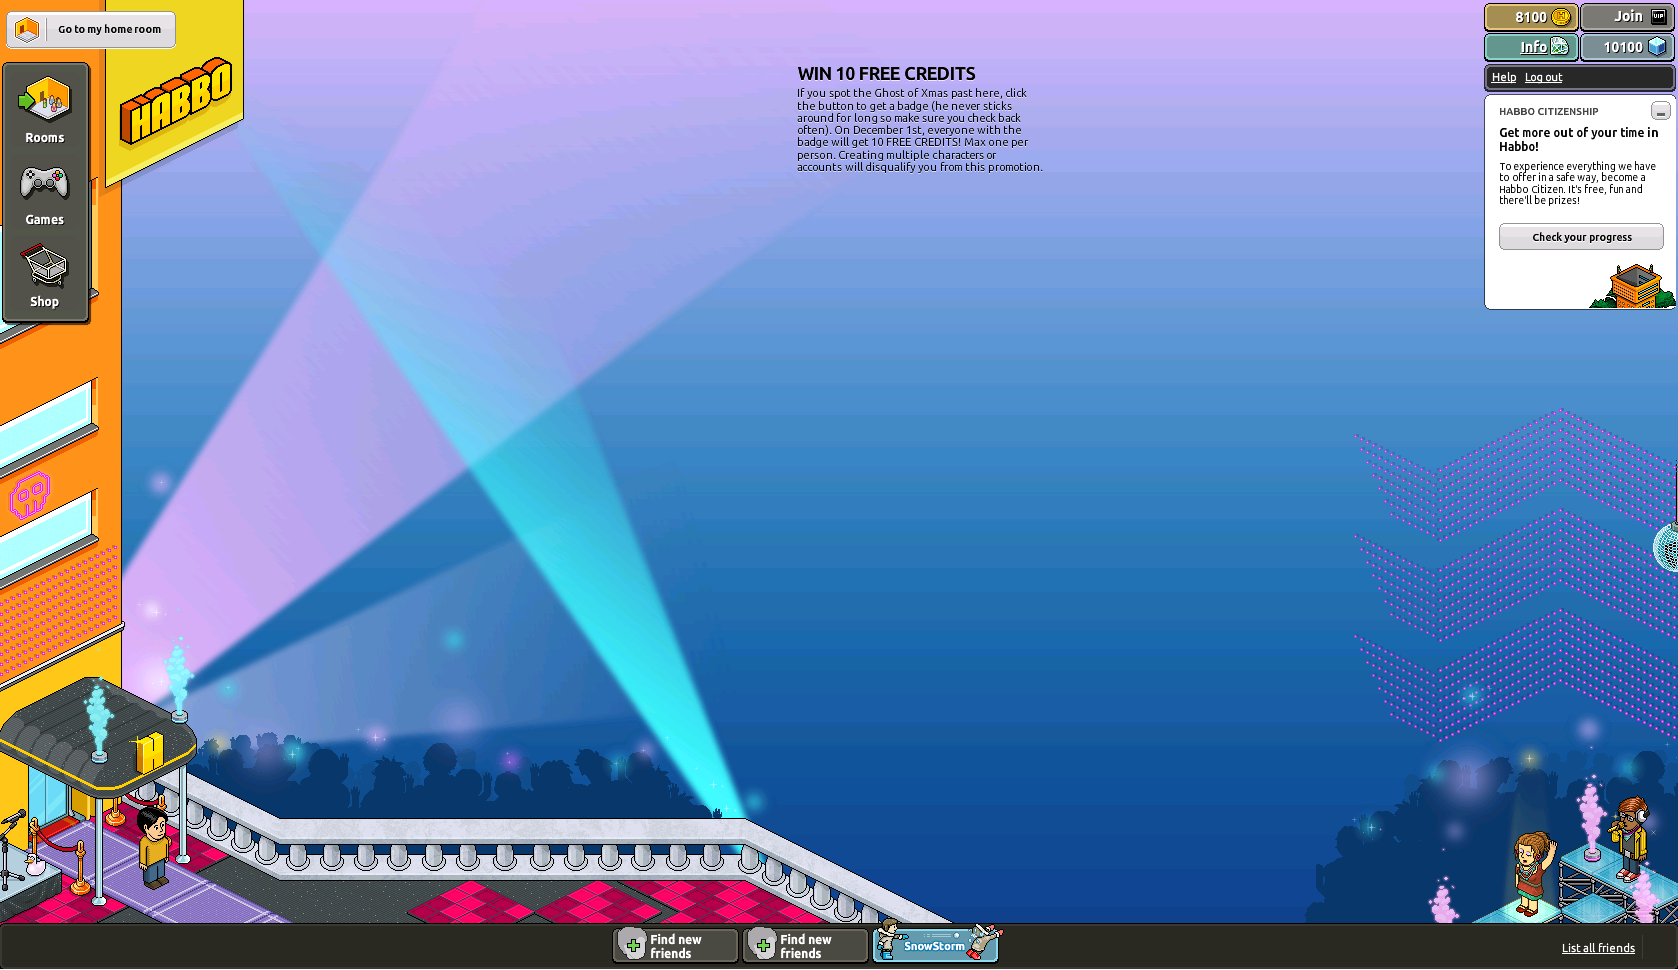
Step Ten:
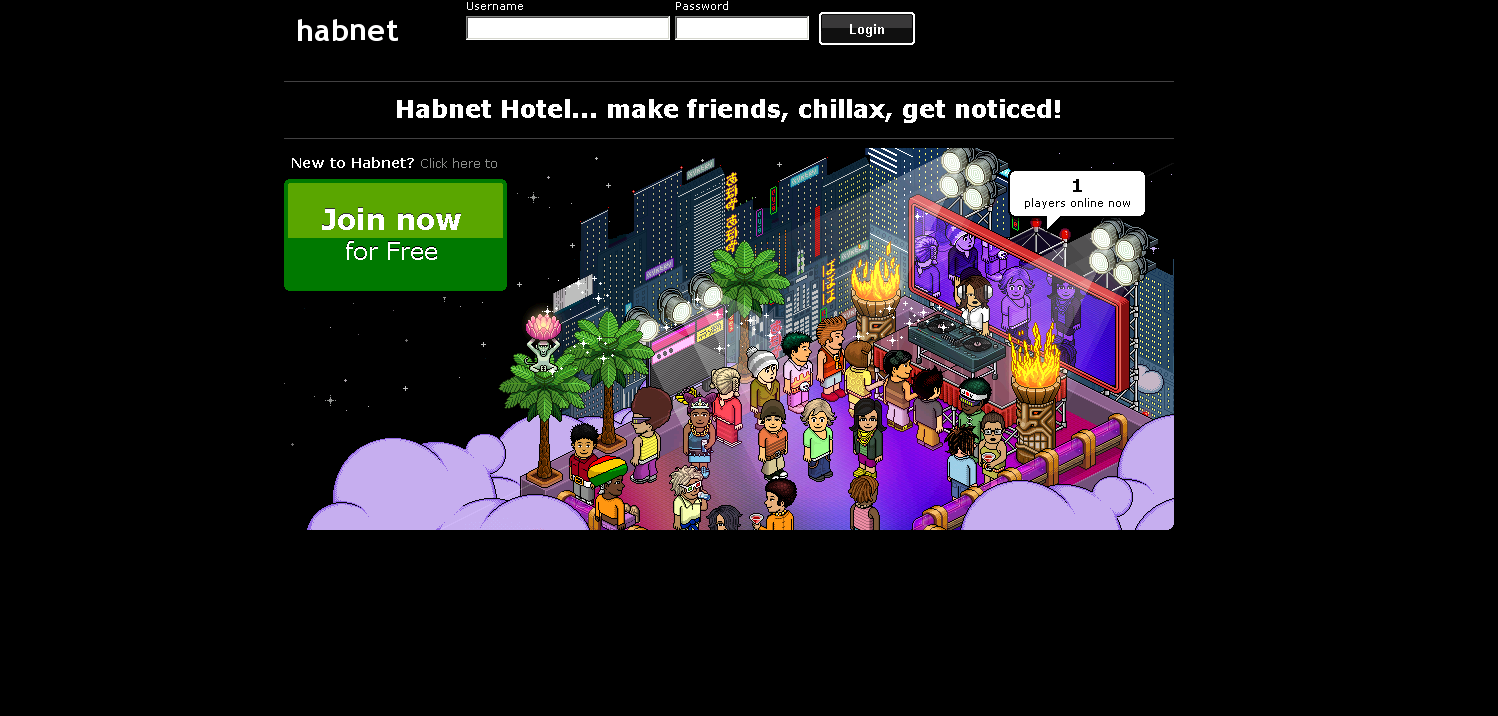
- Register on
- Congratulations you now own a r63b retro! (That is if you did everything right )
)
------------------------------------------------------------------------------------------
Making Retro Public:
To make the r63b public, follow these steps:
1. Go to /wwwroot/app/managment/config.php
Change these lines:
TO:
2. Then change these lines:
Replace all "localhost"'s with your domain and/or IP.
3. Next go to /wwwroot/swfs/external_variables.txt
- Press "Ctrl + H"
- In "Find What" Box, type "localhost"
- In "Replace With" Box, type your domain or IP.
4. Save both files.
Should be public now!
------------------------------------------------------------------------------------------
CREDITS:
Credits:
Leon - BcStorm Emu
Kryptos - RevCMS
Vineen - His Tutorial Helped me alot
Kyle - Tut
Sadly, I have no clue on who I should give the credits to for the Swfs or SQL, so please tell me if you know!
------------------------------------------------------------------------------------------
Please message me if I missed something, had an error, and anything else!
Thanks,
Kyle
I recently posted a tutorial on how to make a r63b retro using Xampp, and I was blown away by the feedback by y'all.
I got loads of requests to make another tutorial, but this time using IIS, so here it is!
Before we start, I wanted to say thanks to
You must be registered for see links
,When it comes to IIS, I'm NOT the best, so I used Vineens tutorial on IIS - RevCMS to guide me through some sticky parts!
------------------------------------------------------------------------------------------
This tutorial was made while using a Windows 2008 Standard Edition R2 VPS.
------------------------------------------------------------------------------------------
Download Links:
You can find all the links here;
ALL PASSWORDS ARE : KyleVonnie
BcStorm Emulator (Credits to Leon) :
You must be registered for see links
EMOVEDDB SQL : REMOVED
RevCMS :
You must be registered for see links
EMOVEDSWFS :
You must be registered for see links
EMOVEDWinRAR :
You must be registered for see links
If the current SWF Pack is not properly downloading,
here is a backup mirror I have uploaded:
You must be registered for see links
------------------------------------------------------------------------------------------
Step One :
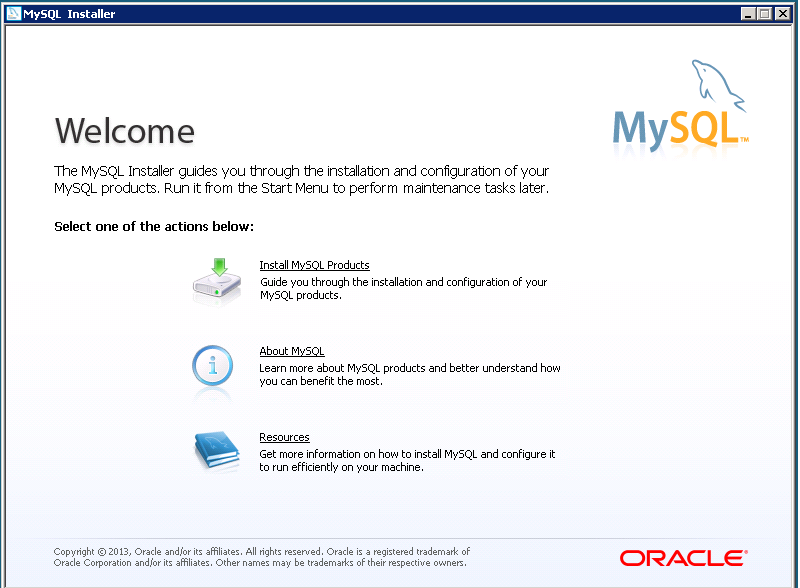
Install MySQL on your VPS
You must be registered for see links
- You should see a similar screen.
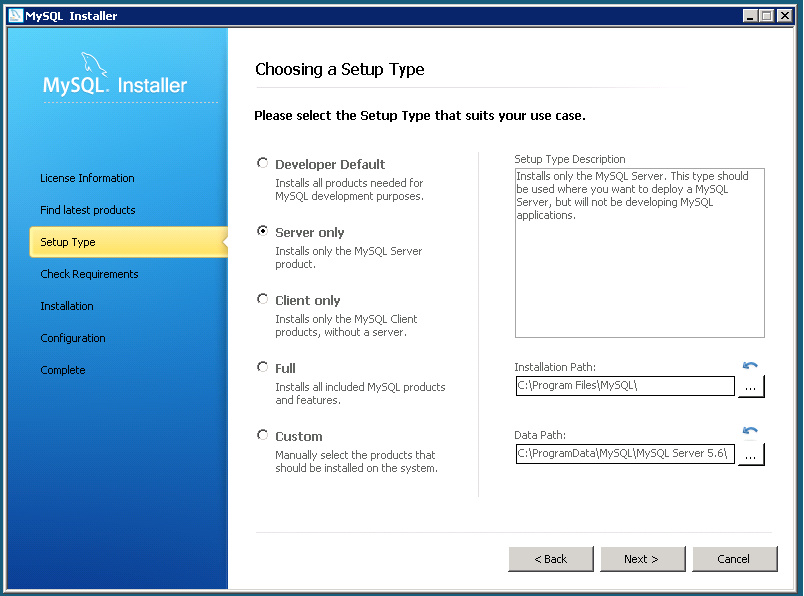
- Click on "Install MySQL Products". Follow the steps until you reach this screen:
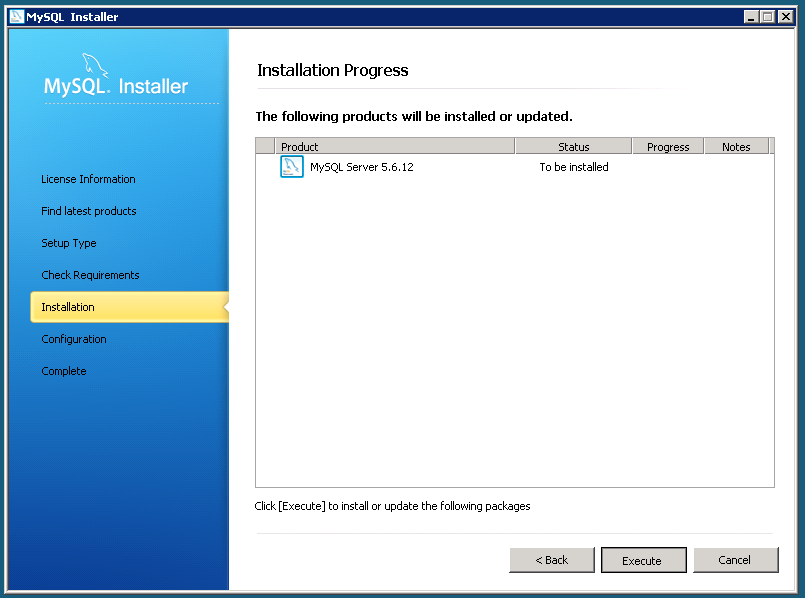
- Choose "Server Only" and Click "Next >"
- Then click "Execute" and wait for it to execute.
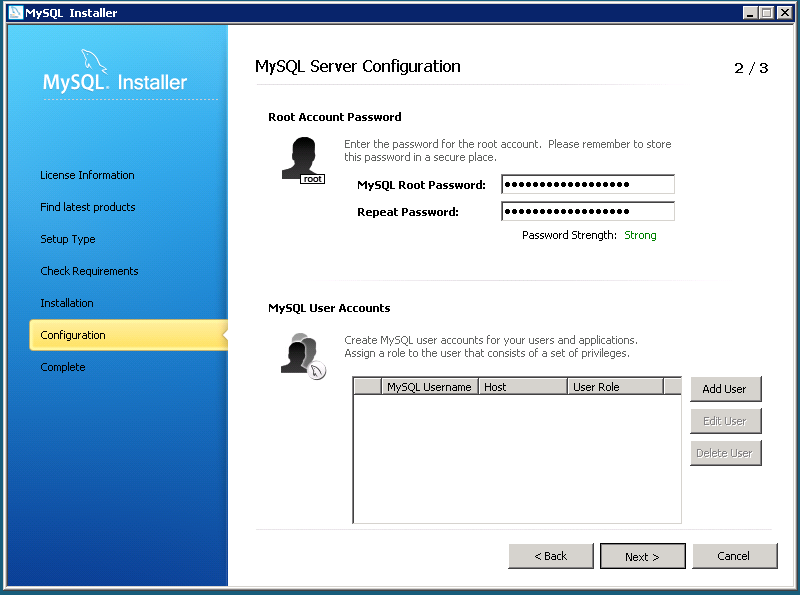
-Eventually you will reach this page, enter a Root Account Password and click "Next >"
(REMEMBER THIS PASSWORD)
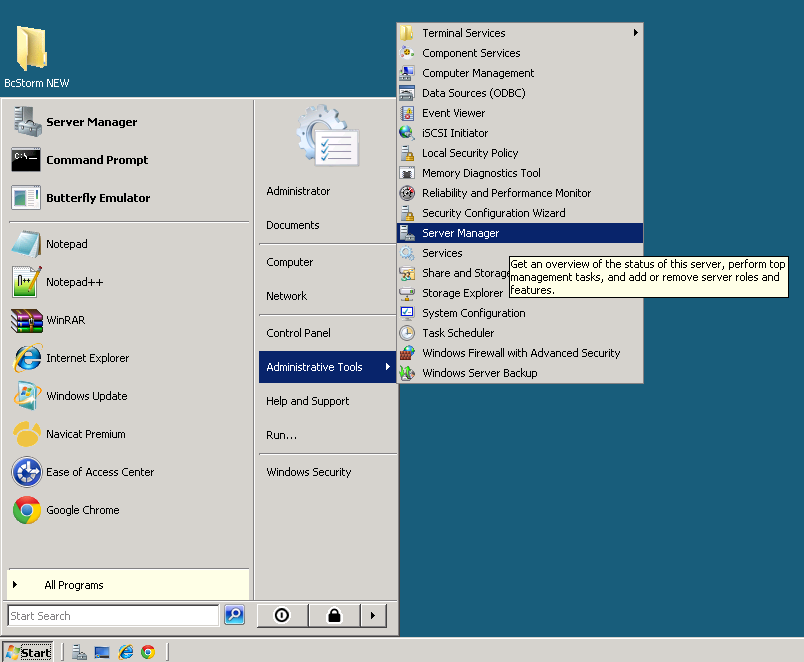
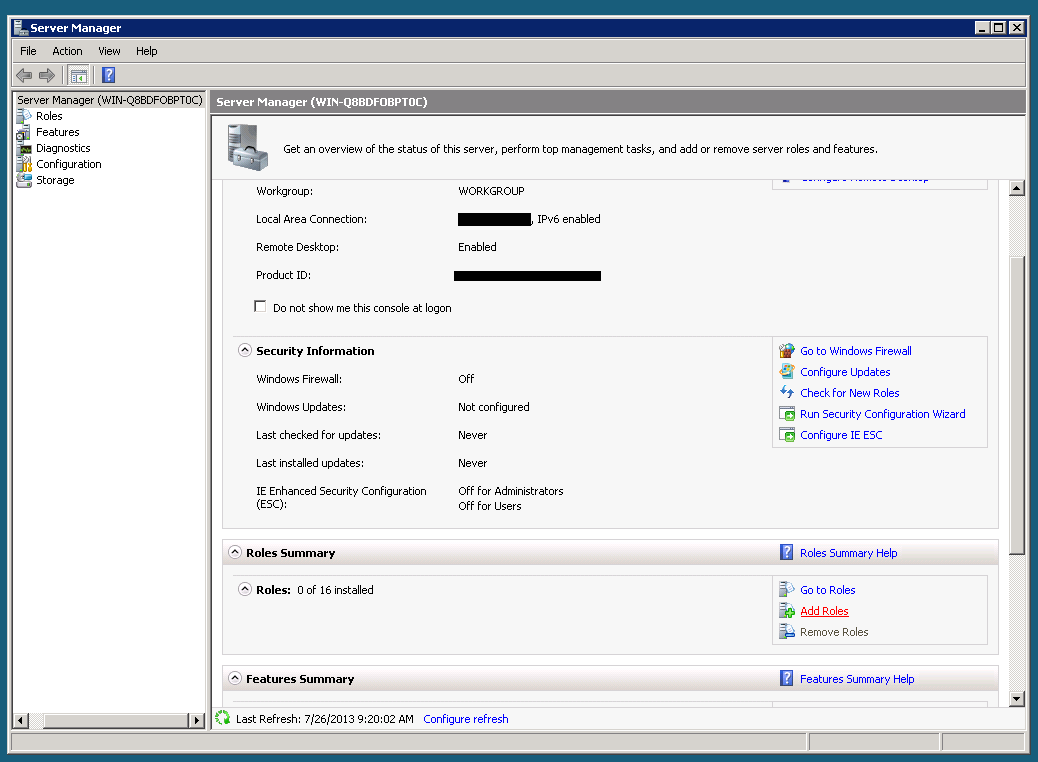
- Next, go to "Server Manager" on your VPS.
- On the window, select "Add Roles" as demonstrated below.
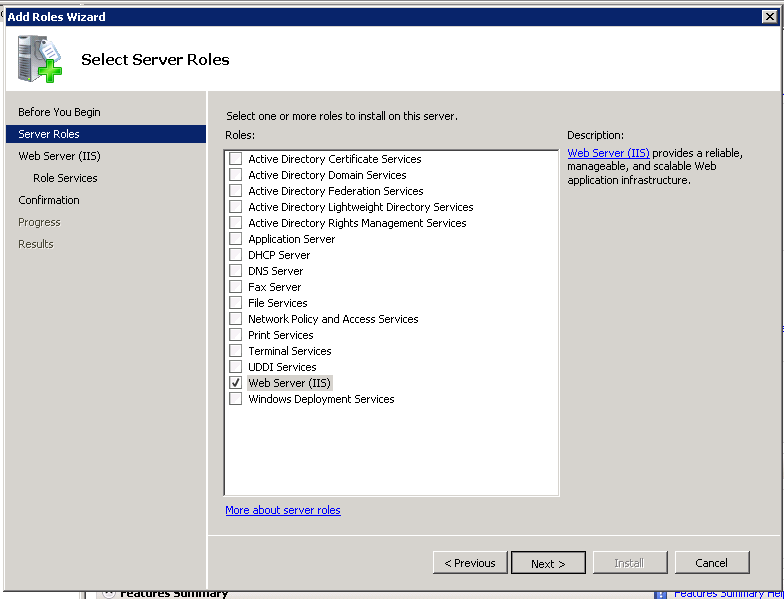
- Check the box next to "IIS" and click Next:
- On the following screen, make sure the following are checked/ticked:
- Application Development (All children nodes under this too)
- Static Content Compression (Under Performance)
- IIS Management Console, IIS Management Scripts and Tools and Management Service (All under Management Tools)
Step Two:
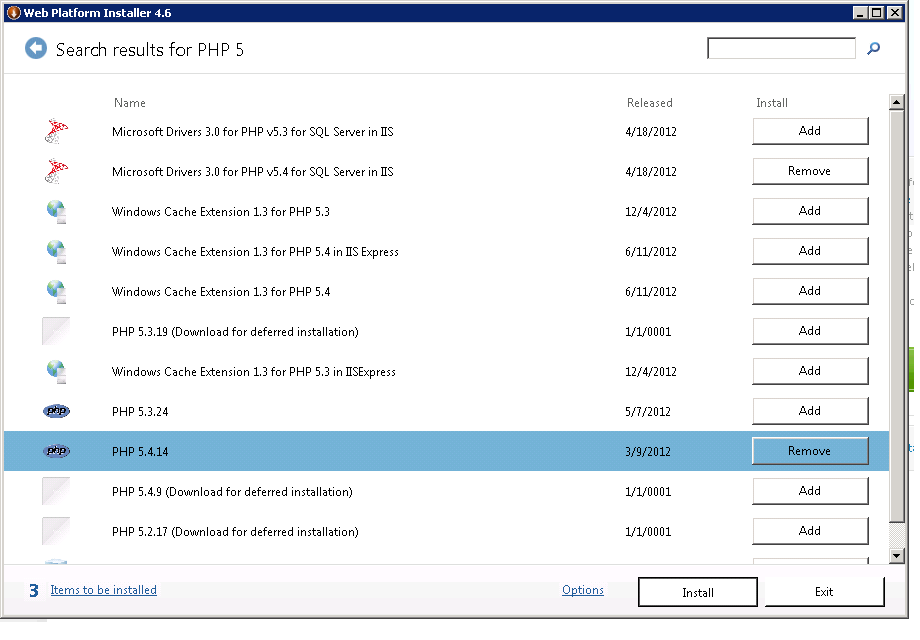
Download Microsoft Web Platform Installer:
You must be registered for see links
- Search for "PHP 5" in the search box. Choose any PHP 5.x
- Search for "IIS Recommended Configuration"
- Next download "URL Rewrite 2.0" . This will be already installed for a lot of you.
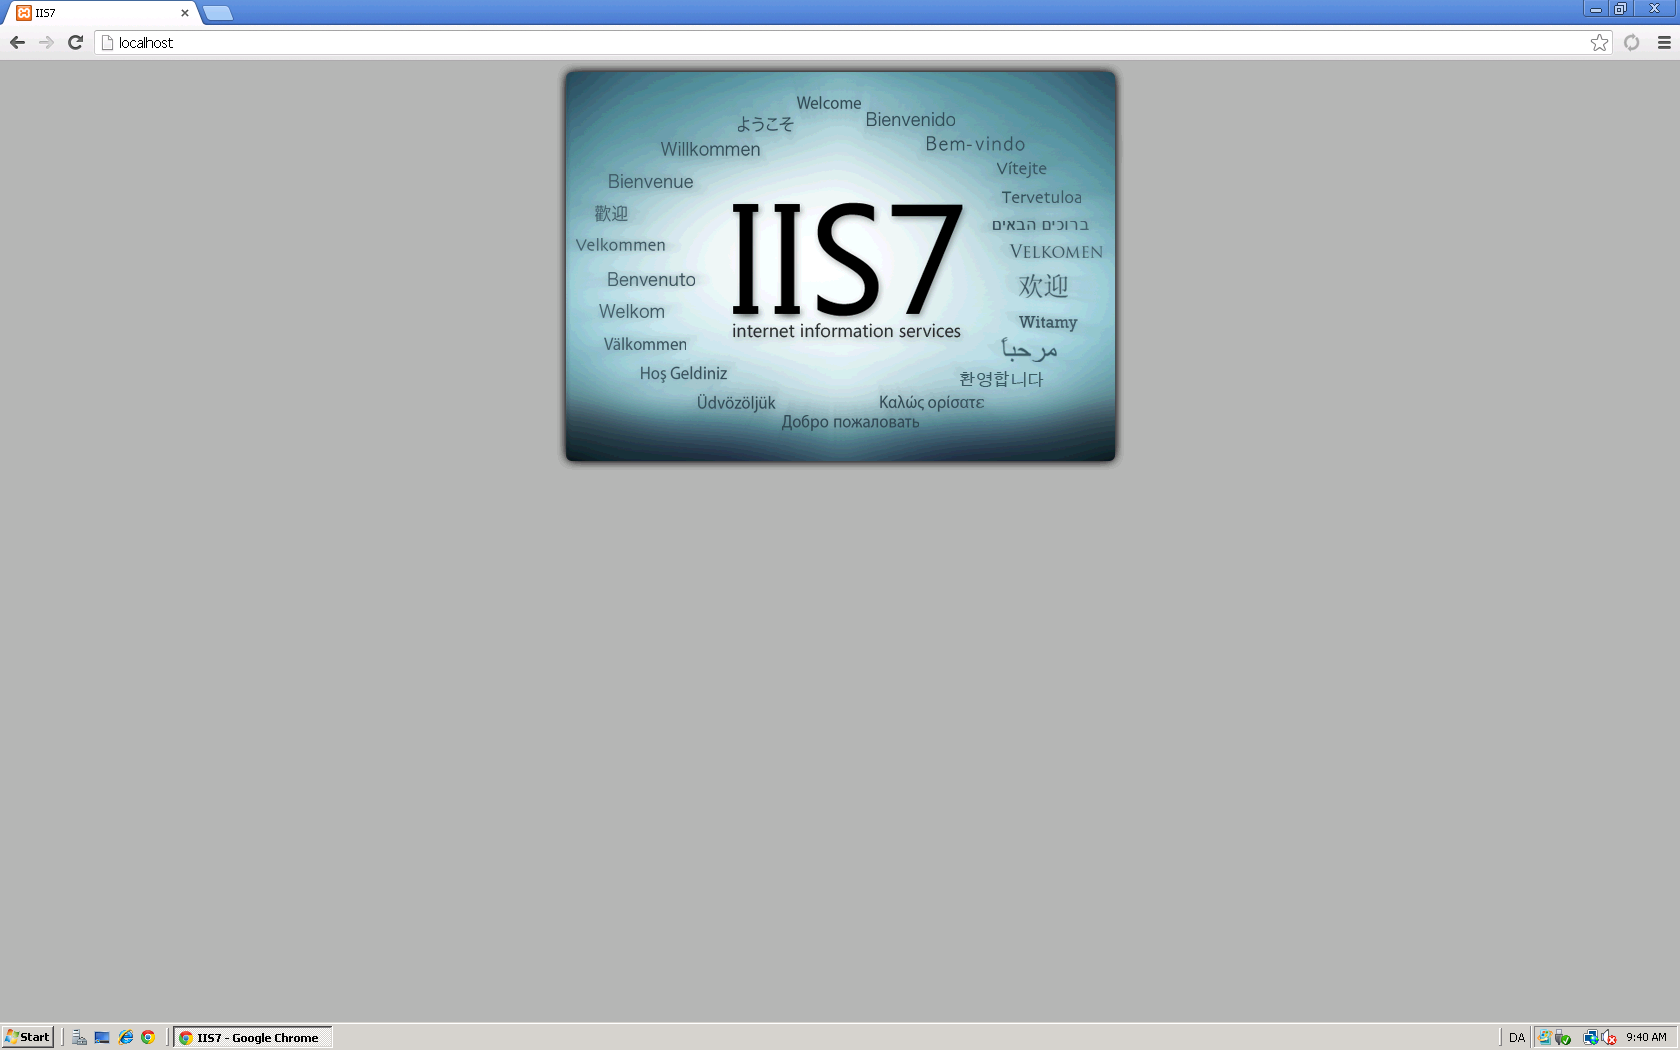
Step Three:
Go to
You must be registered for see links
, you should see a screen similar to below.
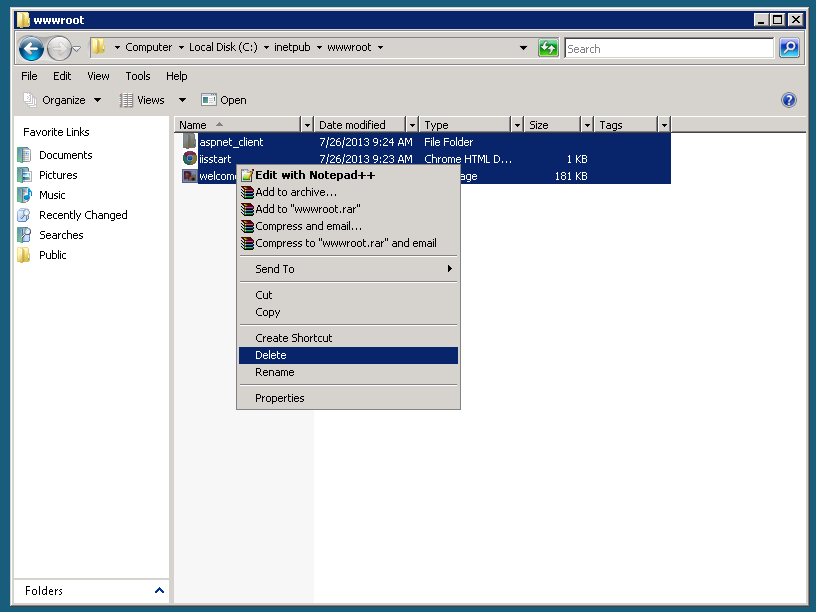
- Next, go to C:\inetpub\wwwroot and delete all files that are there.
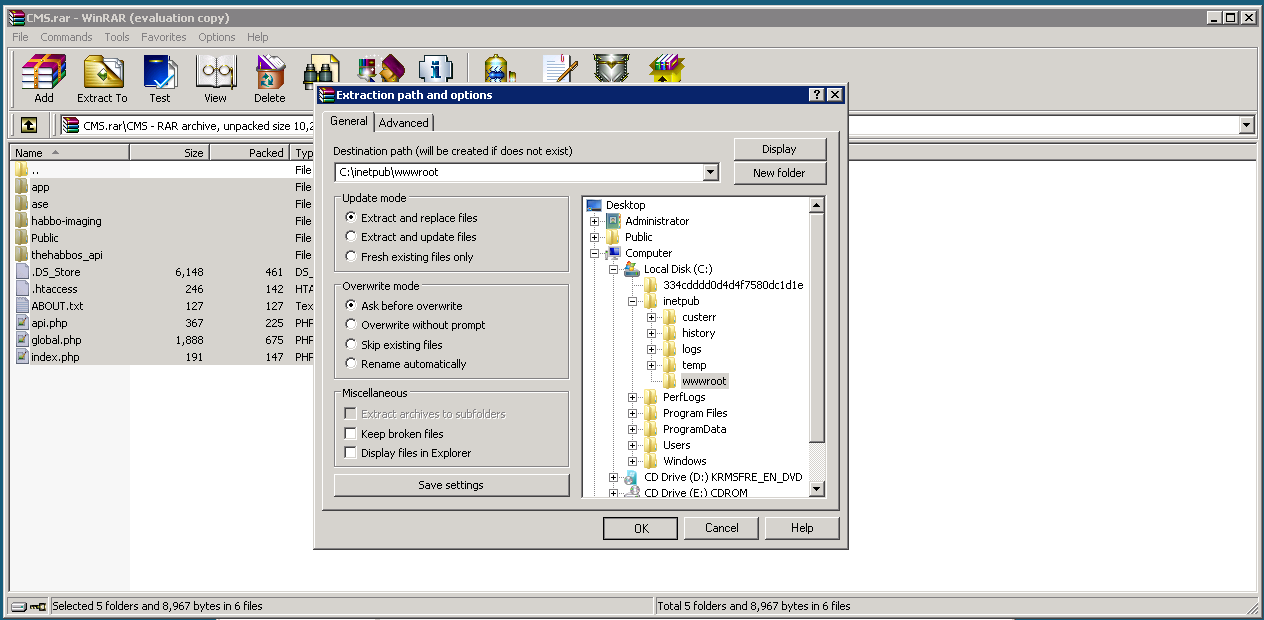
- Next, Download Winrar from the link above.
- Then Download/Extract the CMS also from the link above.
Step Four:
- Next, go to C:\inetpub\wwwroot\app\management and open config.php. I suggest using Notepad ++ or Sublime Text.
Fill out the config accordingly:
Code:
*    MySQL management
*
*/

$_CONFIG['mysql']['connection_type'] = 'pconnect'; //Type of connection: It must be connect, or pconnect: if you want a persistent connection.

$_CONFIG['mysql']['hostname'] = 'localhost'; //MySQL host

$_CONFIG['mysql']['username'] = 'root'; //MySQL username

$_CONFIG['mysql']['password'] = '[B]YOUR ROOT PASSWORD HERE[/B]'; //MySQL password

$_CONFIG['mysql']['database'] = 'r63b'; //MySQL database

$_CONFIG['mysql']['port'] = '3306'; //MySQL's port

/*

*/
Step Five:
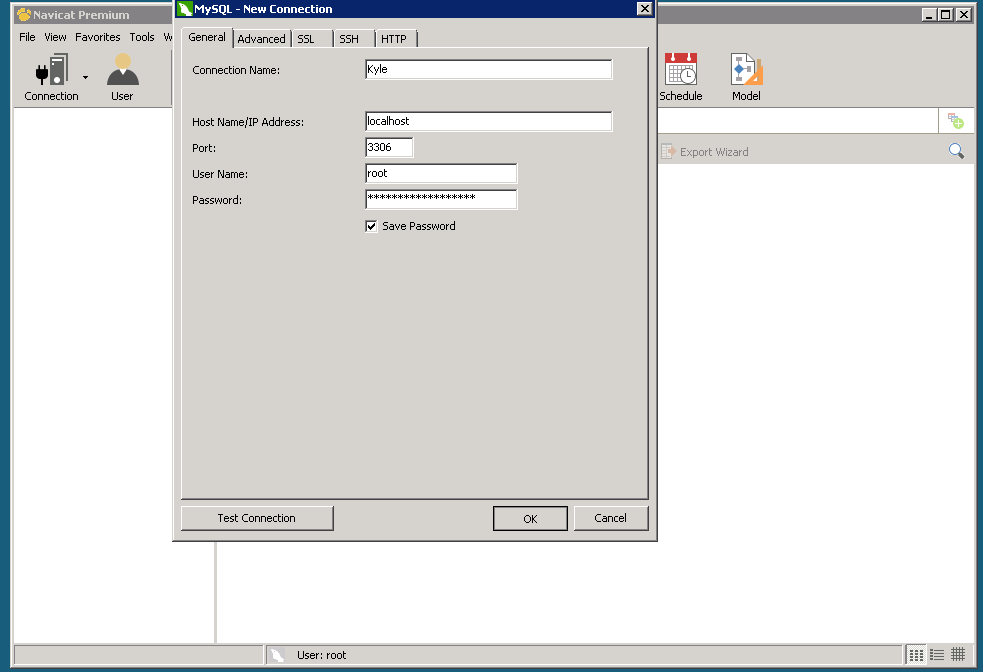
Download Navicat Premium :
You must be registered for see links
- On the Top Left, Click Connection. Name it whatever you choose.
- Make sure the username says "Root" and enter your Root Password below that.
- Right Click on the connection and choose " New Database":
- Click on "Query" then choose "New Query", select "Load".
- Choose the Sql file from the link above.
Step Six:
Credits to Vineen for this part, I copied it directly from his thread!
100% Credits to him for this step!
- Go to Start -> Computer -> Click Organize ▼ then select Folder and Search Options, then go to 'View' tab, uncheck 'Hide extensions for known file types'.
- Now go back to wwwroot, rename your .htaccess file to web.config then hold Ctrl + A and paste the pastie provided below.
Code:
<?xml version="1.0" encoding="UTF-8"?>
<configuration>
    <system.webServer>
        <rewrite>
            <rules>
                <rule name="Imported Rule 1">
                    <match url="^(|/)$" ignoreCase="false" />
                    <action type="Rewrite" url="index.php?url={R:1}" appendQueryString="false" />
                </rule>
                <rule name="Imported Rule 2">
                    <match url="^([a-zA-Z0-9_-]+)(|/)$" ignoreCase="false" />
                    <action type="Rewrite" url="index.php?url={R:1}" appendQueryString="false" />
                </rule>
                <rule name="Imported Rule 3">
                    <match url="^(.*)\.htm$" />
                    <action type="Rewrite" url="{R:1}.php" />
                </rule>
                <rule name="Imported Rule 4">
                    <match url="^(|/)$" ignoreCase="false" />
                    <action type="Rewrite" url="dash.php?page={R:1}" appendQueryString="false" />
                </rule>
                <rule name="Imported Rule 5">
                    <match url="^([a-zA-Z0-9_-]+)(|/)$" ignoreCase="false" />
                    <action type="Rewrite" url="dash.php?url={R:1}" appendQueryString="false" />
                </rule>
            </rules>
        </rewrite>
    </system.webServer>
</configuration>
Step Seven:
- Go back to
You must be registered for see links
, you should see this now:
Step Eight: [SWFS]
- Download the SWF Pack from either the original link or the mirror above.
- Extract the whole folder to /wwwroot.
(THIS WILL TAKE A WHILE)
Step Nine:
-Download the BcStorm Emulator from the link above.
- Extract the folder to your desktop.
- Go to bin> debug> settings > and open configuration.ini
- Edit it likewise:
Code:
## MySQL Configuration
db.hostname=localhost
db.port=3306
db.username=root
db.password=PASSWORD HERE
db.name=r63b
Go back to bin>debug> and open "Butterfly Emulator.exe".
- Once loaded, should look like this:
Step Ten:
- Register on
You must be registered for see links
and enter the client,- Congratulations you now own a r63b retro! (That is if you did everything right
)
------------------------------------------------------------------------------------------
Making Retro Public:
To make the r63b public, follow these steps:
1. Go to /wwwroot/app/managment/config.php
Change these lines:
Code:
$_CONFIG['hotel']['server_ip'] = '127.0.0.1'; //IP of VPS/DEDI/etc

$_CONFIG['hotel']['url'] = 'http://localhost'; //Does not end with a "/"
TO:
Code:
$_CONFIG['hotel']['server_ip'] = 'SERVER IP HERE'; //IP of VPS/DEDI/etc

$_CONFIG['hotel']['url'] = 'http://DOMAIN OR IP HERE'; //Does not end with a "/"
2. Then change these lines:
Code:
$_CONFIG['hotel']['external_vars'] = 'http://localhost/swfs/external_variables.txt'; //URL to your external vars

$_CONFIG['hotel']['external_texts'] = 'http://localhost/swfs/external_flash_texts.txt'; //URL to your external texts

$_CONFIG['hotel']['product_data'] = 'http://localhost/swfs/productdata.txt'; //URL to your productdata

$_CONFIG['hotel']['furni_data'] = 'http://localhost/swfs/furnidata.txt'; //URL to your furnidata

$_CONFIG['hotel']['swf_folder'] = 'http://localhost/swfs'; //URL to your SWF folder(does not end with a '/')3. Next go to /wwwroot/swfs/external_variables.txt
- Press "Ctrl + H"
- In "Find What" Box, type "localhost"
- In "Replace With" Box, type your domain or IP.
4. Save both files.
Should be public now!
------------------------------------------------------------------------------------------
CREDITS:
Credits:
Leon - BcStorm Emu
Kryptos - RevCMS
Vineen - His Tutorial Helped me alot
Kyle - Tut
Sadly, I have no clue on who I should give the credits to for the Swfs or SQL, so please tell me if you know!
------------------------------------------------------------------------------------------
Please message me if I missed something, had an error, and anything else!
Thanks,
Kyle


