Johnniyo
yo.
- May 4, 2012
- 66
- 6
THIS TUTORIAL IS UNDER EDITING, ALL OF IT IS NOT COMPLETED YET.
I HAVE POSTED IT BECAUSE I DON'T WANT TO LOSE IT. THANKS FOR YOUR UNDERSTANDING.
NOTE: This Tutorial is aimed for users running Habbo Retros on Windows Server 2008 r2 Operating Systems. I recommend that you have at least 2GB RAM on your server for the best performance.REQUIRED: All instructions must be done as a computer administrator. Without administrative rights, you cannot install these programs unless it is only for you (private use, only available upon logon).
Hello DevBest!
I'd thought I'd like to share my guide to how to *correctly* make a Habbo Retro! This includes installing the webserver (Apache + PHP), installing MySQL, and (if wanted), actually run the website as a Retro! The reason why I wanted to share this is because I know how irritating it is to set up a retro, so I thought I could make a good guide for those who need it! I will try to make this guide as Noob friendly as possible.
I've made a few different kits, each one having a different purpose. Only use the kits you need to use, and then use them to my instructions!
Kits (3)
The Webserver Kit (246MB):
Info: This kit contains all the necessary items to successfully install your webserver, using Apache, PHP and MySQL.
Contents:
Contents:
You must be registered for see links
,
You must be registered for see links
,
You must be registered for see links
and the
You must be registered for see links
.
You must be registered for see links
The Hotel Kit (available soon!)Info: This kit contains all the necessary items to turn your webserver into a Hotel.
Notes: Only use once you have successfully installed your webserver.
Contents: SQL Connector 6.5.4 (for Emulator), Phoenix Emulator 3.11.0, YubboCMS (courtesy of Joshuwar!), and a SWF Pack.
Notes: Only use once you have successfully installed your webserver.
Contents: SQL Connector 6.5.4 (for Emulator), Phoenix Emulator 3.11.0, YubboCMS (courtesy of Joshuwar!), and a SWF Pack.
Download for the Hotel Kit is not yet available.
The Editor Kit.Info: This kit just contains the necessary items to edit any file you may encounter in your setup (cleanly). It is just a link to the official NotePad++ Installer.
Contents: Notepad++ Installer.
Contents: Notepad++ Installer.
You must be registered for see links
Scenario: You want to successfully install a basic webserver, using Apache that is capable of running PHP web applications using MySQL.
Outcome: You will have a basic webserver that can run most CMS'es (depending on what the CMS Needs), using a MySQL(i) Database to store the data.
Step 1: The Kit
Step 2: Install MySQL.
Step 3: Install Apache!
Outcome: You will have a basic webserver that can run most CMS'es (depending on what the CMS Needs), using a MySQL(i) Database to store the data.
Step 1: The Kit
Download the Webserver Kit
You must be registered for see links
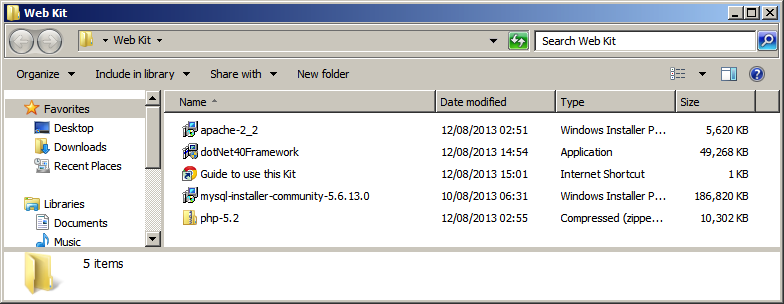
. Once downloaded, you should extract the ZIP to the Desktop (for easy access). Once extracted and you see the folder called 'Web Kit', click on it and make sure your folder looks like this:
As the MySQL Server is the easiest to install, we will install it first. Begin by looking for the file called 'dotNET40Framework.exe' in your Web Kit folder. Double-click it to install. Click Yes if a UAC Dialog appears, and it should come up with a message saying that it is extracting files. After, there will be a blue Microsoft .NET Splash, followed by this screen:
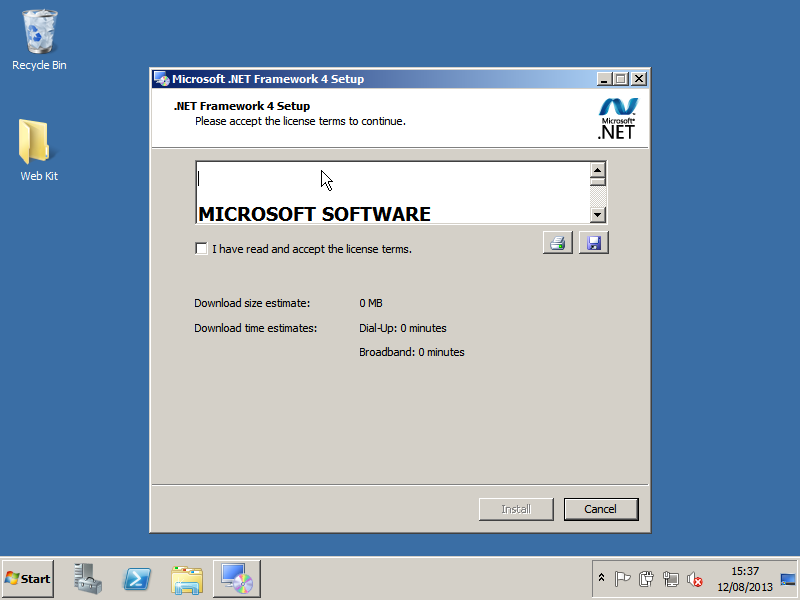 Because I have put in an offline installer into the Web Kit, there will be no internet connection required to install the .NET 4.0 Framework. Accept the License Terms and click Install. The installer should now just install the entire of the .NET 4.0 Framework for you. After the installation is successful, click Finish.
We installed the .NET 4.0 Framework as the MySQL server depends on it to work.
Now, let's install the actual MySQL Server. Go back to your Web Kit folder and look for a file called mysql-installer-community-5.6.13.0.exe. Double-click it to install it. The Windows Installer dialog will appear, with the message saying 'Preparing to Install'. Wait for it to configure the installation and afterwards it should pop-up this screen:
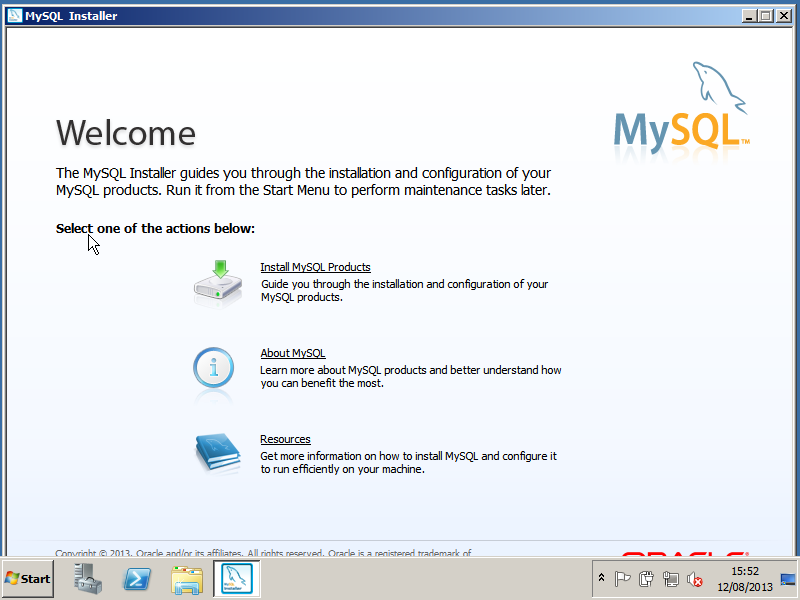 Click Install MySQL Products on the screen. Then this screen should come up:
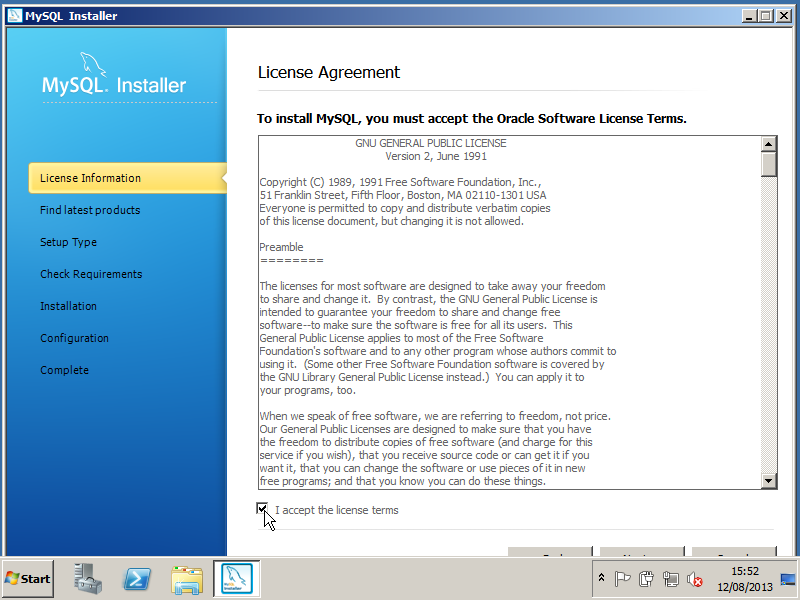 Tick the 'I accept the license terms' to continue the installation. Then click Next.
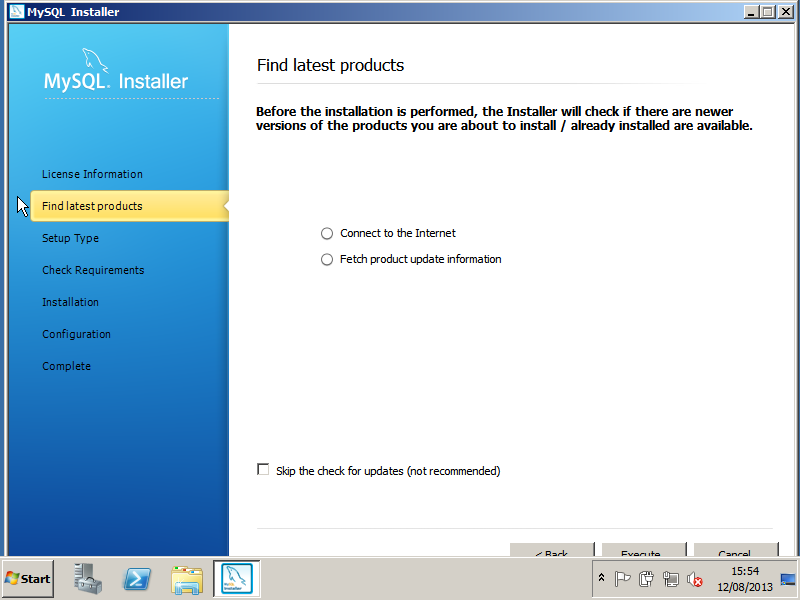 Click Execute to continue the setup. It will now check for the latest builds. Once checked, you should be presented the same screen, but with green ticks inside the circles. Click Next.
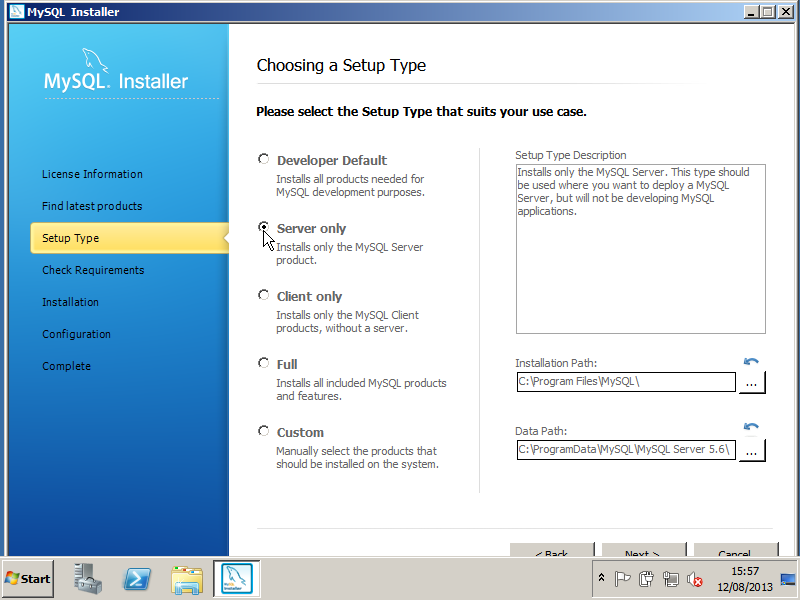 Choose your Installation type as 'Server Only', as you are just wanting to install the server. Click Next, then click Next again, next click Execute.
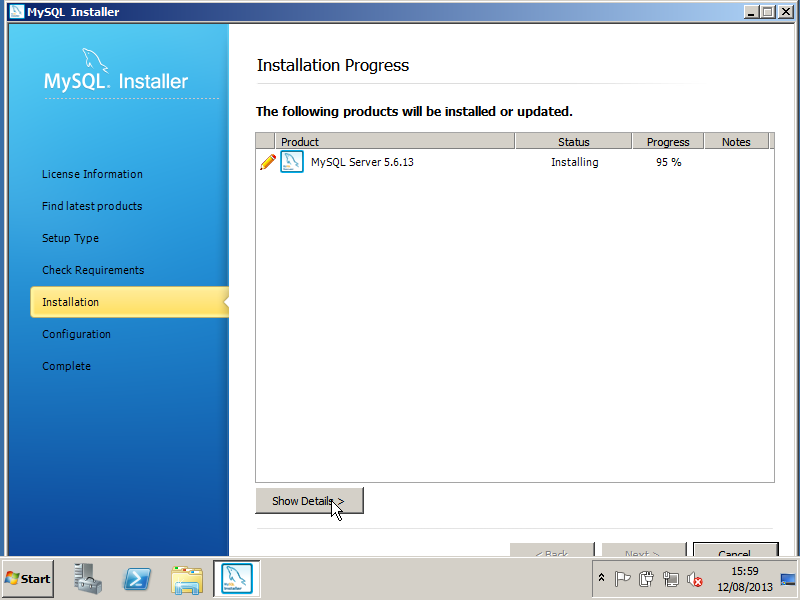 You should then see this screen. This means that the server is now being installed. Once Installed, it should say Install Success. Click Next, and Next again.
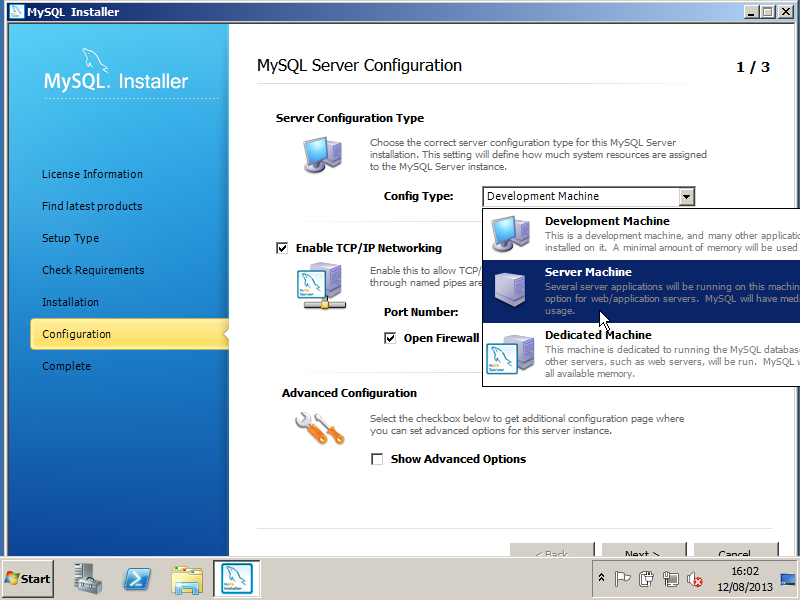 Then, Change the Config Type to a Server Machine, as you are choosing to run it in a production environment, where other applications will be hosted. Do not change any other option apart from the Config Type option. Then click Next.
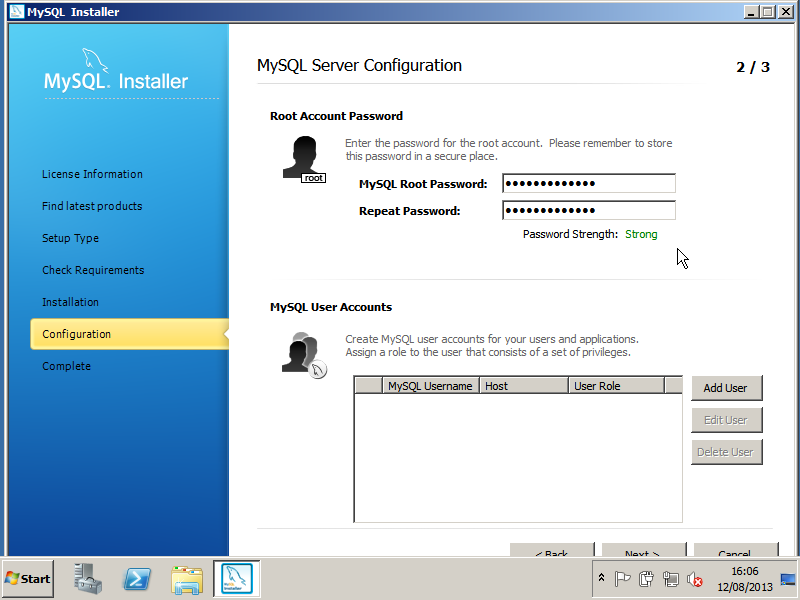 Now you must set your root password. Repeat your password in the next box.
IMPORTANT: Set a secure root password that you will remember. If you lose this password and have no other full rights to the server, you will not be able to use the SQL Server, nor will you be able to use the console. Please be careful when choosing your password.
Then click Next.
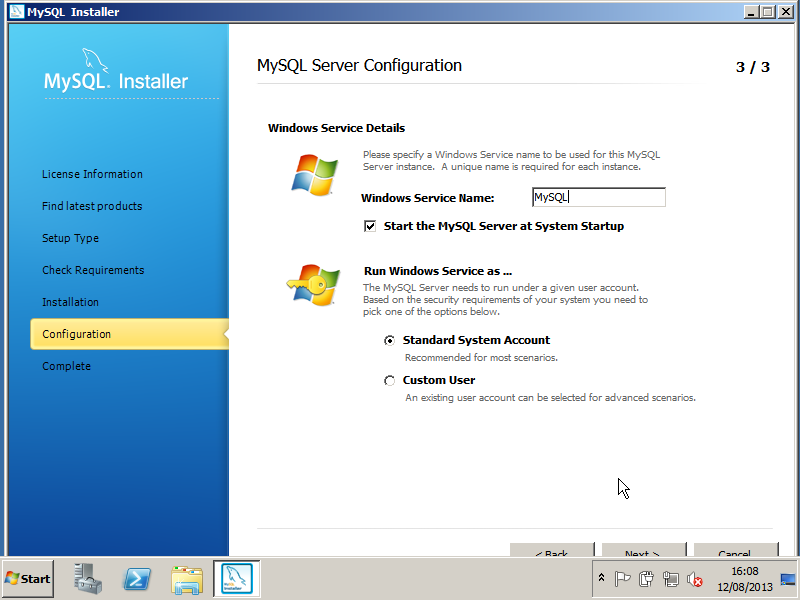 Now you must configure your Server Configuration. Choose your Windows Service Name, this will be the name you will identify the server in the Services Control Panel. Do not change the Run Windows Service as, and make sure that the option is set to Standard System Account, or you may face issues running the server. Then click Next.
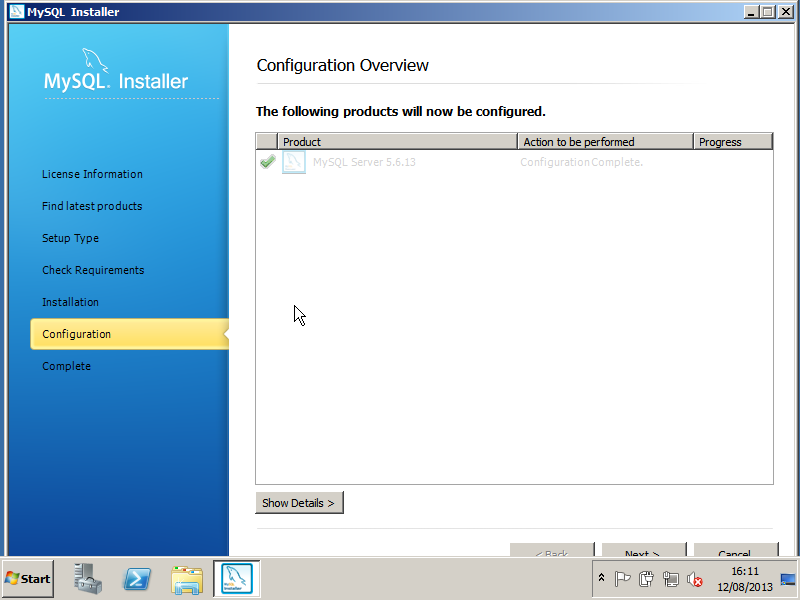 You have successfully done all the required configuration of the SQL Server. You should be then presented with this screen. Click Next, and finally click Finish.
We installed the .NET 4.0 Framework as the MySQL server depends on it to work.
Now, let's install the actual MySQL Server. Go back to your Web Kit folder and look for a file called mysql-installer-community-5.6.13.0.exe. Double-click it to install it. The Windows Installer dialog will appear, with the message saying 'Preparing to Install'. Wait for it to configure the installation and afterwards it should pop-up this screen:
IMPORTANT: Set a secure root password that you will remember. If you lose this password and have no other full rights to the server, you will not be able to use the SQL Server, nor will you be able to use the console. Please be careful when choosing your password.
Then click Next.
Congratulations! You have successfully configured the MySQL Server. Remember your MySQL Root Password, as you may need it later!
In your Web Kit folder, look for the file called apache-2_2.msi. Double-click it and click Yes if a UAC prompts for rights to install.
You should then see this screen:
 Click Next to begin the installation of Apache. Then you should see this:
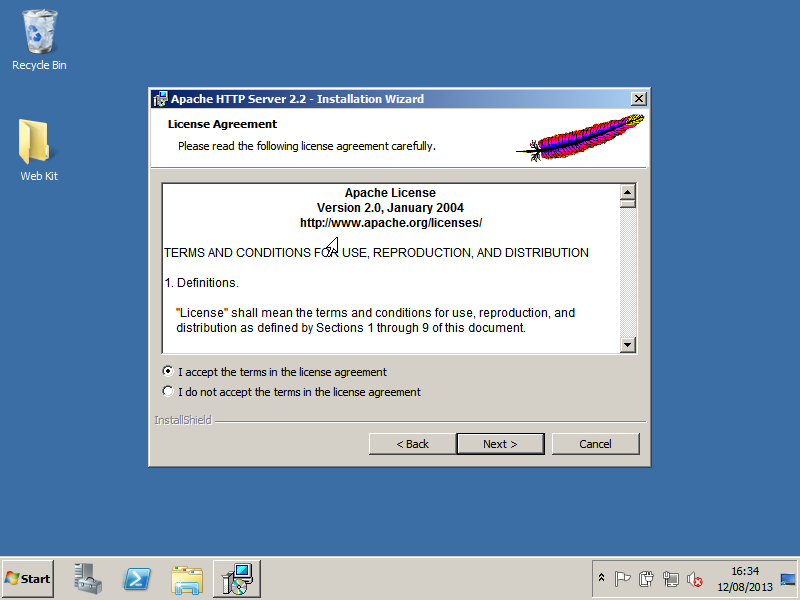 Then tick 'I accept the terms in the license agreement', and click Next. You should then see a window, explaining what Apache is. If you want to read it, that is fine. Once you are ready, click Next. It should then display this:
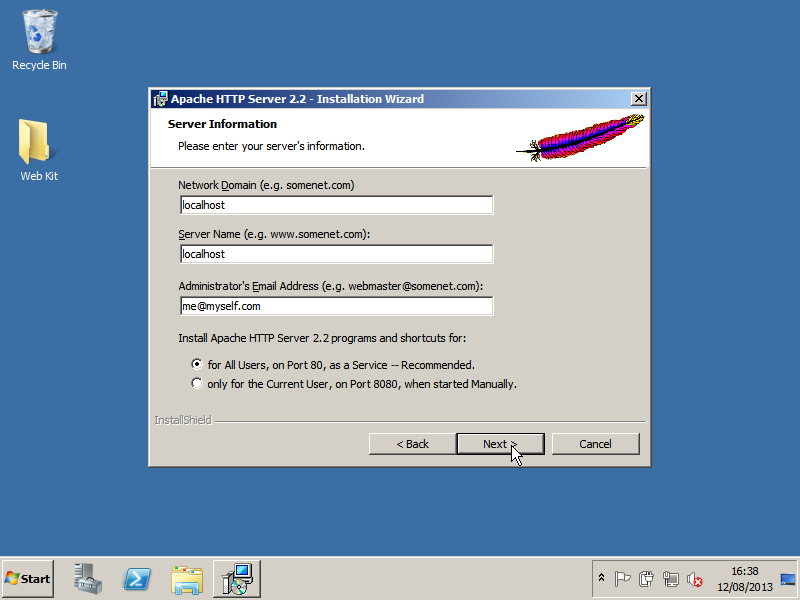 Choose your Network Domain as localhost, as well as your Server Name. They will automatically direct themselves on any IP your server is assigned to. Then enter your administrator address, and make for the option to 'Install Apache HTTP Server 2.2 programs and shortcuts for' is set to 'for All Users, on Port 80, as a Service'. Then click Next. This will then show.
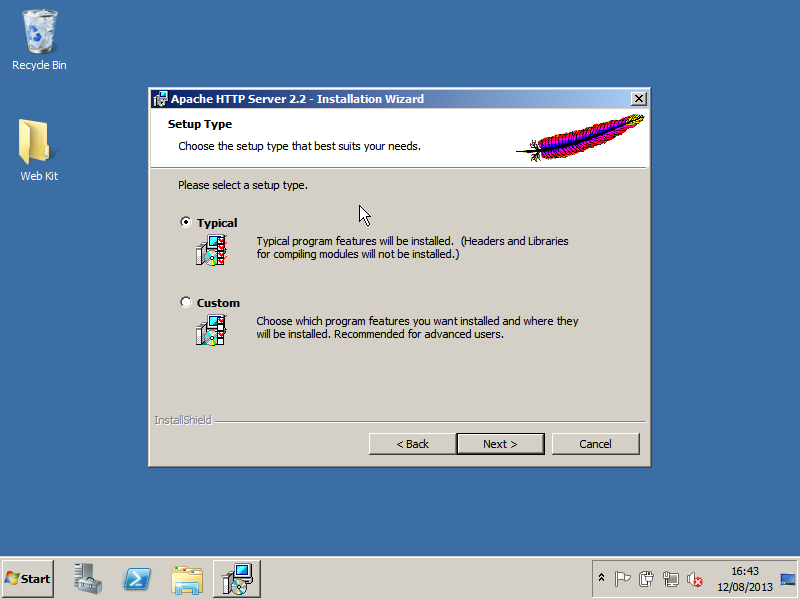 Choose your Installation Type as Typical. Click Next, and you should be presented with this screen.
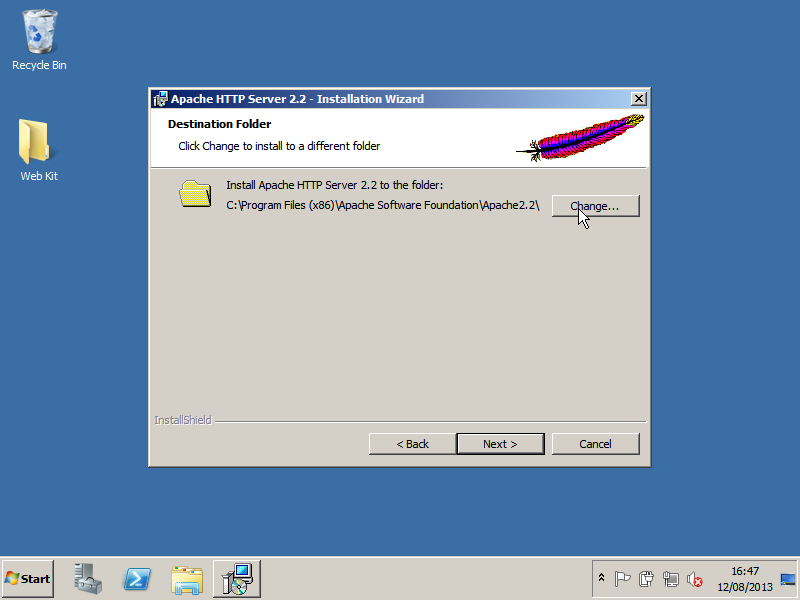 I would highly recommend that you change your installation folder to C:\Apache2.2, as it will give you easier access to your webserver. Also, some programs do not support spacing in paths, so this will help significantly. Click Next, and then click Install. The installer should then install it successfully, displaying this:
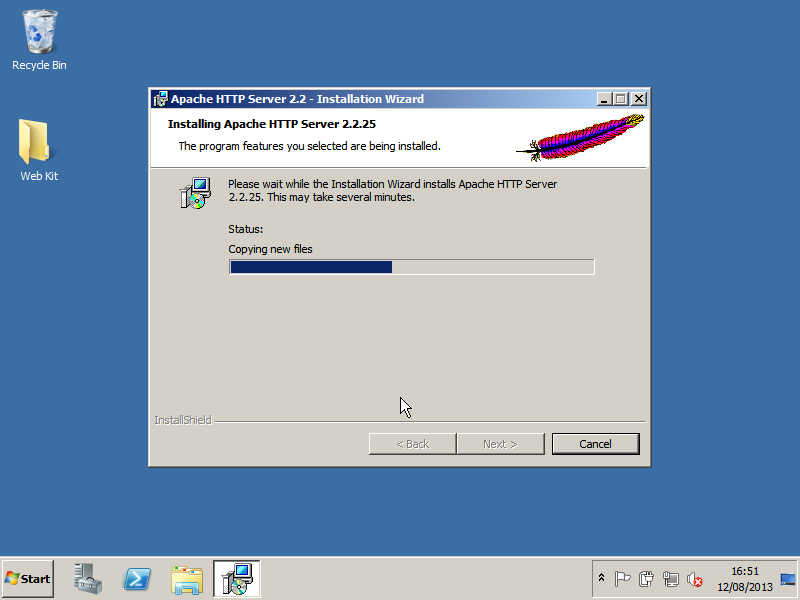
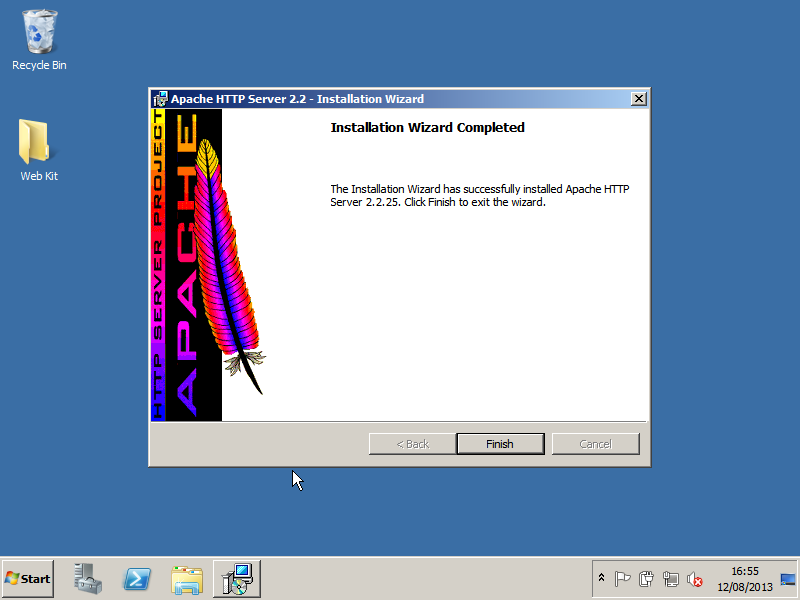
You should then see this screen:
Congratulations! You have successfully installed Apache! To test that your server works, type in 'localhost' in your web browser. If it shows a plain webpage, displaying 'It Works!', then it is successful. Otherwise, please look at troubleshooting.
Step 4: Installing PHP 
You must be registered for see links
Spoiler's being a bitch - show 3 times, anyone can help me with spoilers please message me!

")
