Brennen
hippopotomonstrosesquipedaliophobia
- Nov 6, 2011
- 291
- 36
Today I am going to show you how to make your own V26 retro!
This tutorial will be color coded, here are the colors.
Title
Text
Steps
Download
Link
To make this much easier you may want to get a VPS, you can find some cheap ones around but make sure the website is legit before you buy them! Some legit sites are; HostingAddicts.com, ThrustVPS.com, also, HostGator.com (expensive).
If you do not have money to buy a VPS that is okay too, you may have more problems but hopefully we can fix them!
You will need to download some files such as PHPRetro, the database and the emulator and some programs. I have put all of this into 1 RAR folder for you, to extract this you will need WinRar.
Download :
Now that you have downloaded the file lets get started. The first thing you will do is extract all of the contents of the download to a folder on your desktop.
Step 1 : The most important thing in that download is the Xampp installer, lets run that first, just double click it and install it, make sure you install it to your C:/ drive, or you may have some problems.
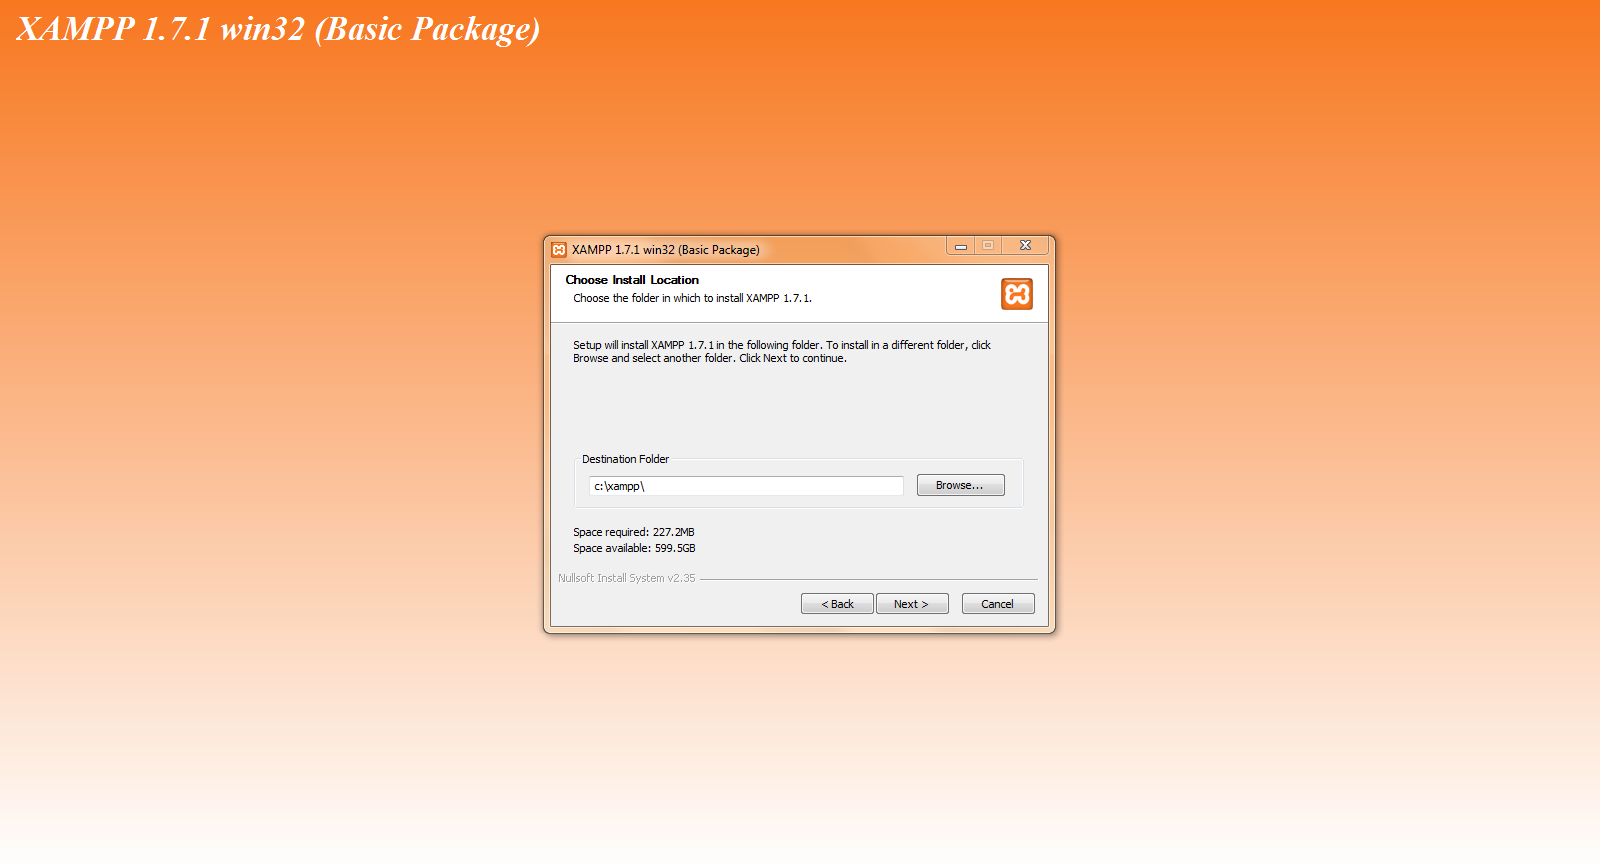
Step 2 : Once it is installed open Xampp Control Panel and start Apache and MySQL. Once you have done that go to
You must be registered for see links
and set your password!Step 3 : After you have set your password go to
You must be registered for see links
and login with the username root and the password you just set.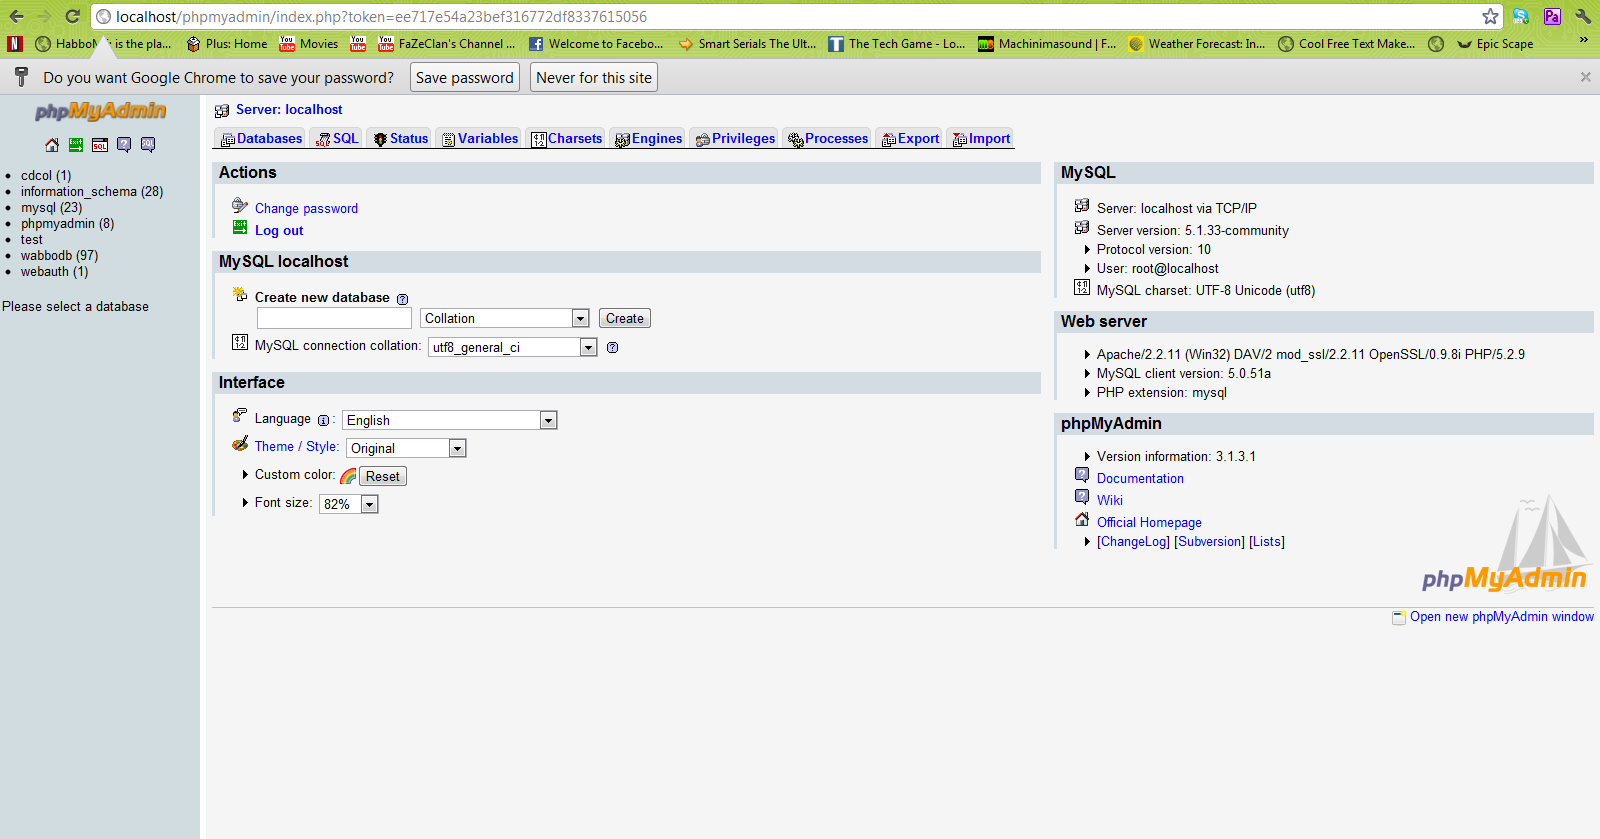
Step 4 : Now you will create a new database by going to Databases and down at the bottom you will see create a new database, name it whatever you want, for example mine is WabboDB.
Step 5 : Now go to the database, click import and upload the file I gave you called UberServer.sql
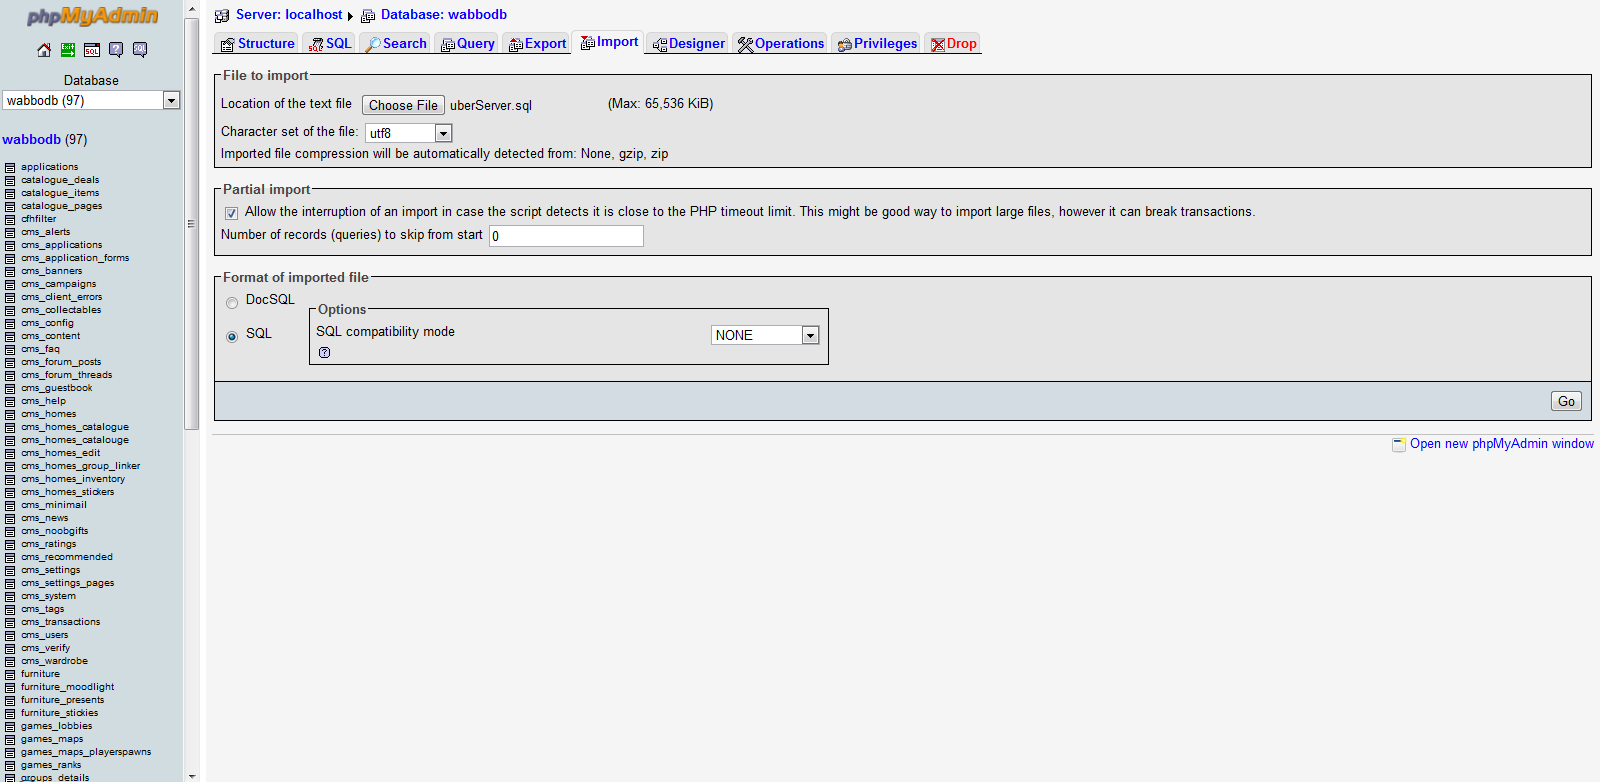
Step 6 : After you have uploaded the database you will now go back to the folder I gave you and extract the PHPRetro 4.0.10 Stable.
Step 7 : Go to your C: drive and go to the xamp folder and go to htdocs and delete everything in there, after that put everything you extracted from the phpretro file into the htdocs.
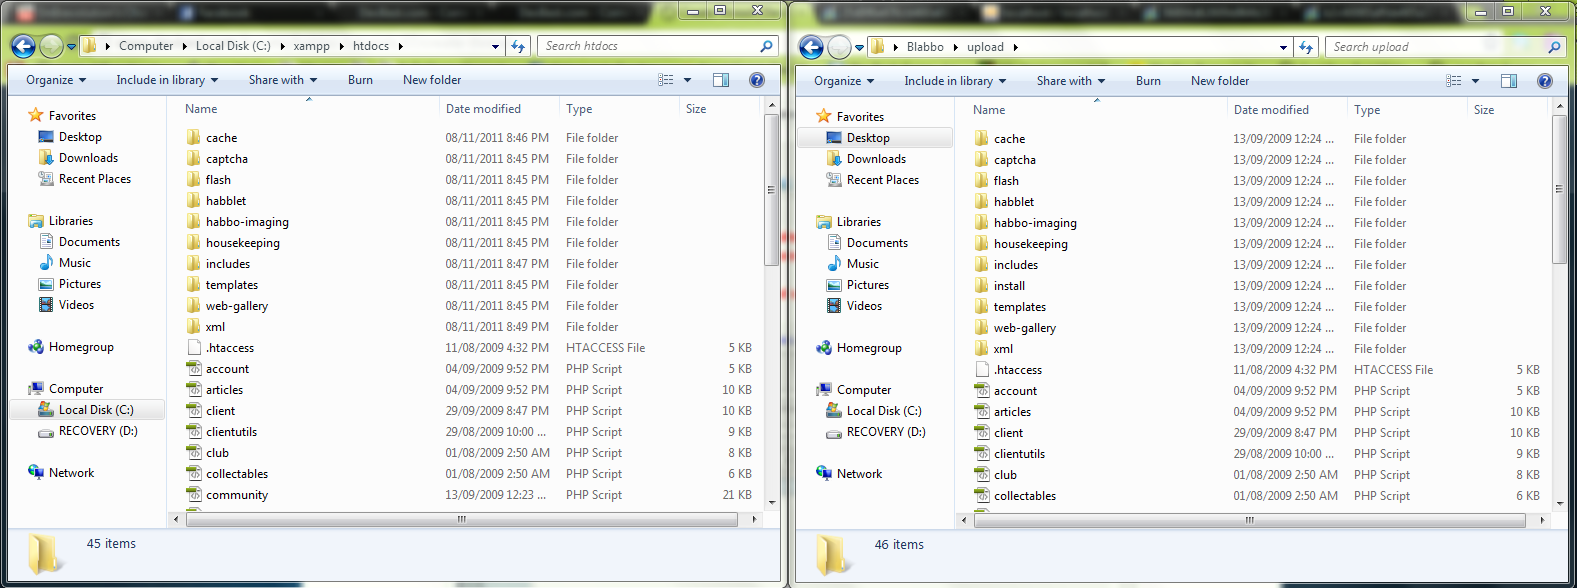
Step 8 : Go back to
You must be registered for see links
and follow the PHPRetro guide, you will hit a page asking for the database name and password, put whatever name you set for step 4 and put that there and put the password you set in step 2.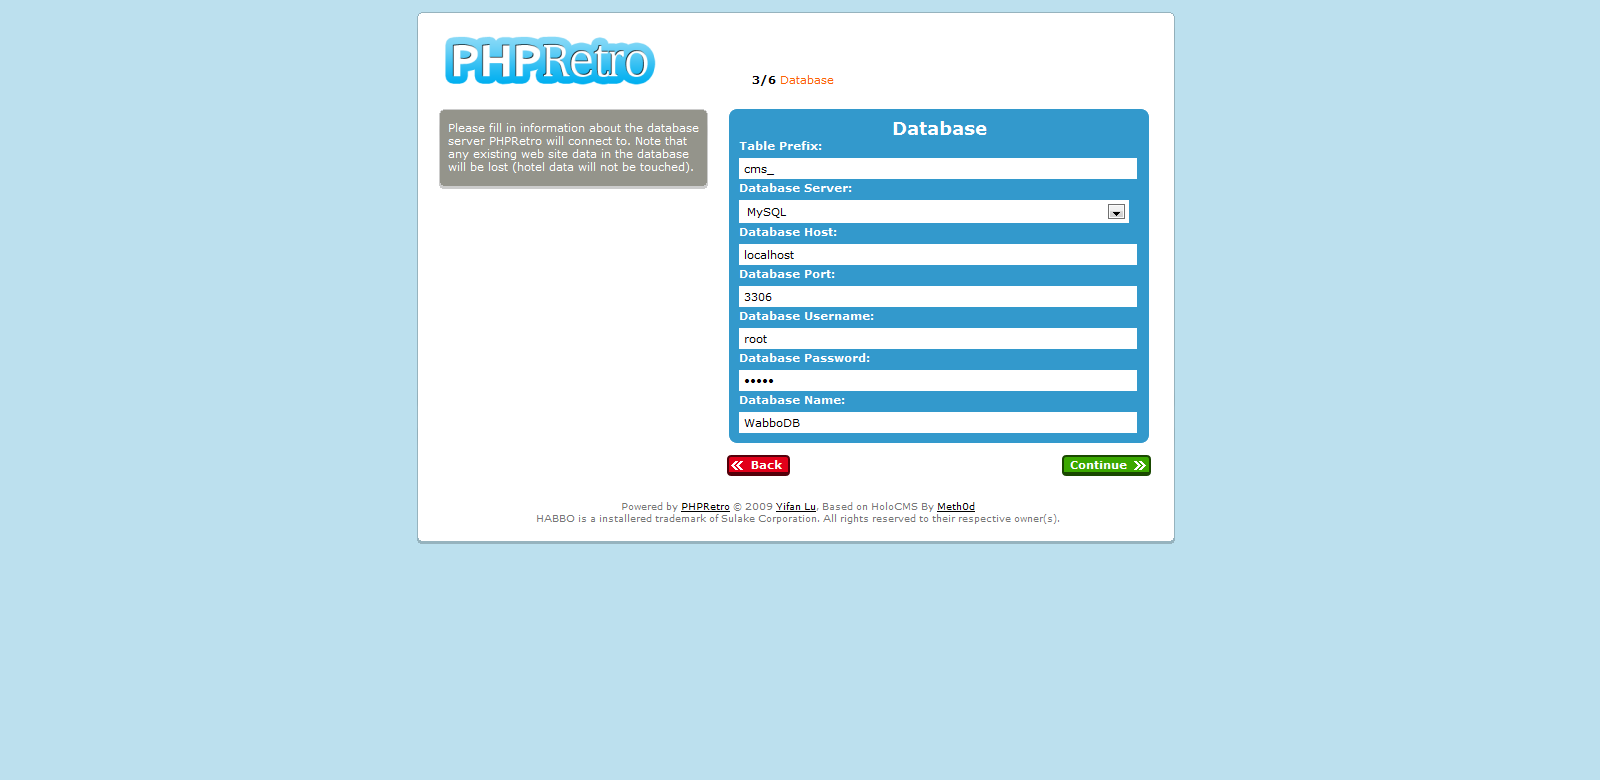
Step 9 : You will come to a part where it asks for your site path, now this is where it gets tricky, this is when you decide, do you want to portforward, or host it on Hamachi?
This tutorial will now branch off into two different links, come back here when you have done what the link you have chosen has said for you to do.
Hamachi Tutorial Link :
Portforward Tutorial Link :
Now that you have followed one of those tutorials you will now be able to finish your retro,
Step 10 :
note : this tutorial is unfisnished, I have posted it so I can work on it later,

