Jo$h
Posting Freak
- Jul 7, 2010
- 1,030
- 79
Make a Cool House!
There are many great homes in MineCraft. Surprisingly, a great number of people don't know how to make a really cool house. This tutorial will teach you how. Please note: This is for a certain style of home; Simple & Classic. If you are interested in "Modern" Homes, then this tutorial is not for you. I will put out another soon on how to do those.Location
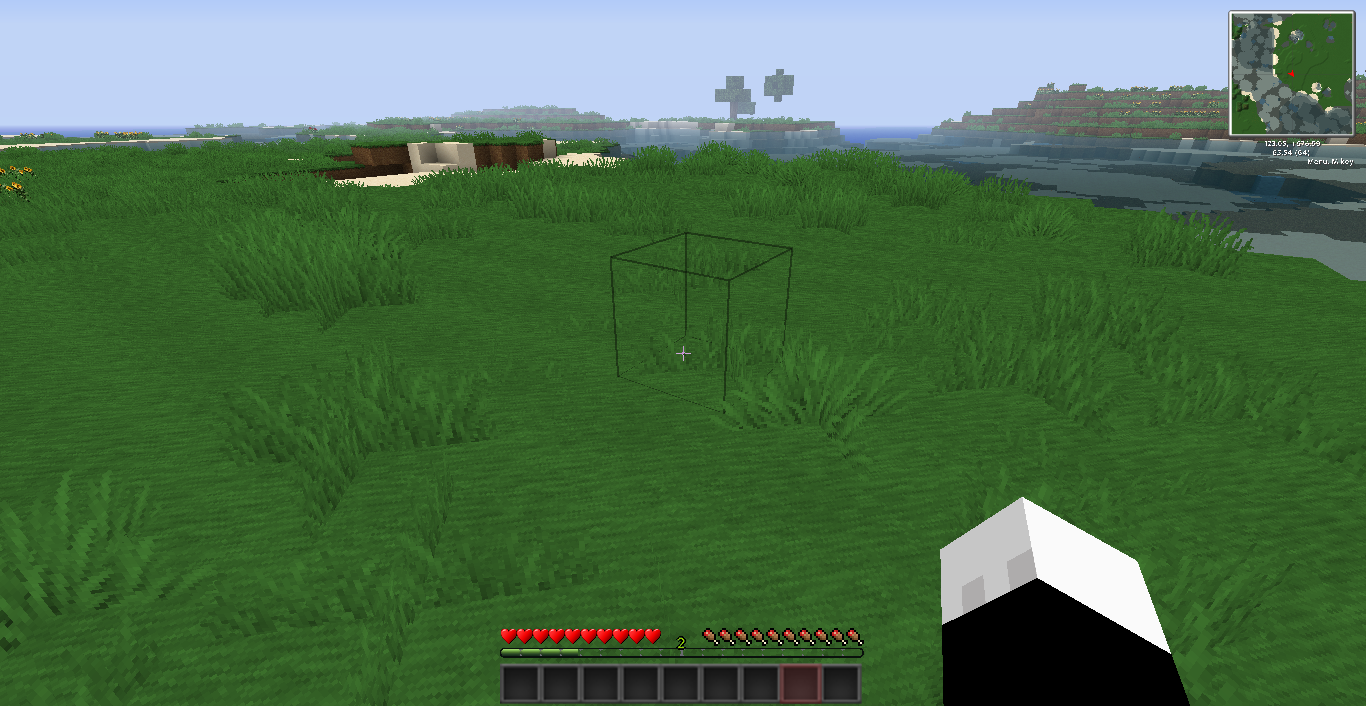
While making a good home requires a lot of building, another very important part of building a home is to find a good location. For the style of home that we are doing, which will be simple and classic, a good location is somewhere in the plains or a regular forest (NOT a tundra or jungle). This may seem like a waste of time, but it is worth it to spend your first one or two Minecraft days finding a good location to build. You'll be glad you did in the long-run. Certain styles of homes are better in certain locations than others. For unique styles of homes, Jungle, Extreme Mountains, Desert, or swamp would all be good biomes to look at.
So back to our home... We've found our perfect location, somewhere near the two biomes we want.
The Build
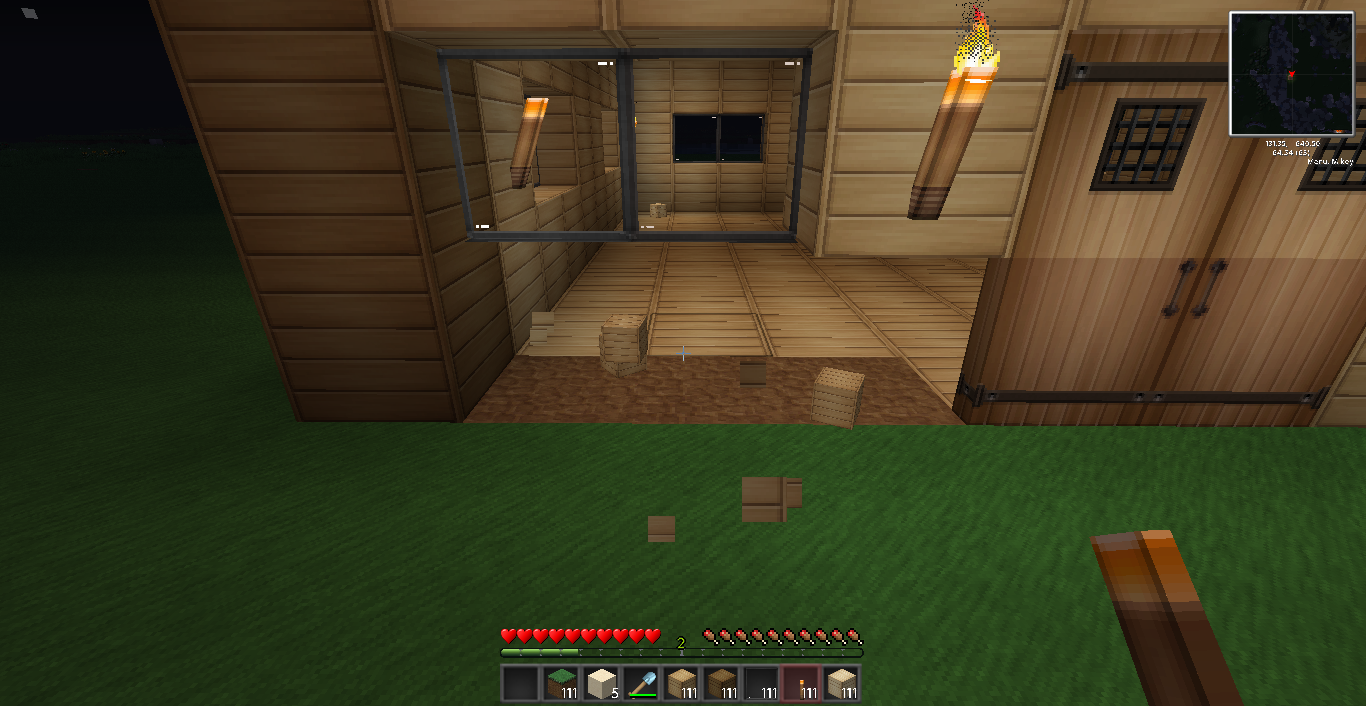
Step 1: Clear the land.
Once you have found the best location to build your house, you will want enough flat space to build your home. Clear any trees and hills on the location you'd like to build. If your hills are bigger than 5 blocks tall, you've probably picked a bad place to build.
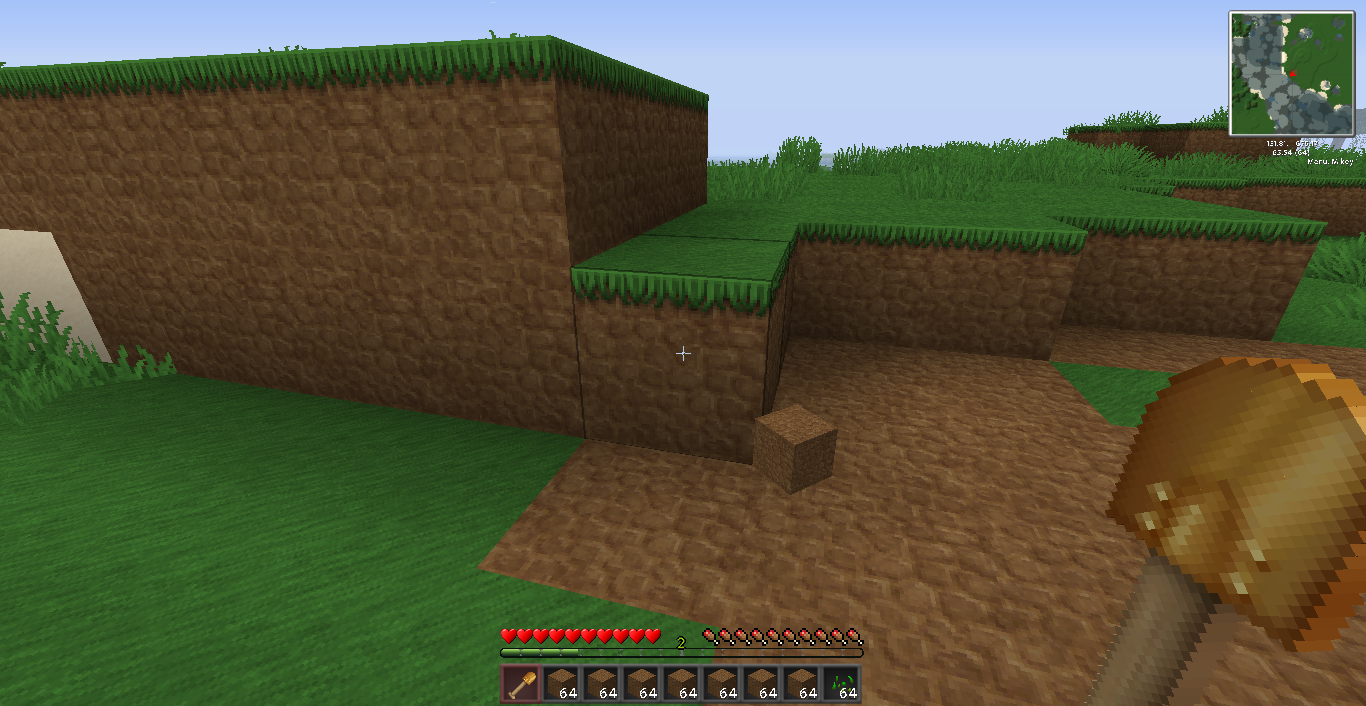
Once you've finished clearing the land, you can move on to step two.
Step Two: Begin Building
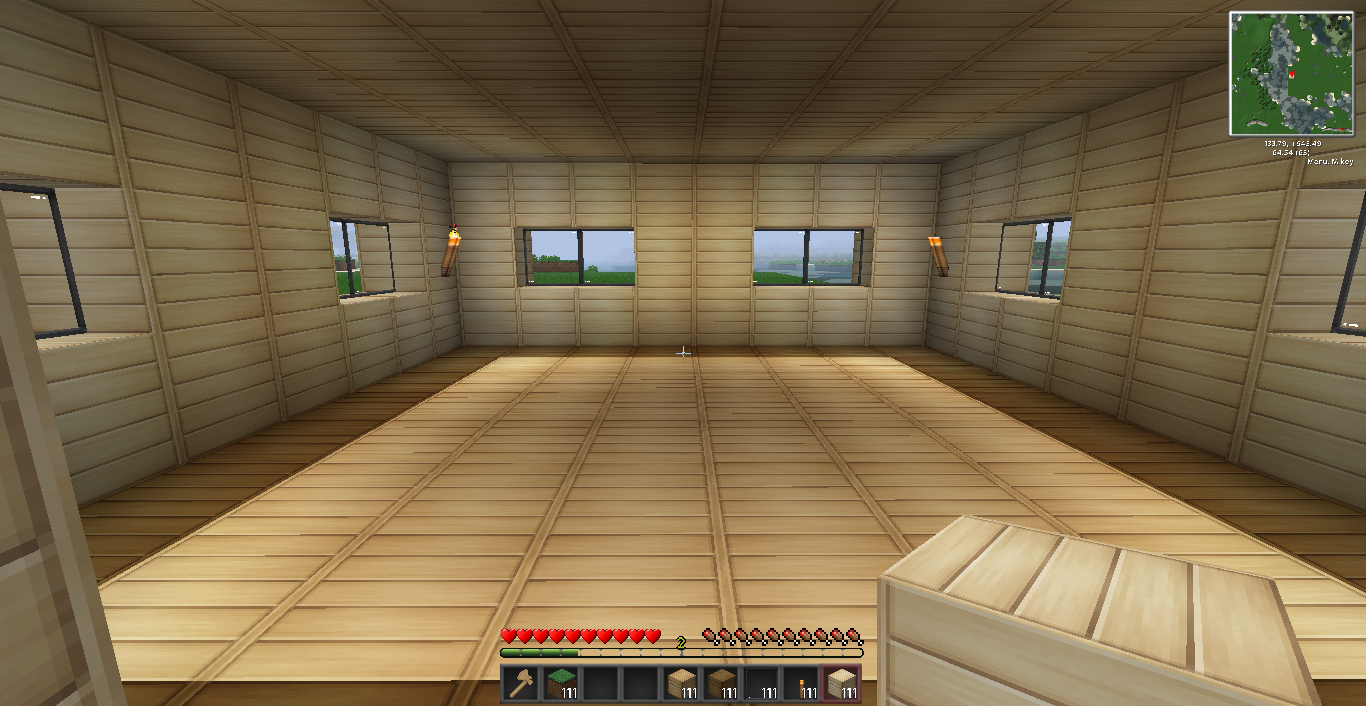
Now we get to the fun part. Building your house is the absolute most important part of this process. To get started, build a house as you've always built: a square box with windows and doors.
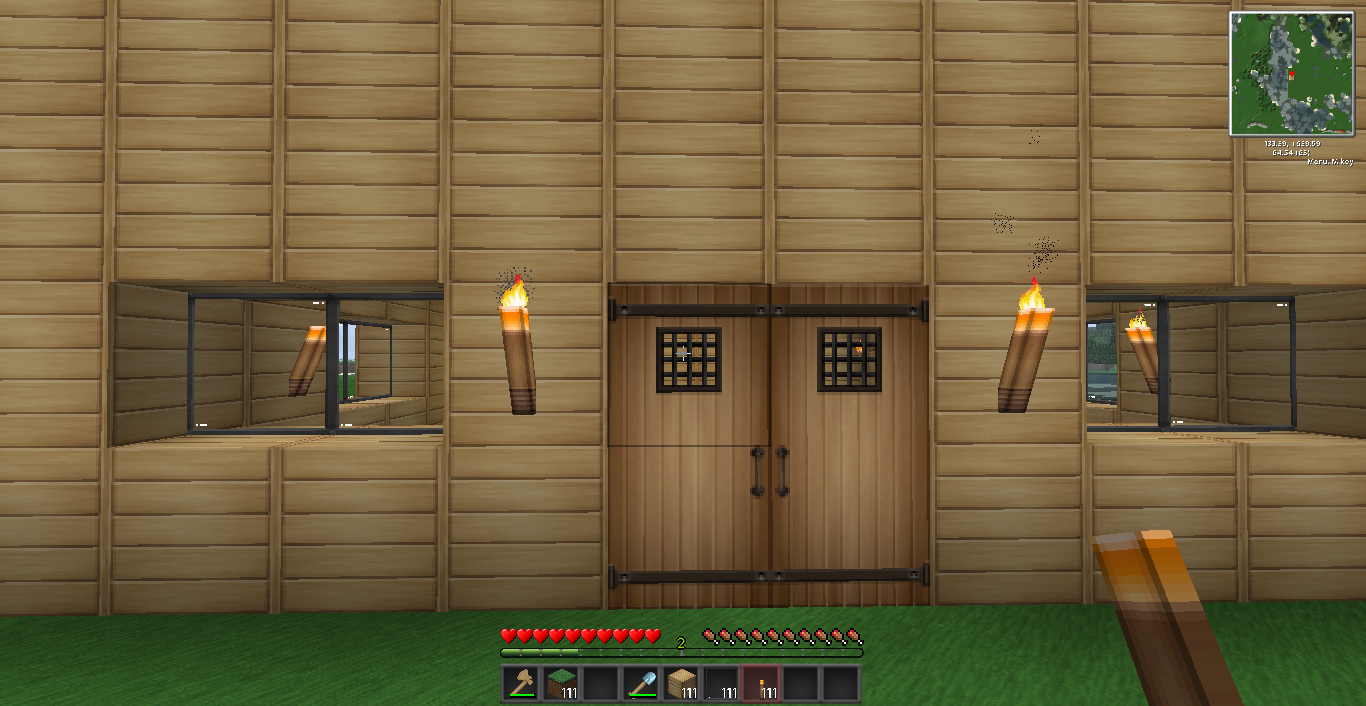
Alright, so we've got the first bit of our house made. Once you complete that, head on over to step three.
Step Three: Adding Contrast
When you build a house in Minecraft, contrast is one of the most important things to add on a house. We'll start off with this contrast by removing the corners of our house, as such:
Next, you'll want to replace these corners with pine(dark) wooden planks, or another material that contrasts it's surrounding colors.
Since we want even more contrast, we'll be replacing our current walls with Birch(Light) Wooden Planks. As of now, they are the default planks.
Do this with all of the walls, EXCEPT for the corners, and you'll come out with something like this:
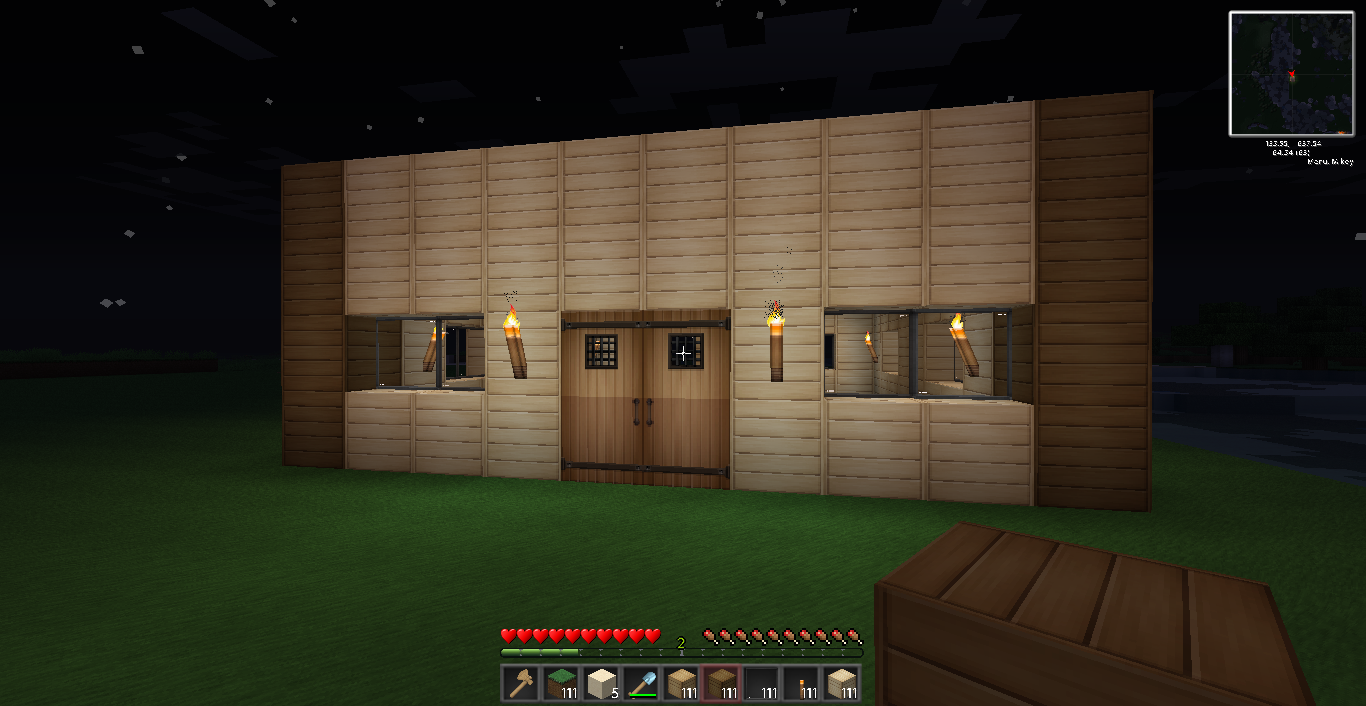
Good Job! This is enough contrast for now, however, the contrast rule will apply for the rest of our build.
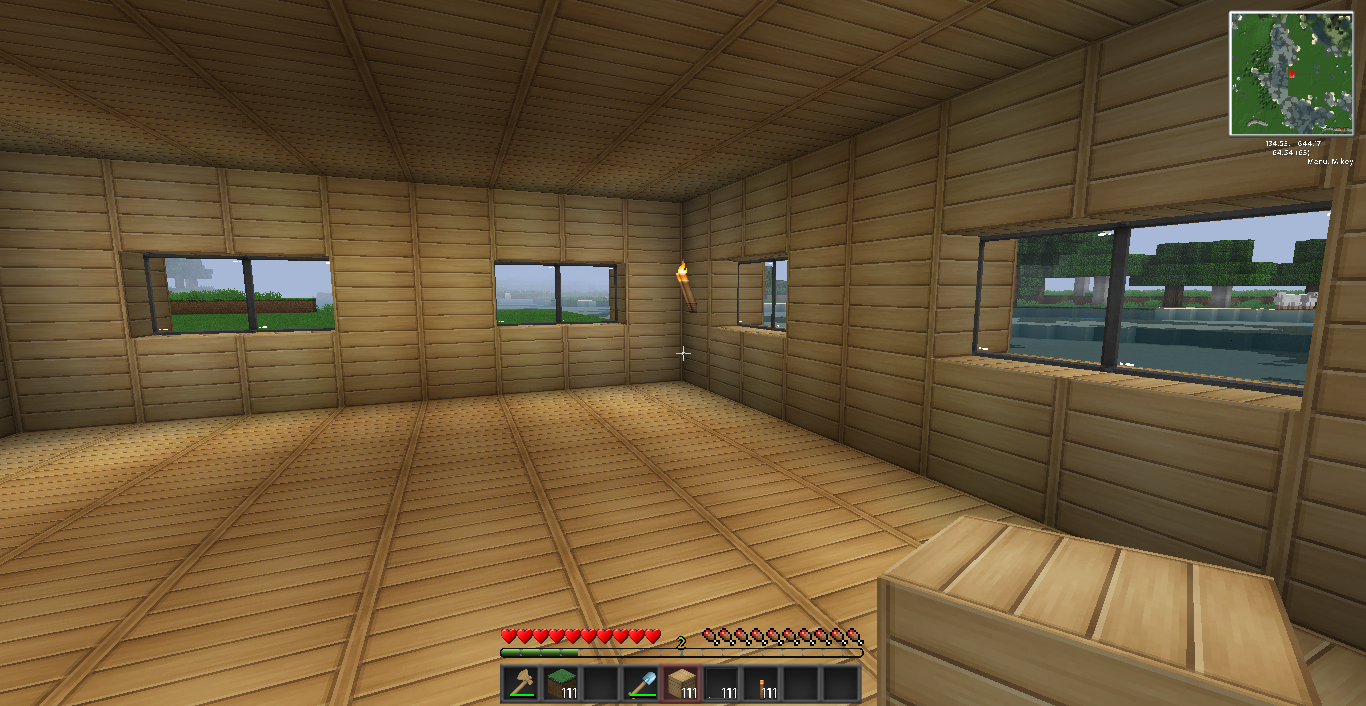
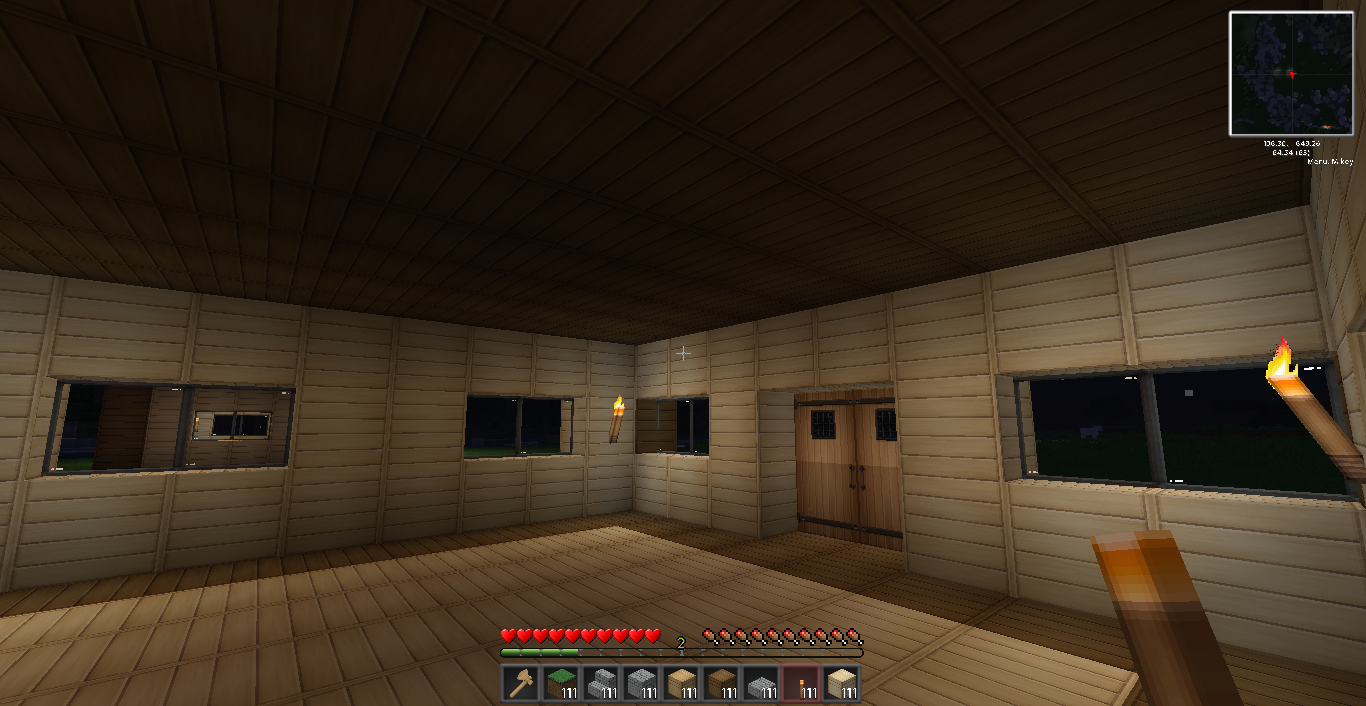
Step Four: Brand New Hardwood Floors!
Since we want to make contrast something used throughout the house, we'll need to modify a bit of our indoor flooring for just that purpose.
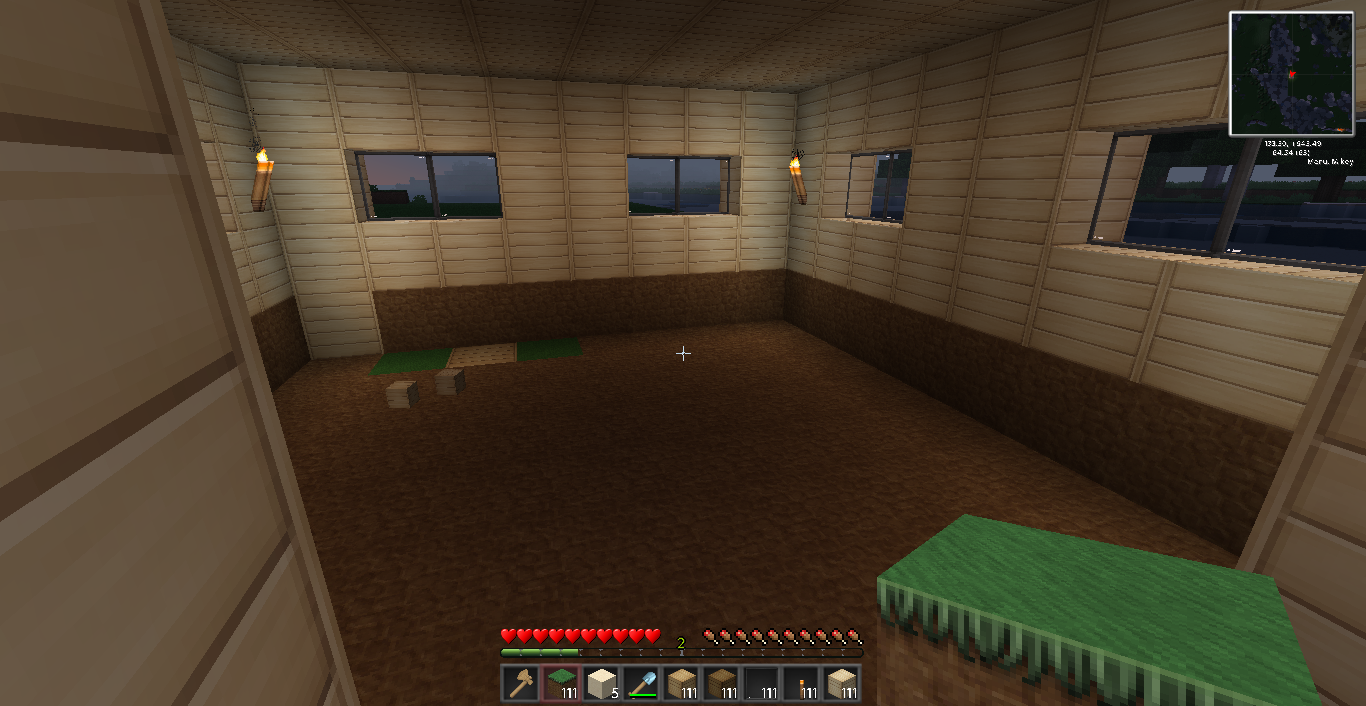
Place Dark wooden planks all around the edge of the house to contrast the wall and the rest of the floor.
Next, fill in the remaining area of the floor with birch wooden planks. The light ones.
That should do it for the interior for right now.
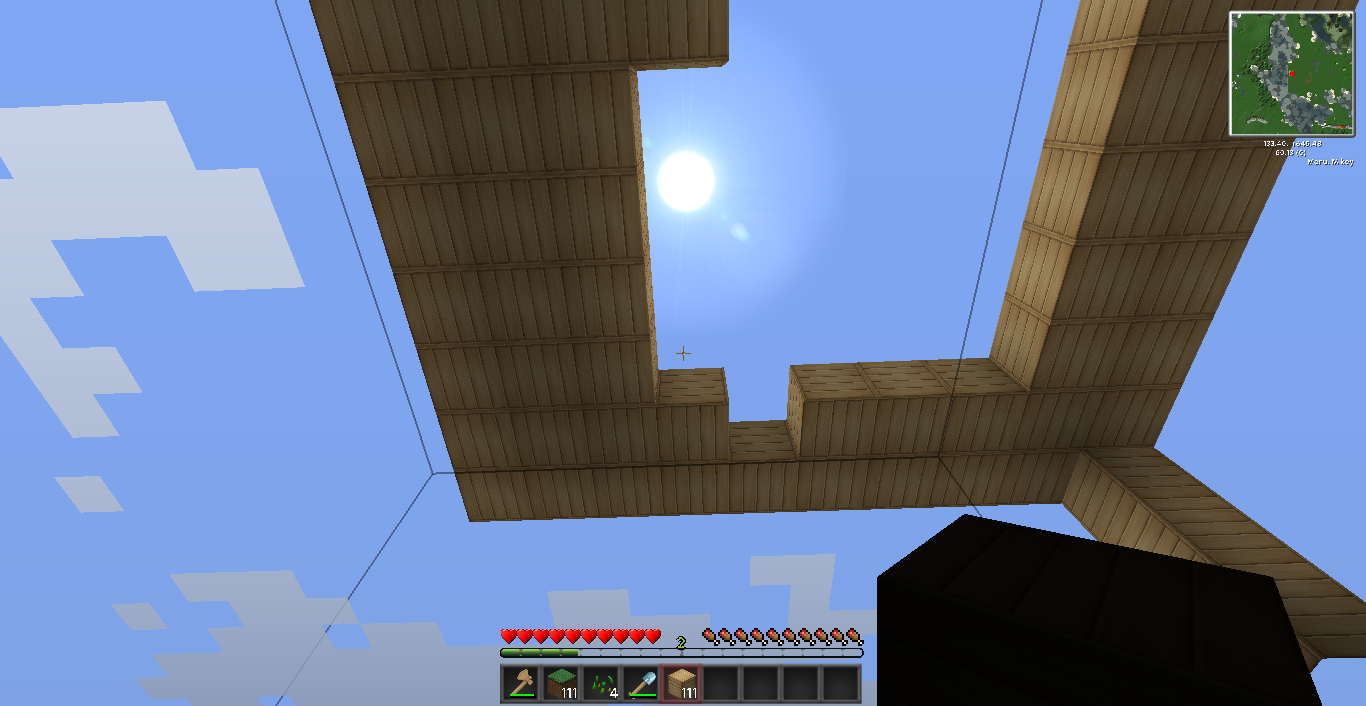
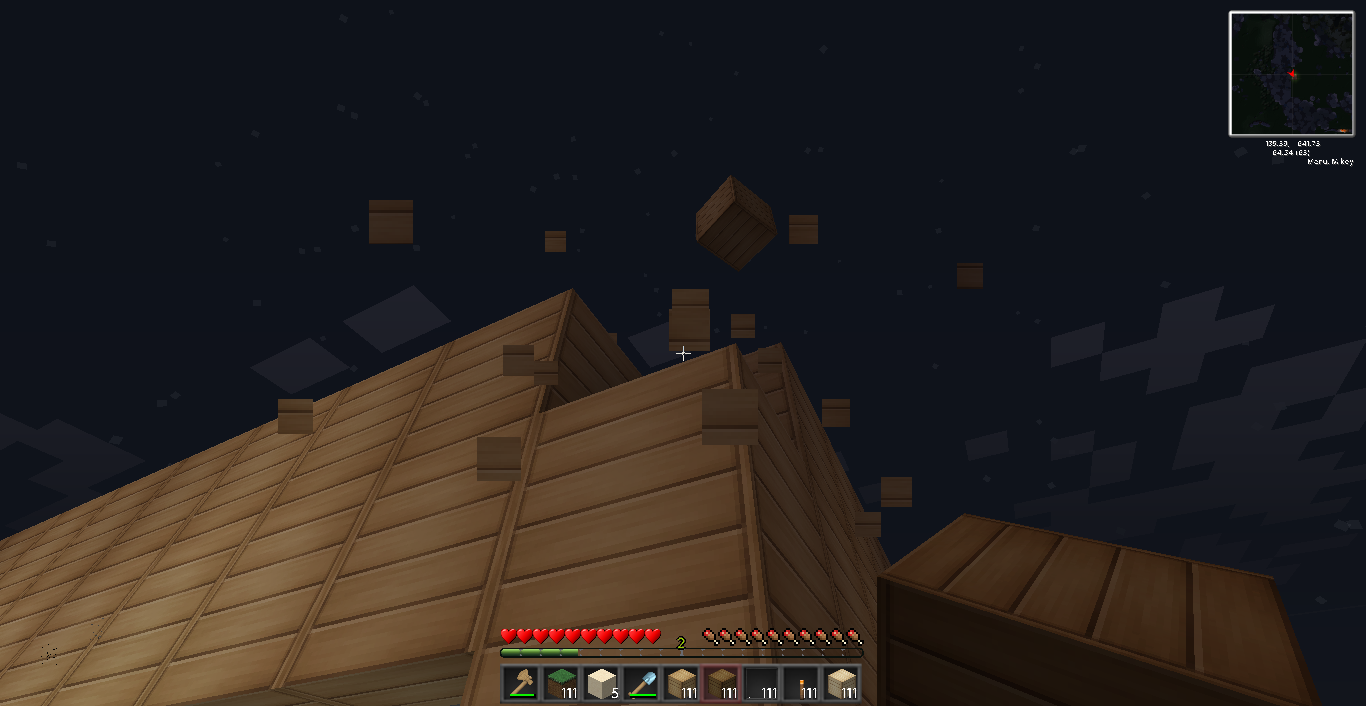
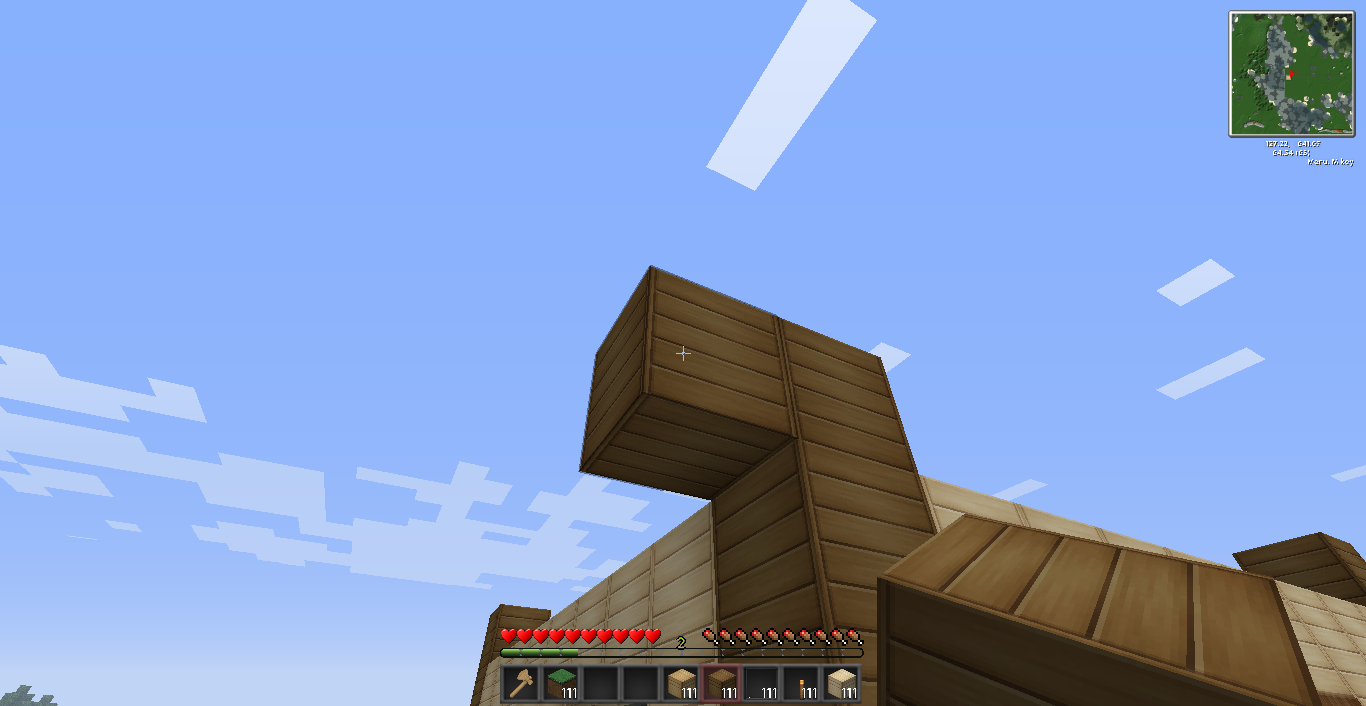
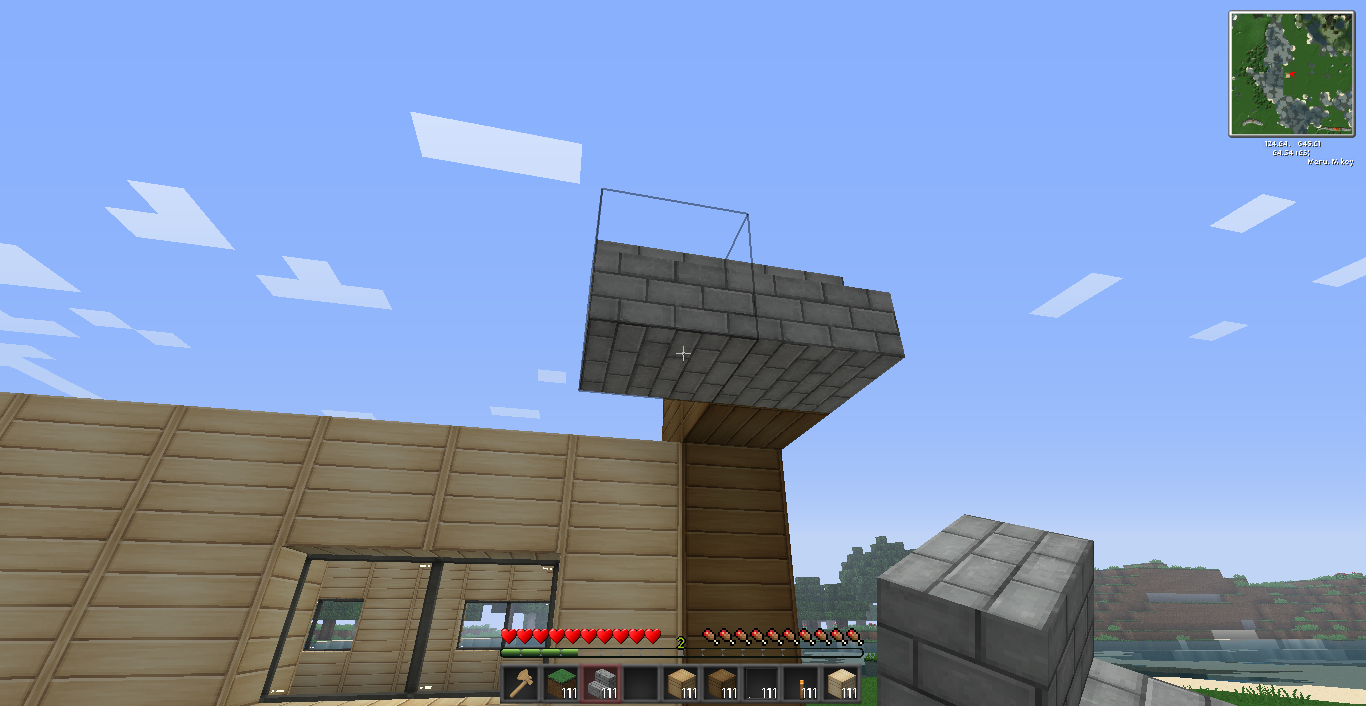
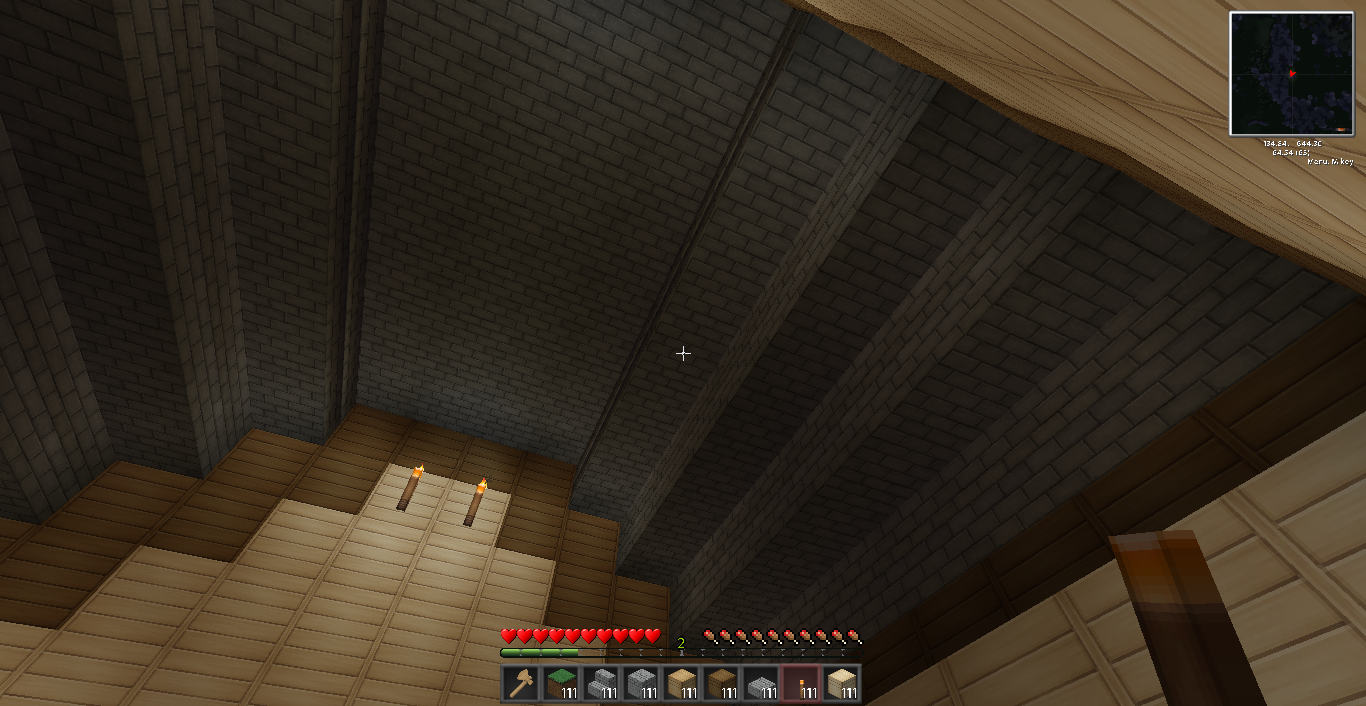
Step Five: Raise The Roof
A flat roof will not do the job that you want to do. My next tip for building a good looking house, is to remove the flat roof.
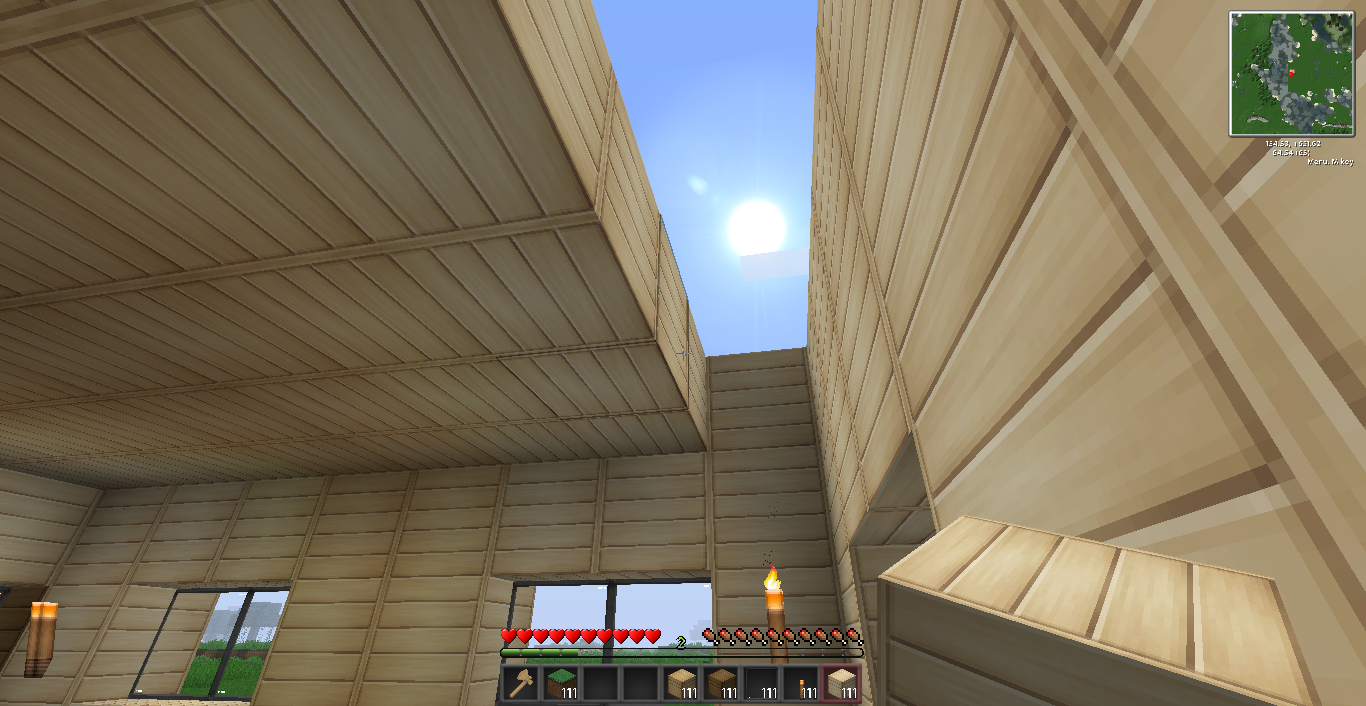

To keep in line with our contrast rule, you'll want to begin removing the top block all around the edges.
Next, place one dark wooden plank off of the edge of the furthest dark block. Do this on all 4 corners.
Stairs make great for a slanted roof. Remember our contrast rule. If your house is made of wood, it's probably a good idea to use cobblestone or stone-brick stairs for your roof.
You'll want to fill an entire row. Your house also needs to have definition. That means that it would look a lot nicer if you added a stair block on both sides of the other stairs, making for an eve-like appearance.
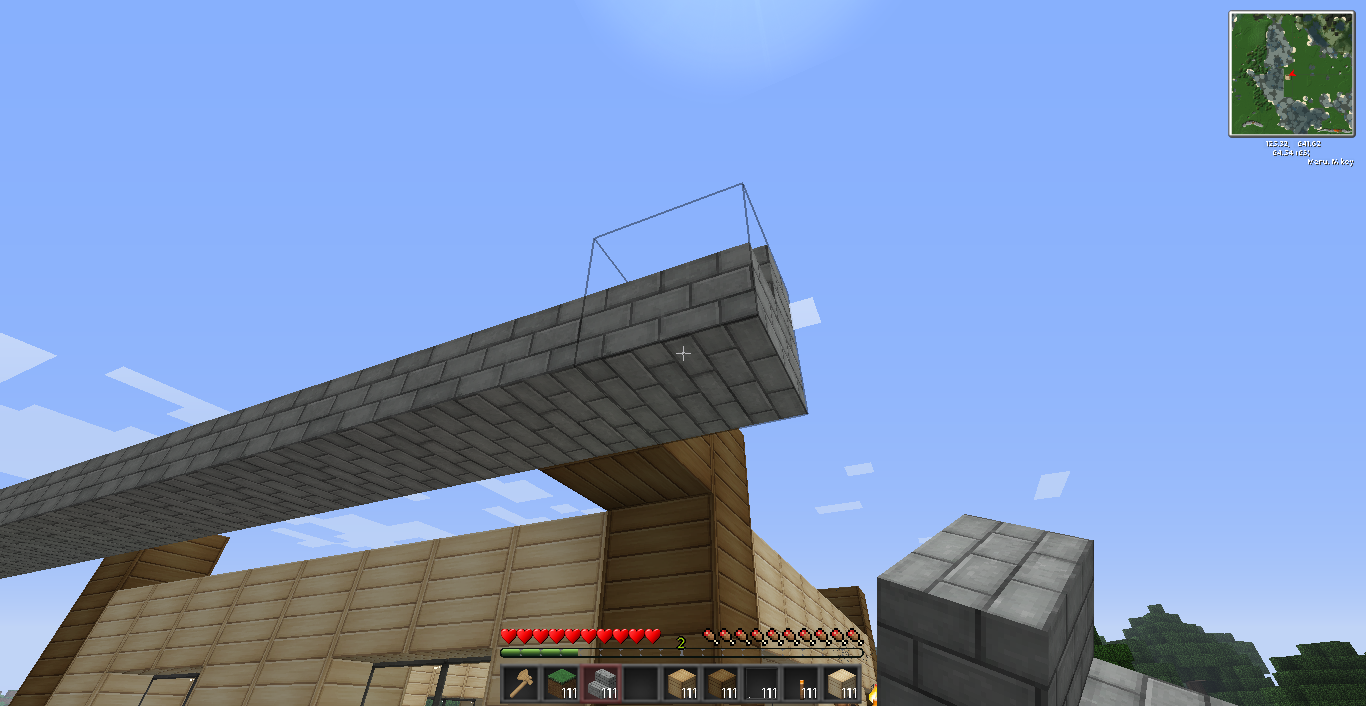
The next thing you'll want to do is to add dark planks right behind those stairs, so that your house is nice and sealed. Remember: Contrast is key, however, contrast in the absolute wrong places looks horrible. Here, using a similar block is good
Continue to layer up until you reach a good stopping point (two-three layers is good)
Once you've built up to a manageable level, begin doing an identical process on the opposite end, so your roof is even.
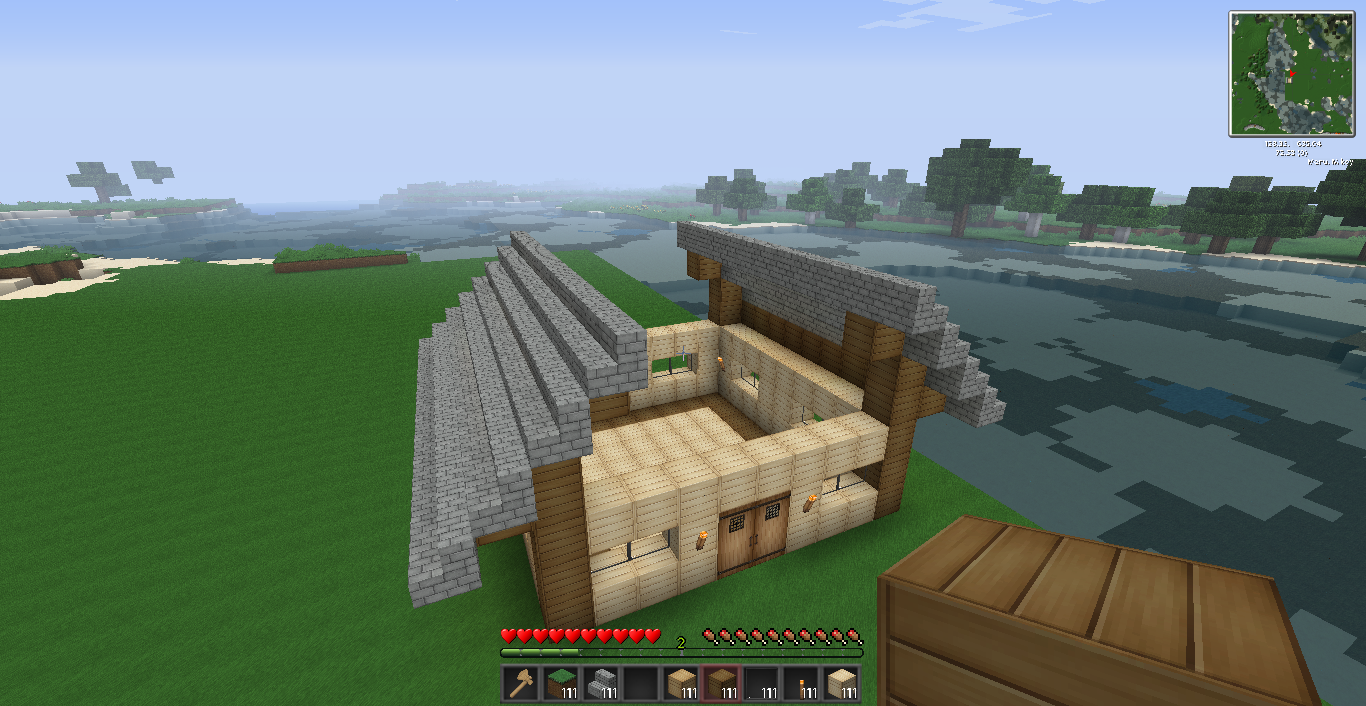
At this point, you can flatten the roof at the top to end the pattern. However, I don't usually use this method, and continue adding layers of stairs until we reach the top. You need to know when to stop, however, and it is always good to stop if you have reached a position where you would have to add two stairs that meet.
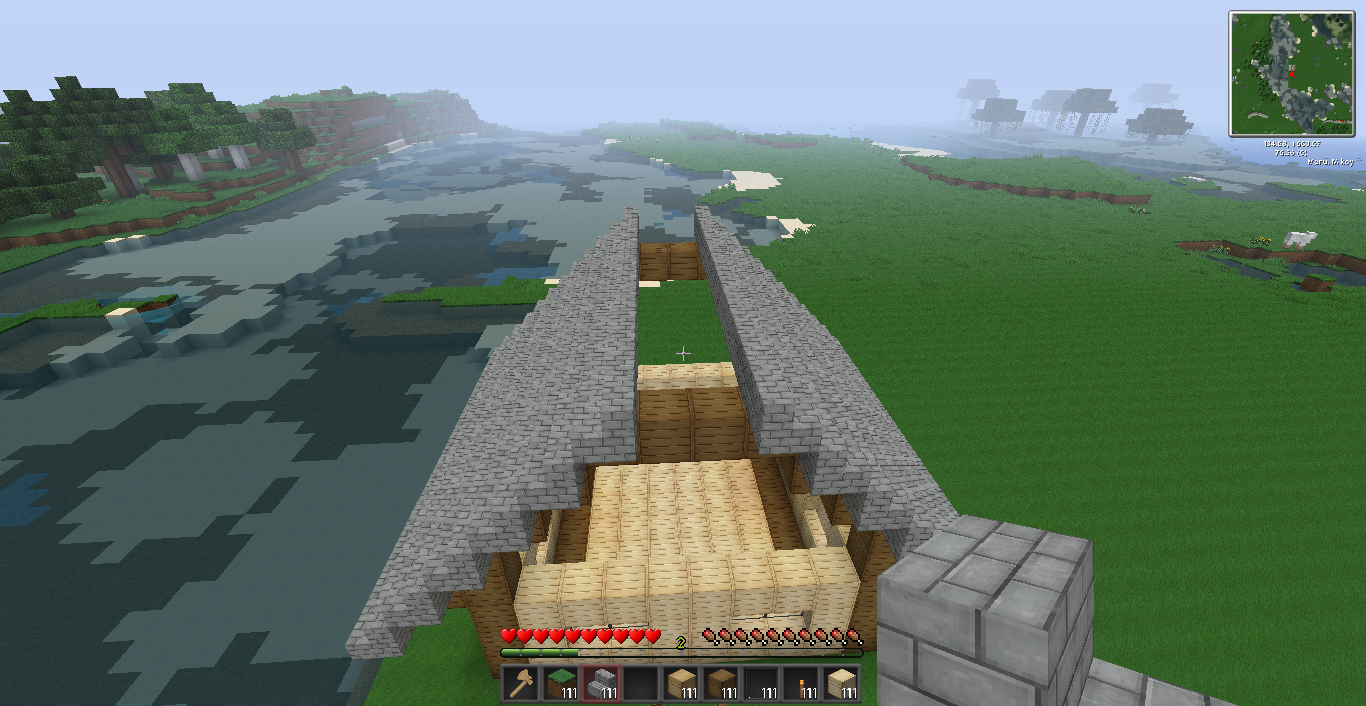
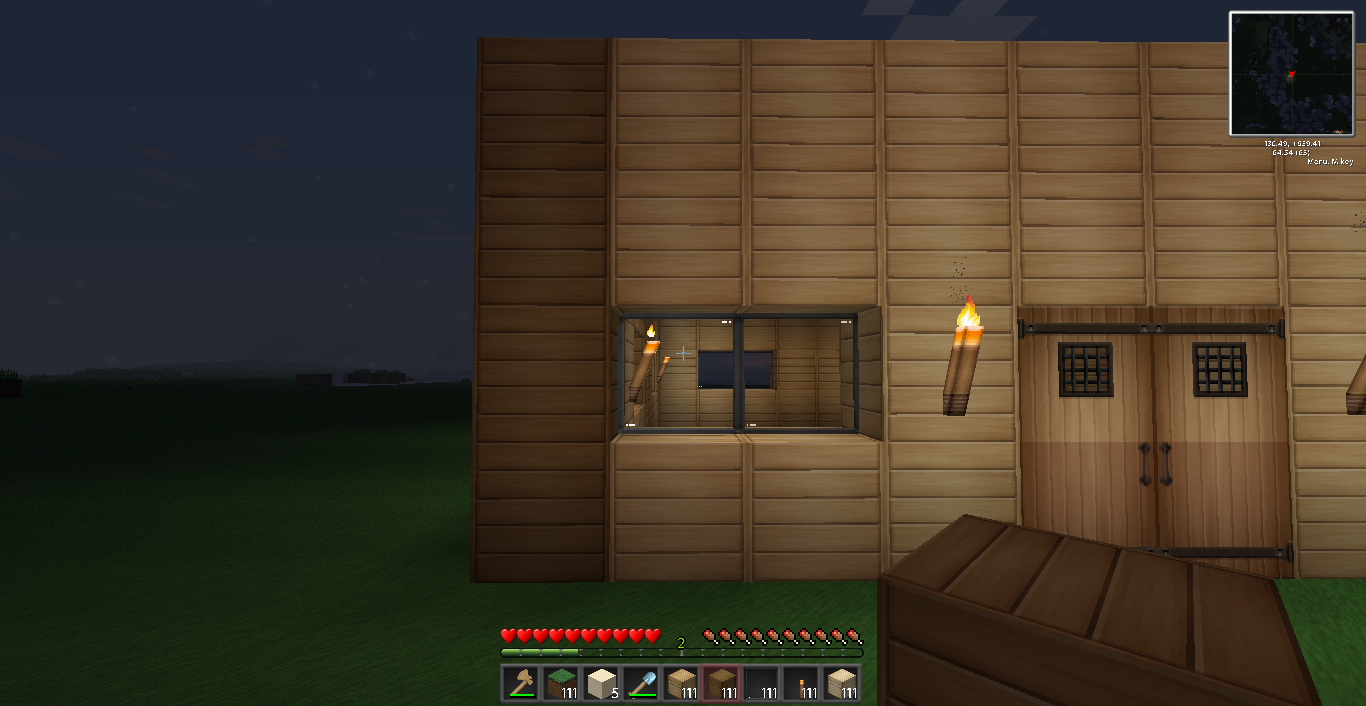
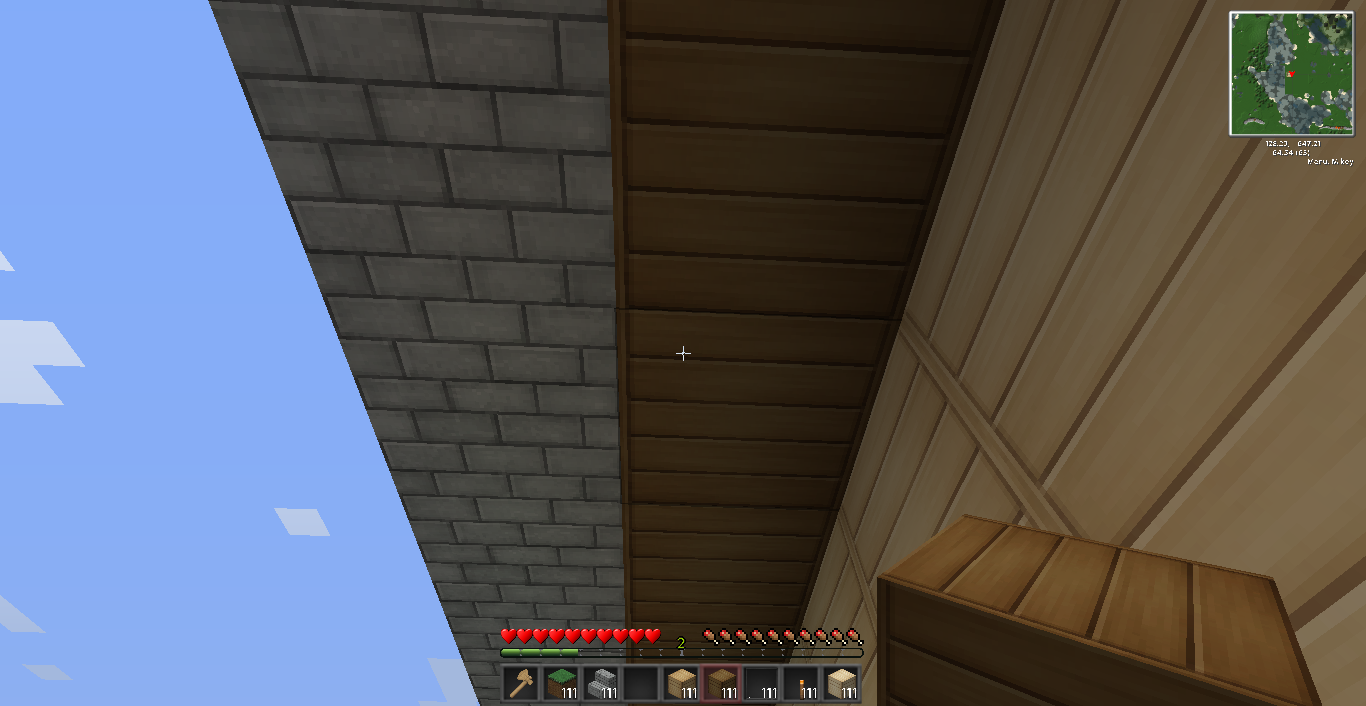
It will look better if you fill the two empty spaces with a whole block of the particular material that you chose. Since we chose to use stone brick stairs, I will fill these blocks with stone brick.
This looks good, but remember, your house should always have definition, so we add stone brick slabs to the top of the two rows of placed stone brick blocks.
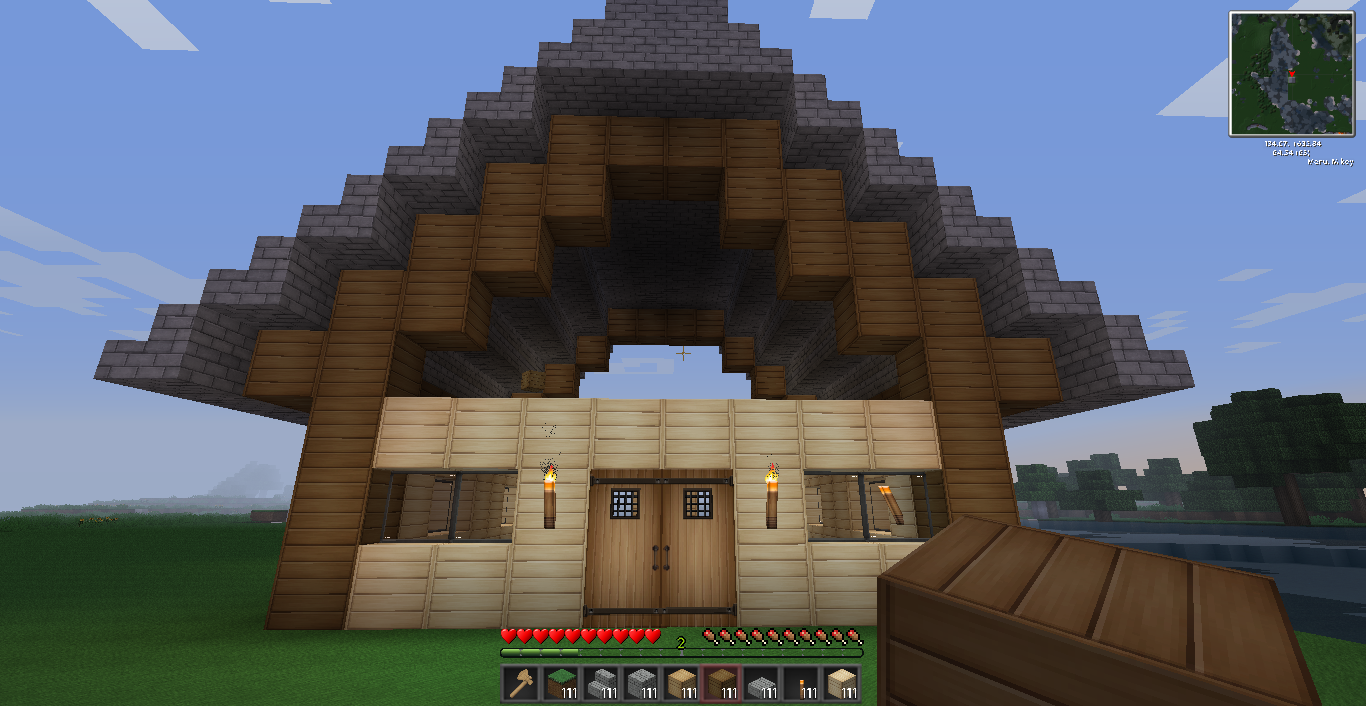
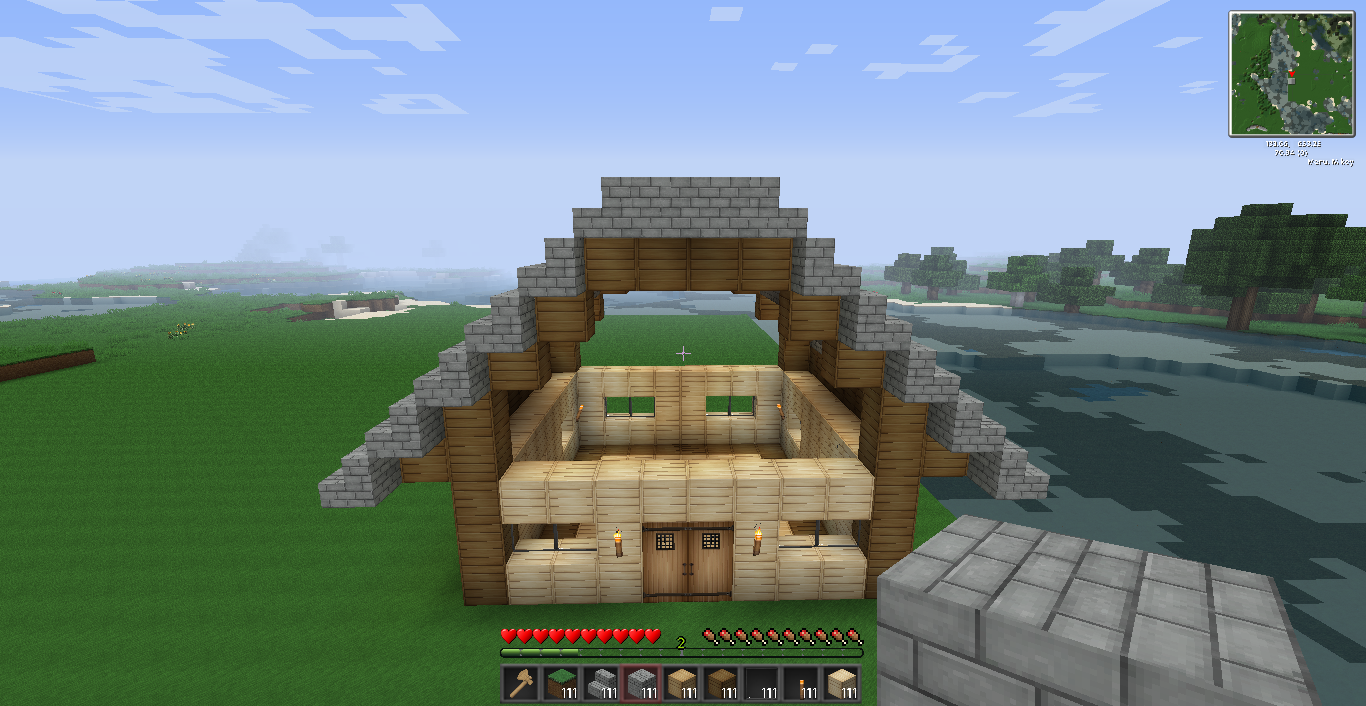
Your roof is now finished. You can move on to step six.
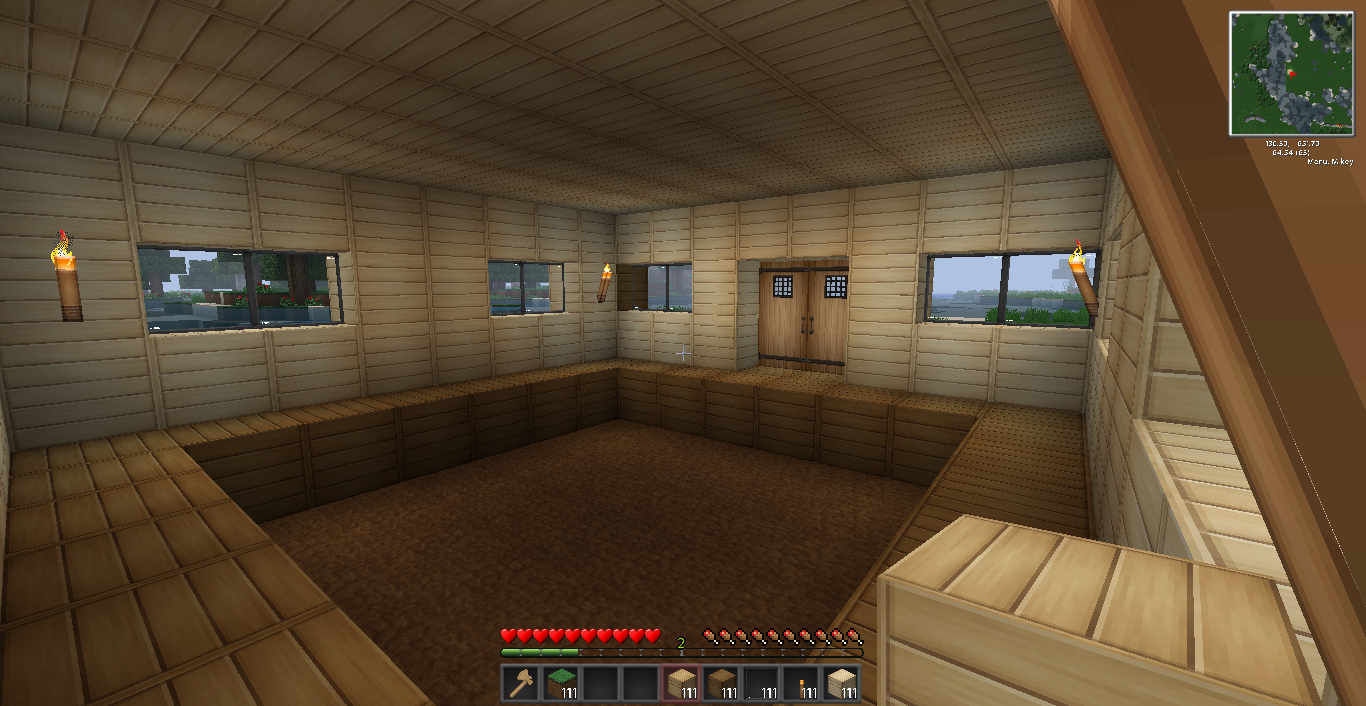
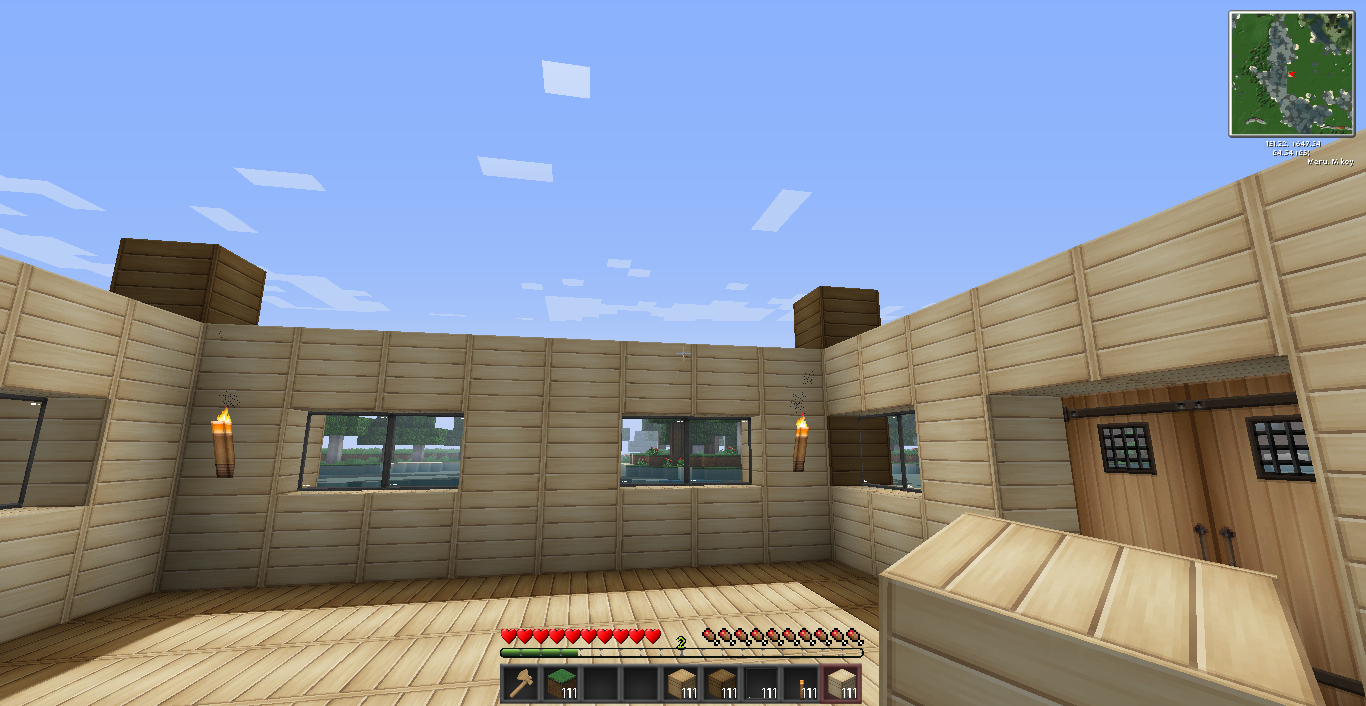
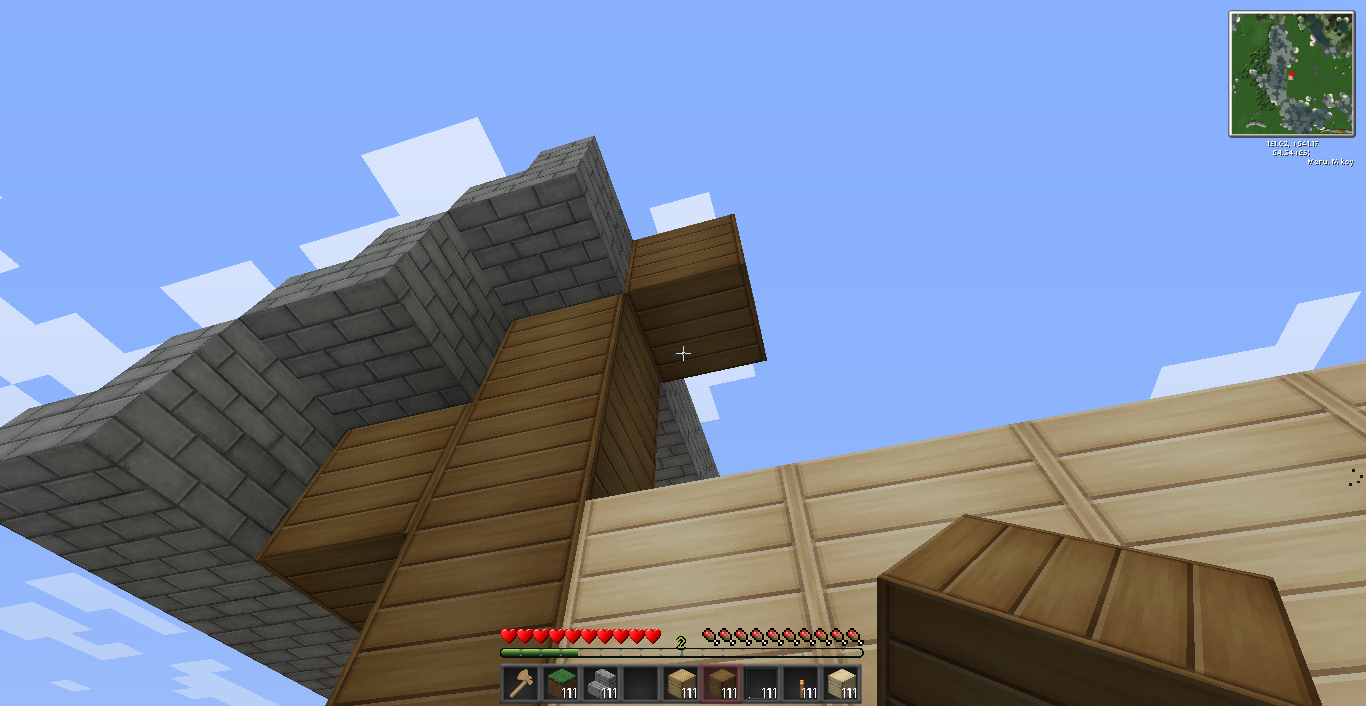
Step six: Fill the Gaps
This step is a rather logical and easy one. So we'll do something very simple while remembering our rule of contrast: Fill the holes.
Step Seven: Moving Up!
Now you have all this extra space to fill in since you've created the roof. If you like the aesthetic feel of things, then the following option is good for you. Adding beams is a great way to increase definition in your home, and it allows you to show off those vaulted ceilings! If you choose the first method, you can move on to step 9.

However, I'm more for maximizing space. While the beams look nice, they aren't really much use for us. So, we'll fill in the entire area where the beams are with the same colored wood as the beams. This way, we can have a second floor.
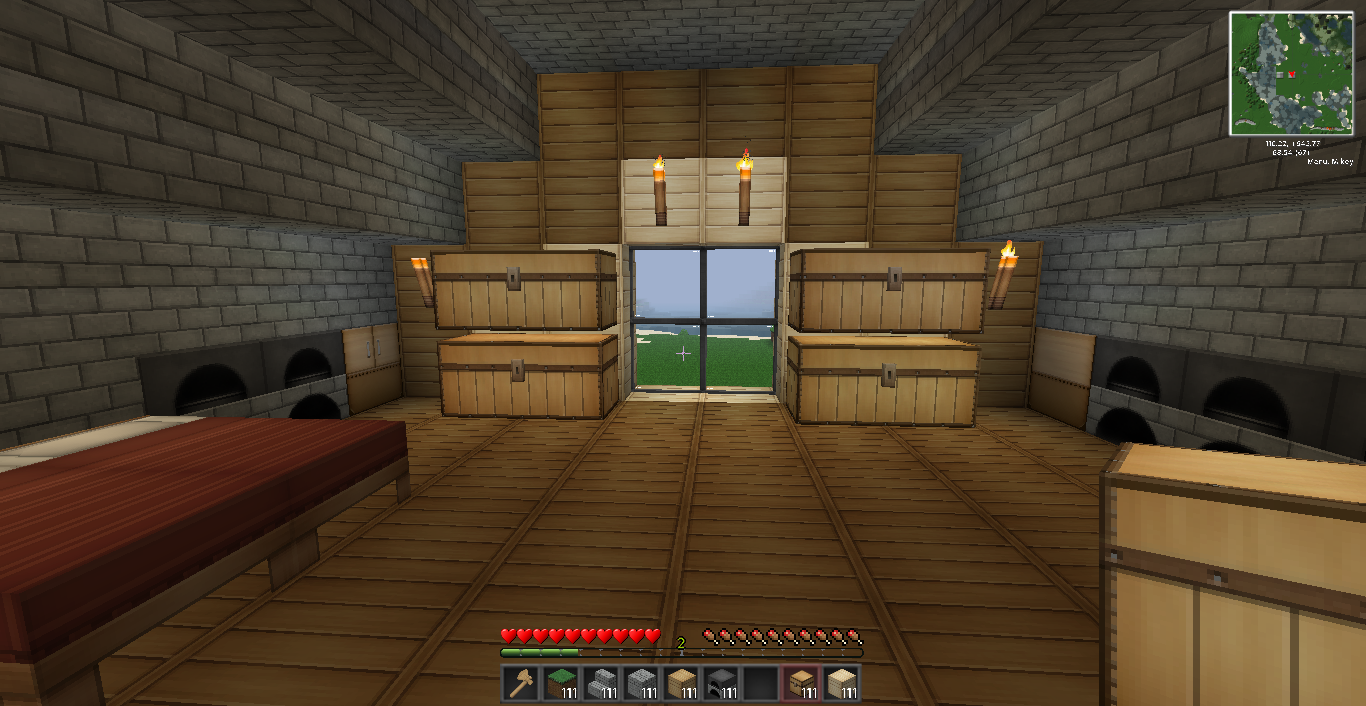
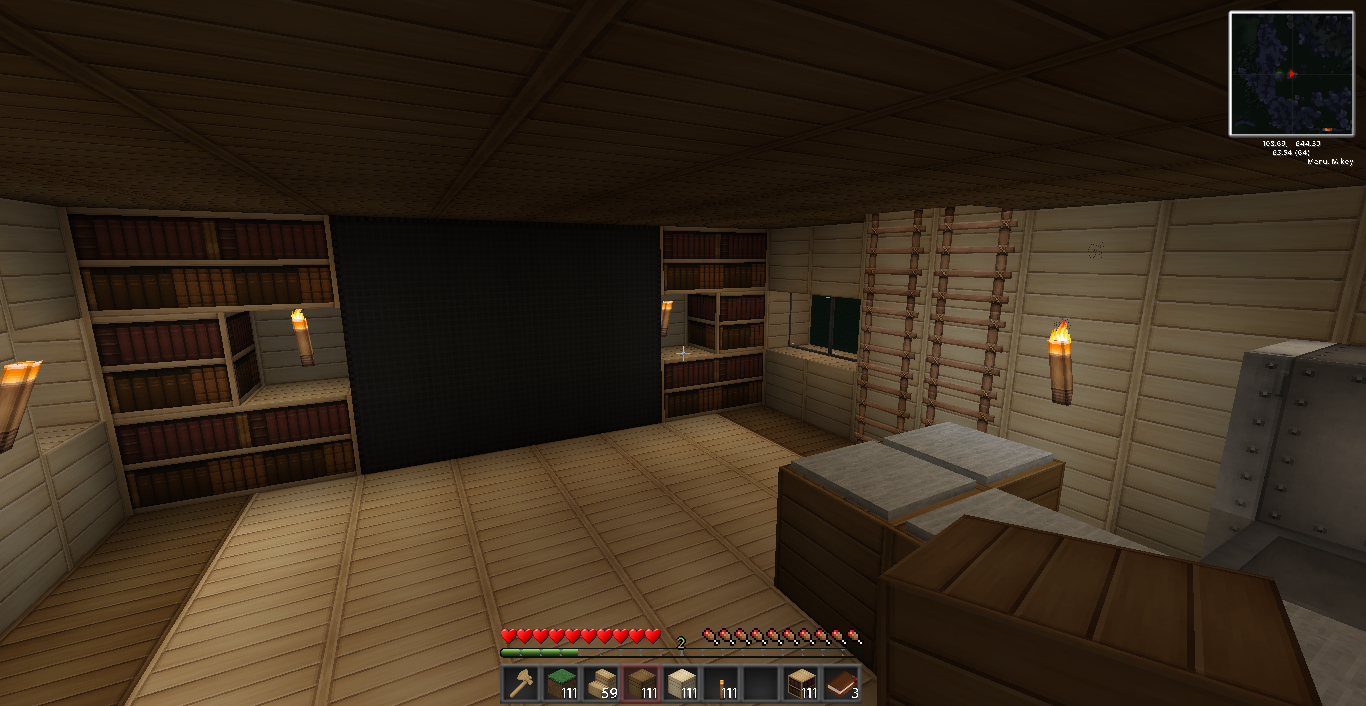
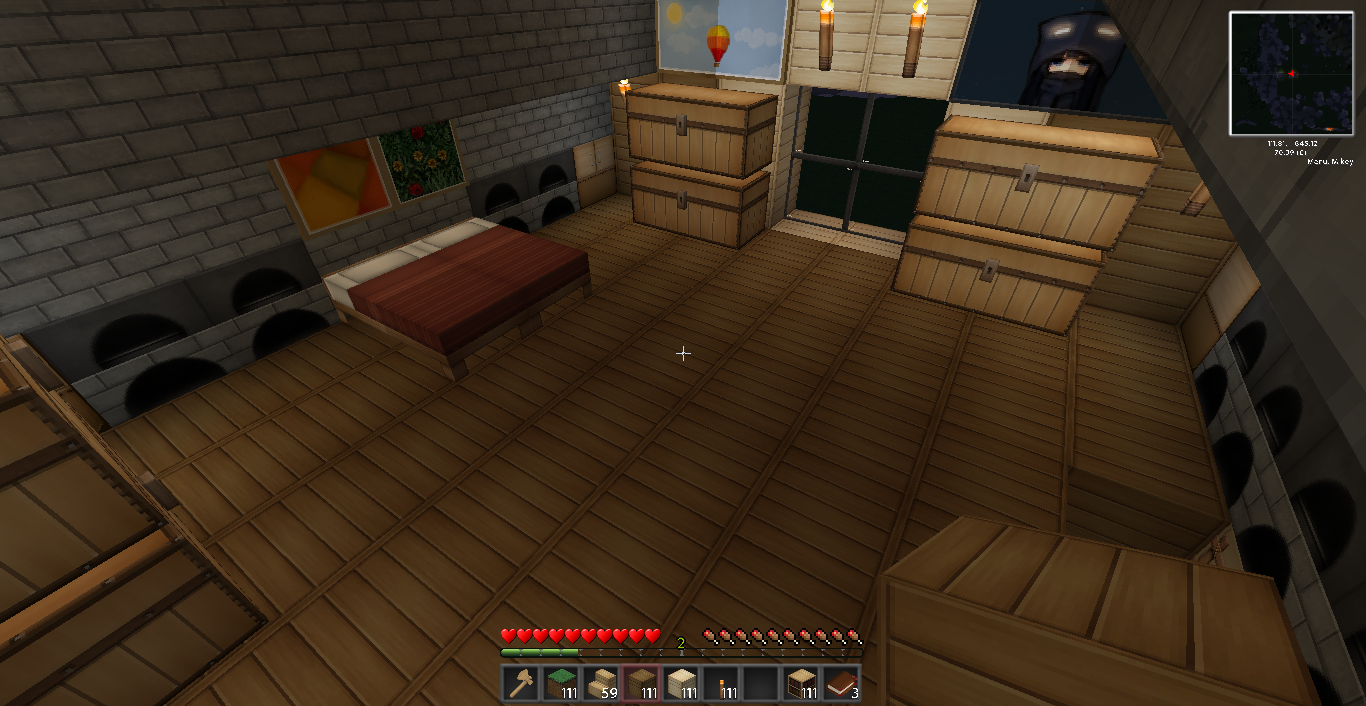
Step Eight: New Bedroom (This step is for those who used the second method in step 7).
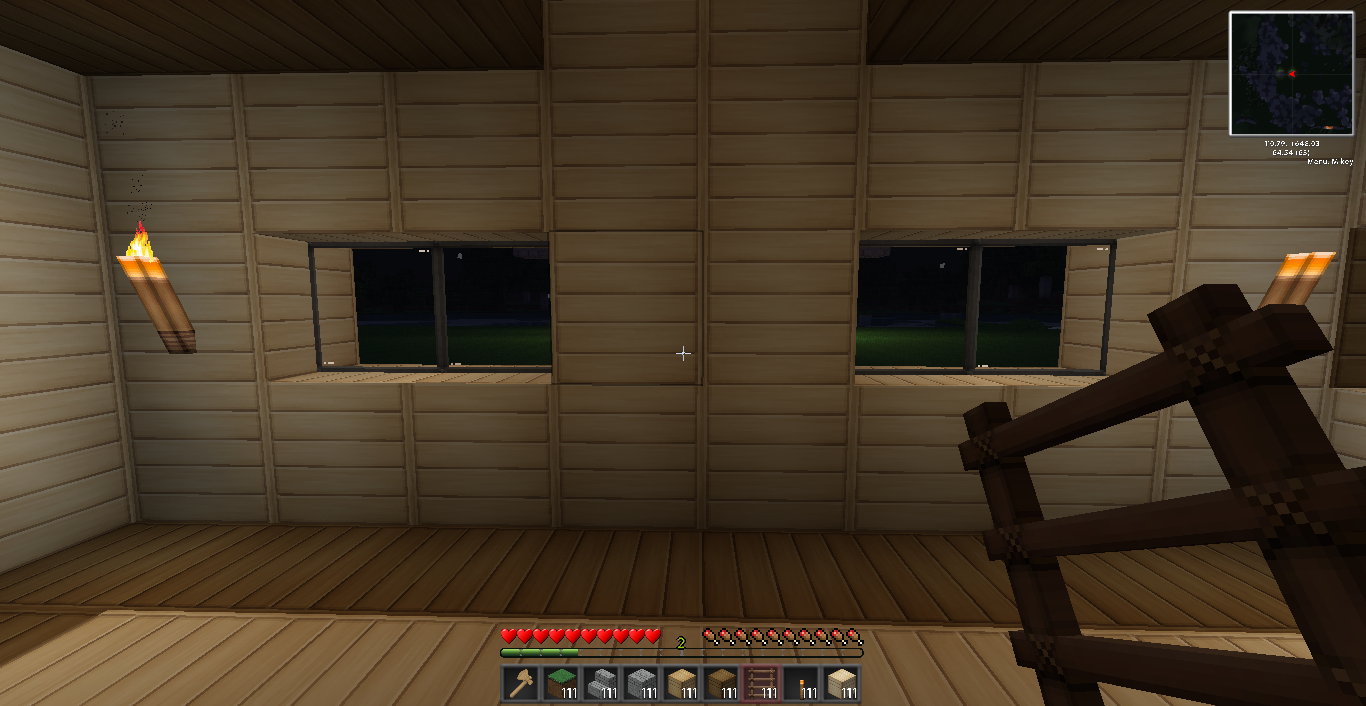
Since we filled in the ceiling of our new home, we are going to use the top portion for a bedroom and work area. This is great if you're looking to maximize the space in your home. First, we'll need a way up. This is best done with ladders in a compact home like ours.
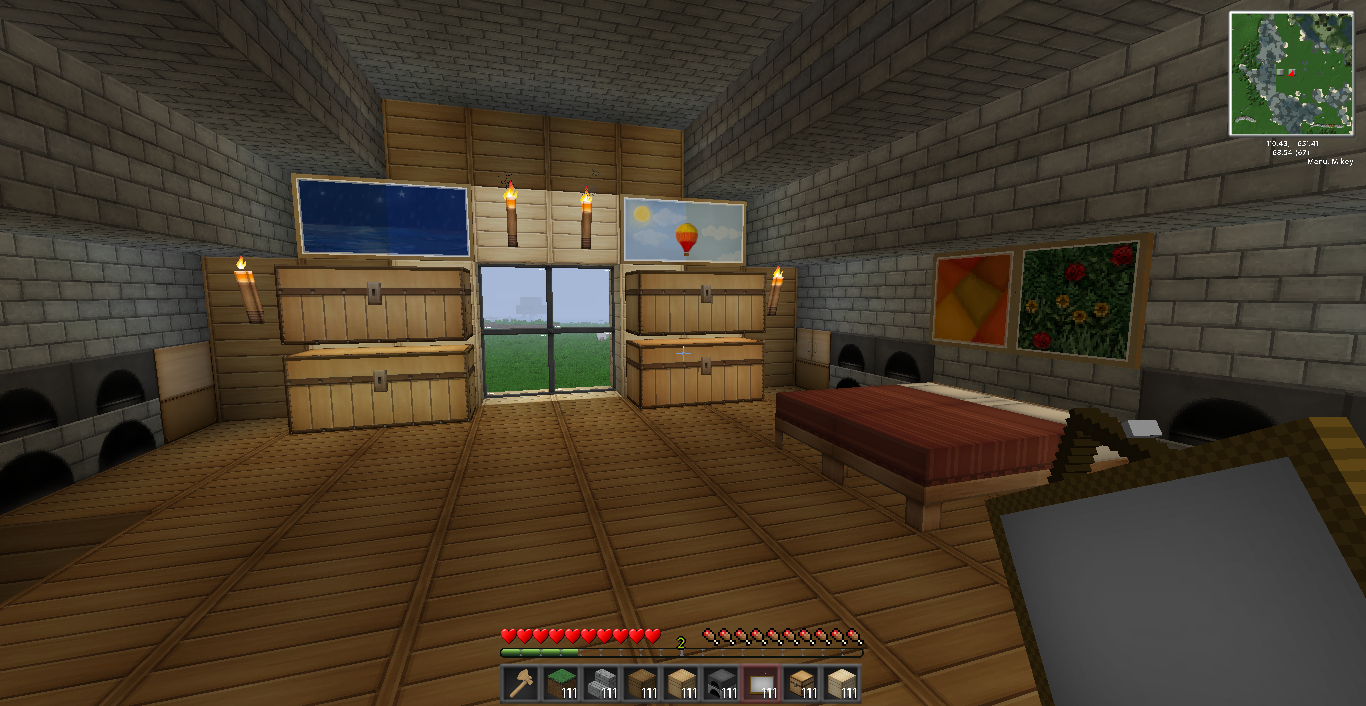
A Nice luxurious home always has a double bed, so we'll add one.
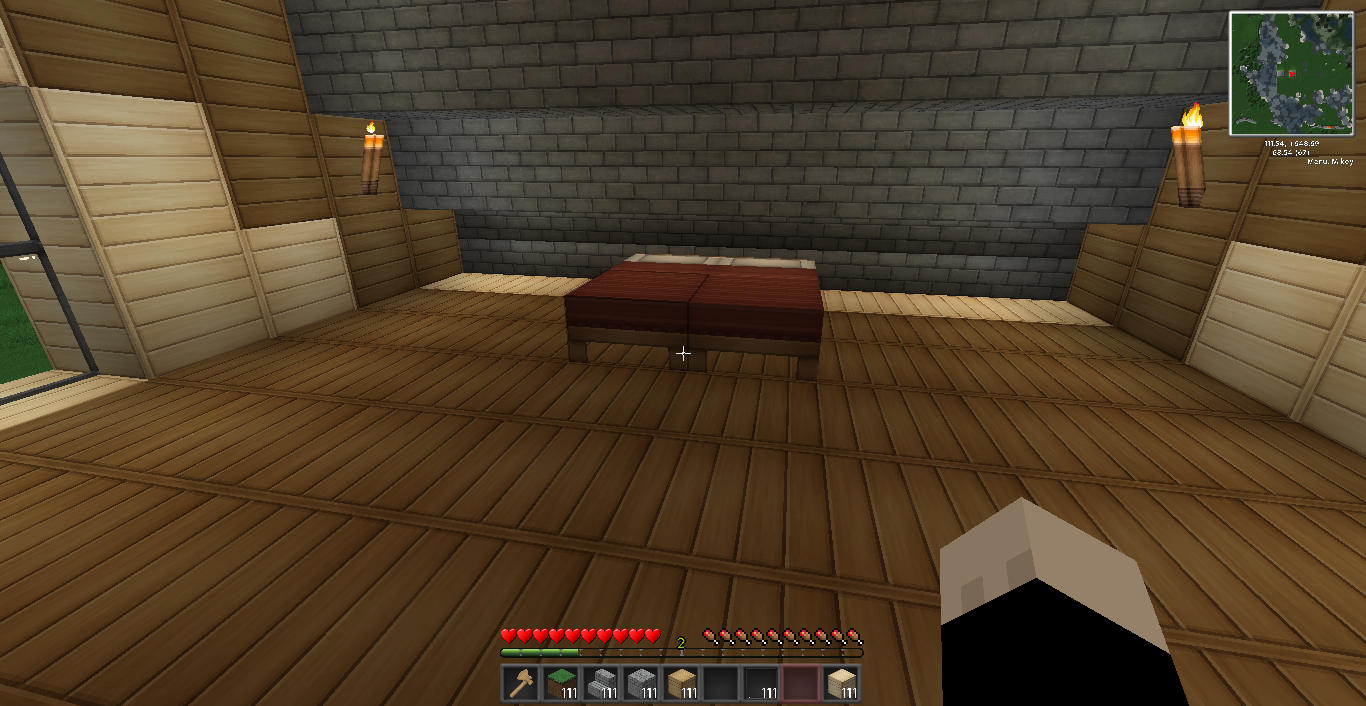
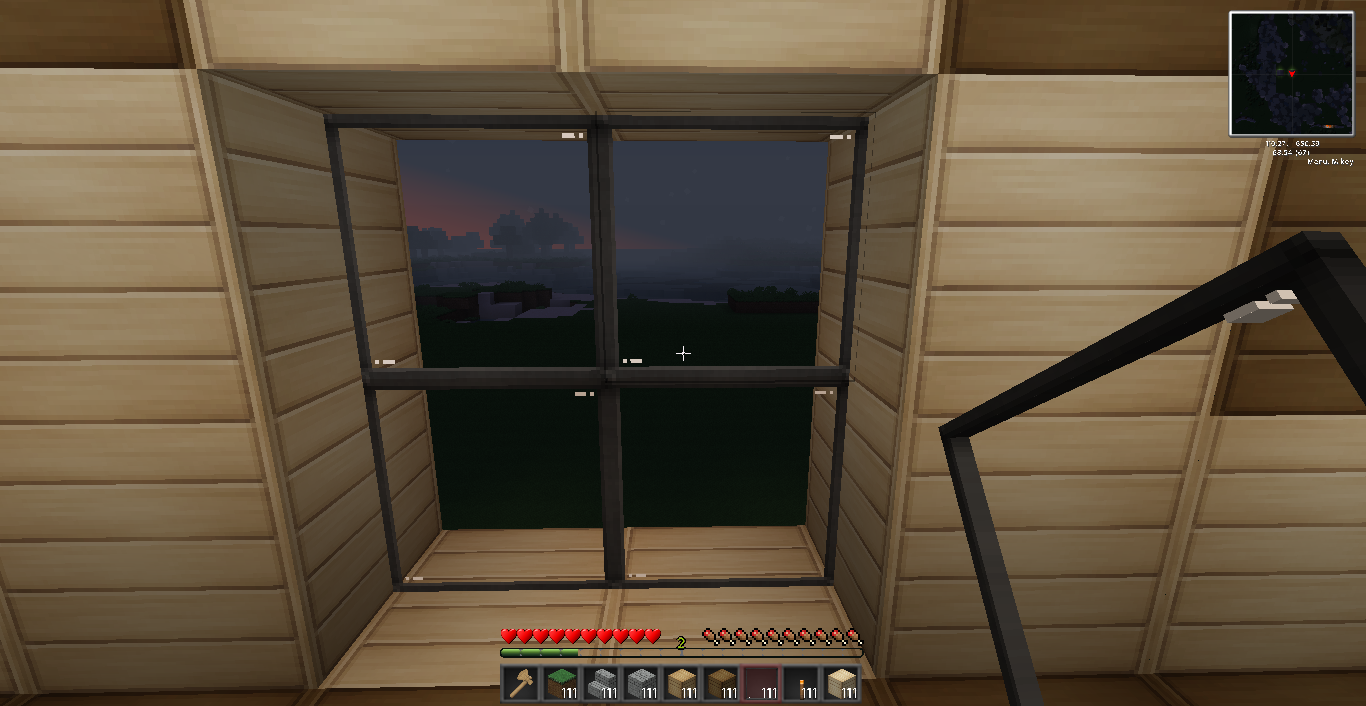
We also want a good view of the Minecraft world, so we'll add some glass panes on both sides of our bedroom.
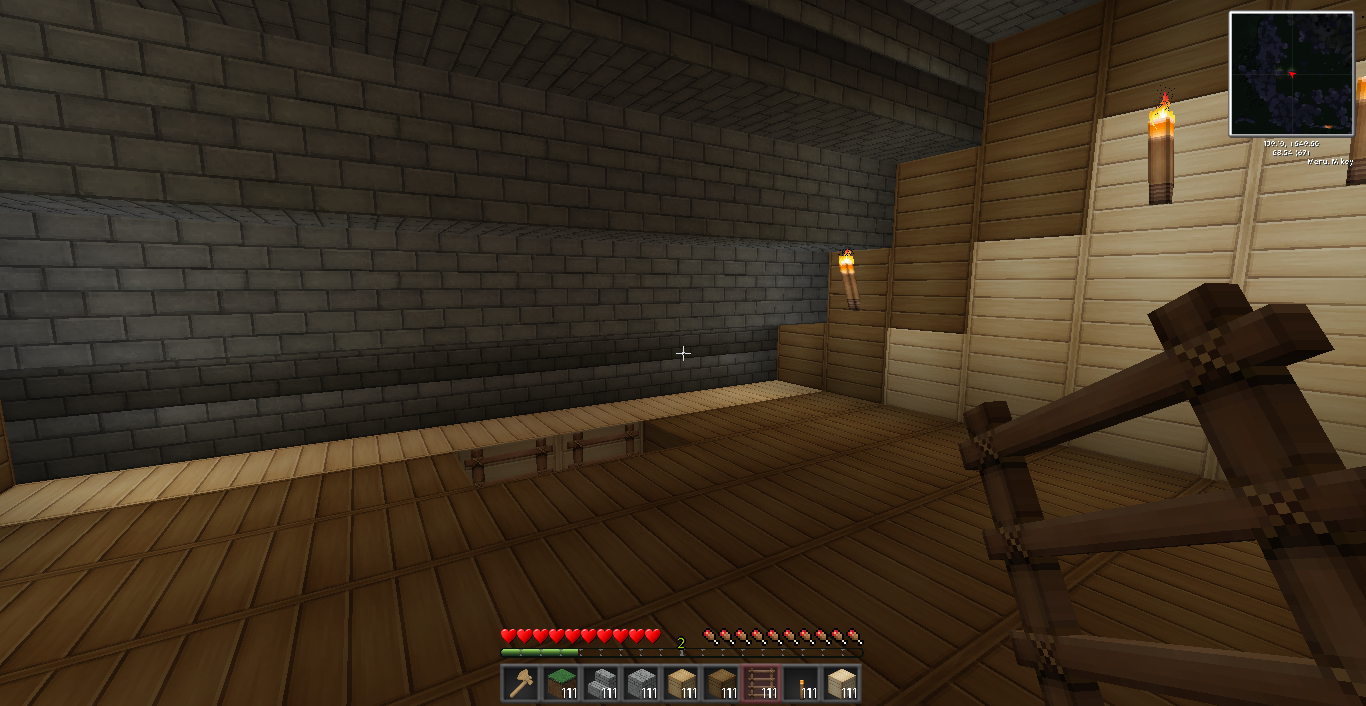
Underneath the eves is the perfect place to add furnaces and other useful crafting equipment.
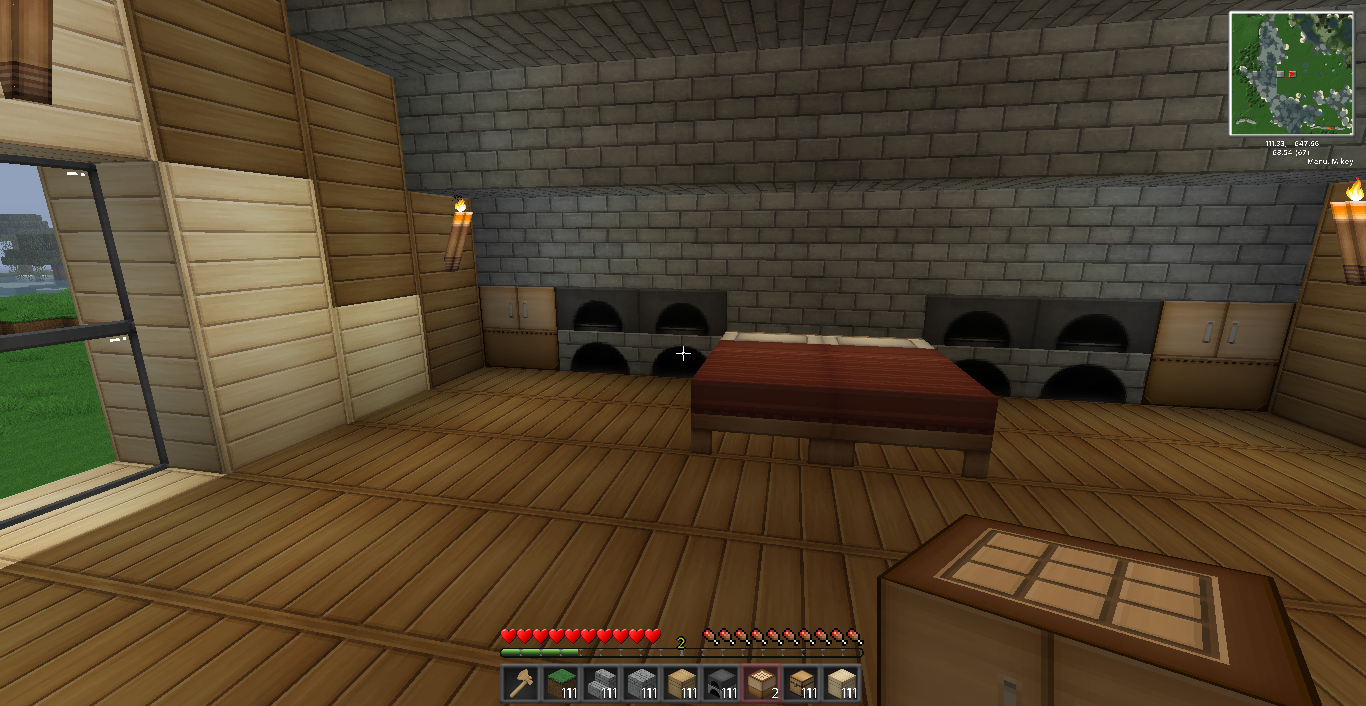
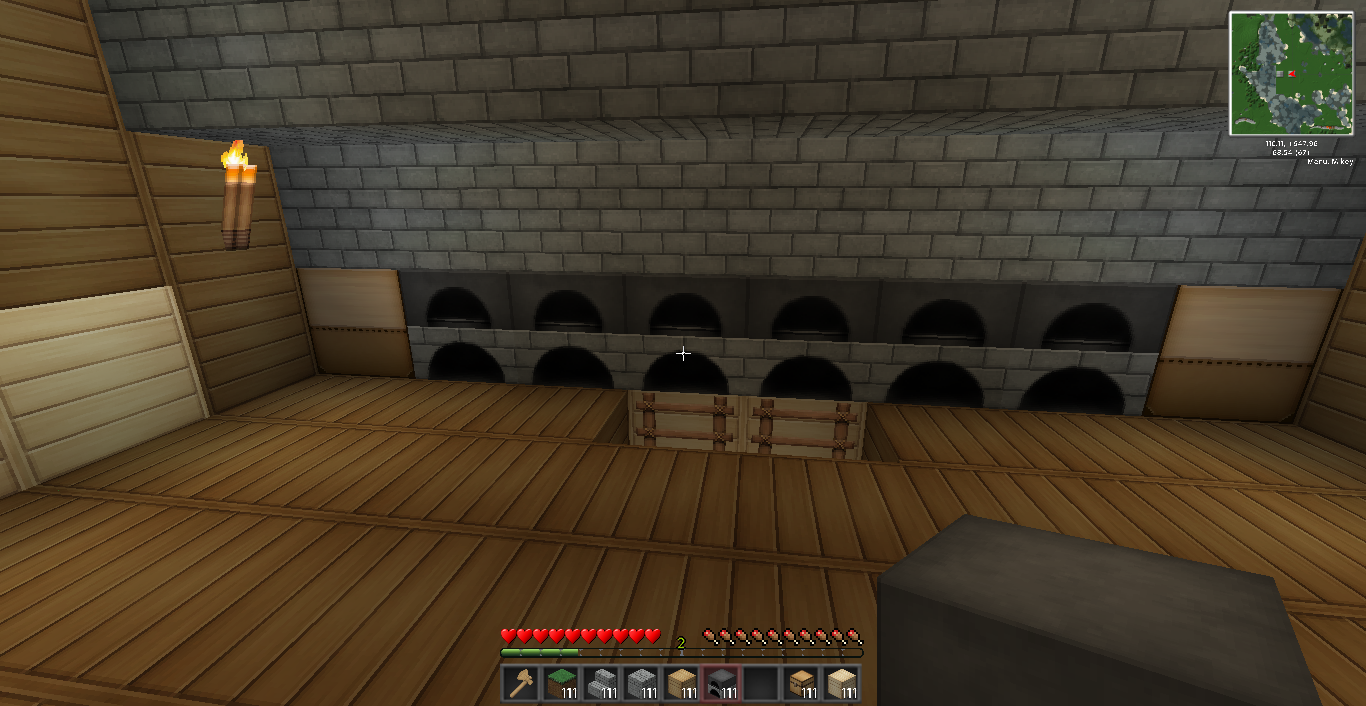
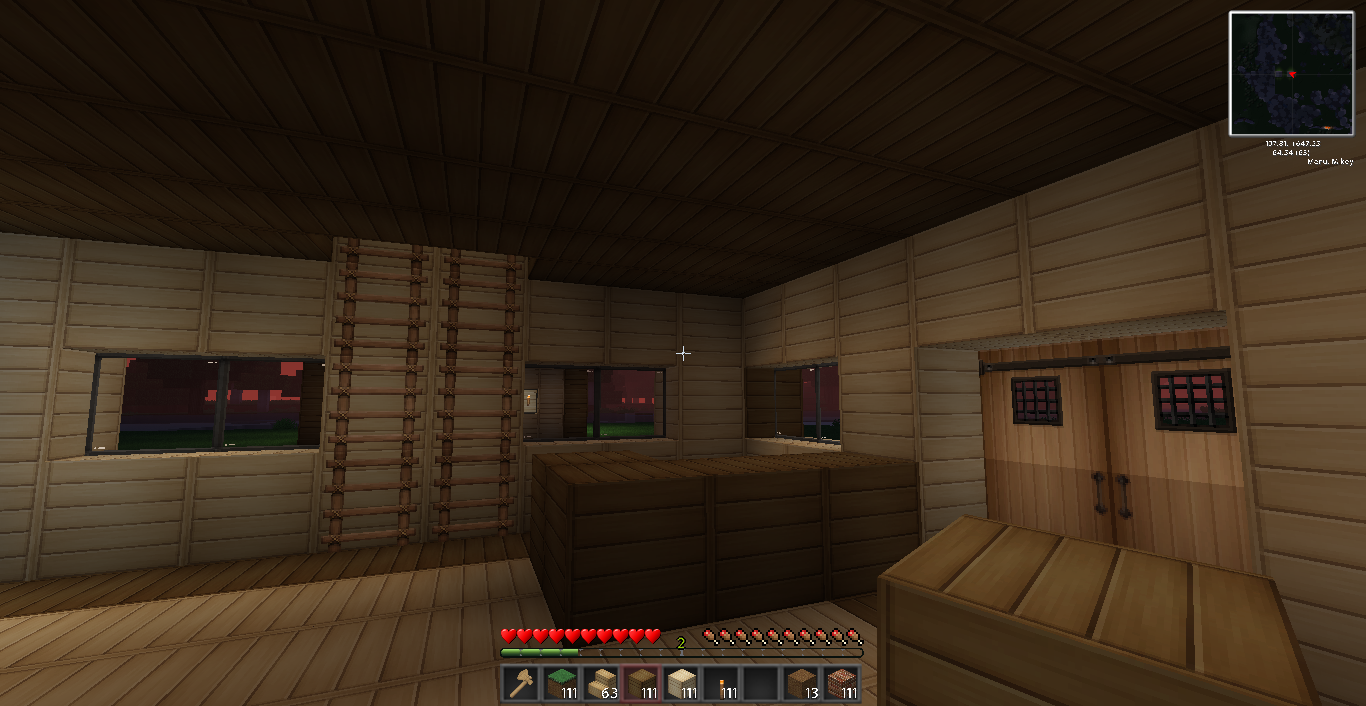
Use the remaining area to stack chests for storage, that way you'll be able to maximize space without sacrificing your downstairs area.
Once you've added all the chests and other necessities, your upstairs will still look a bit bland, so we'll be spicing it up a little with some paintings.
Paintings also make good bed headboards, as long as you place them 1 at a time, and not just a single painting above the bed. This adds a cool flavoring to your home.
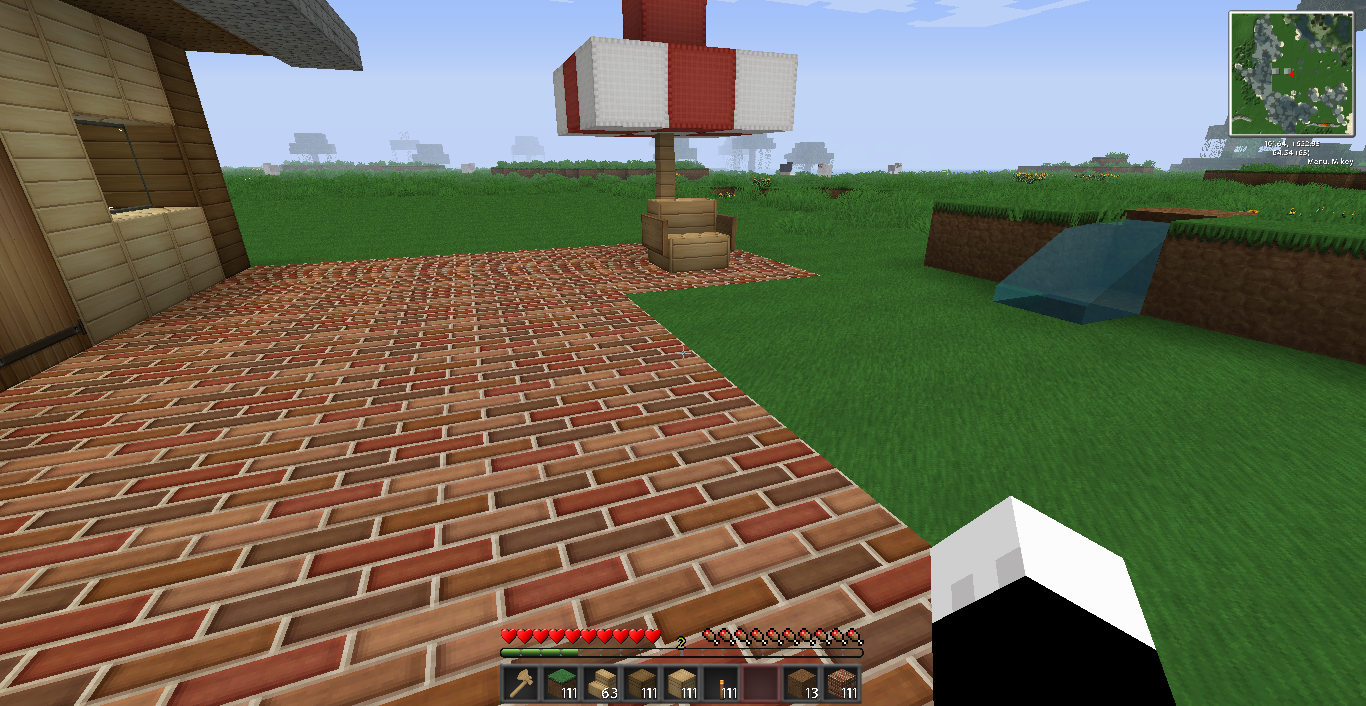
Step Nine: Outward Expansion
Everybody likes a nice outdoor space, right? Well, In this part we'll add an additional exit as well as a patio for your enjoyment.
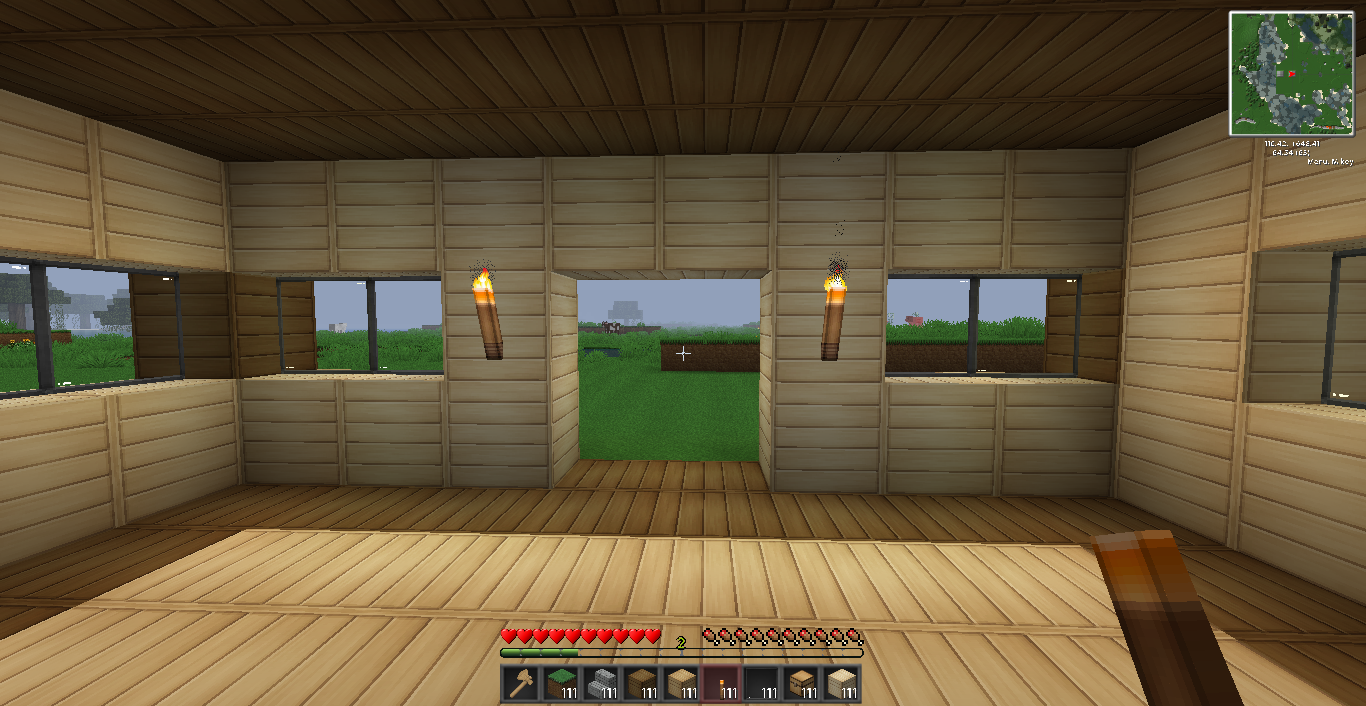
You'll want to make a big enough space for the patio and then add any lawn furniture or other decor that you see fit.
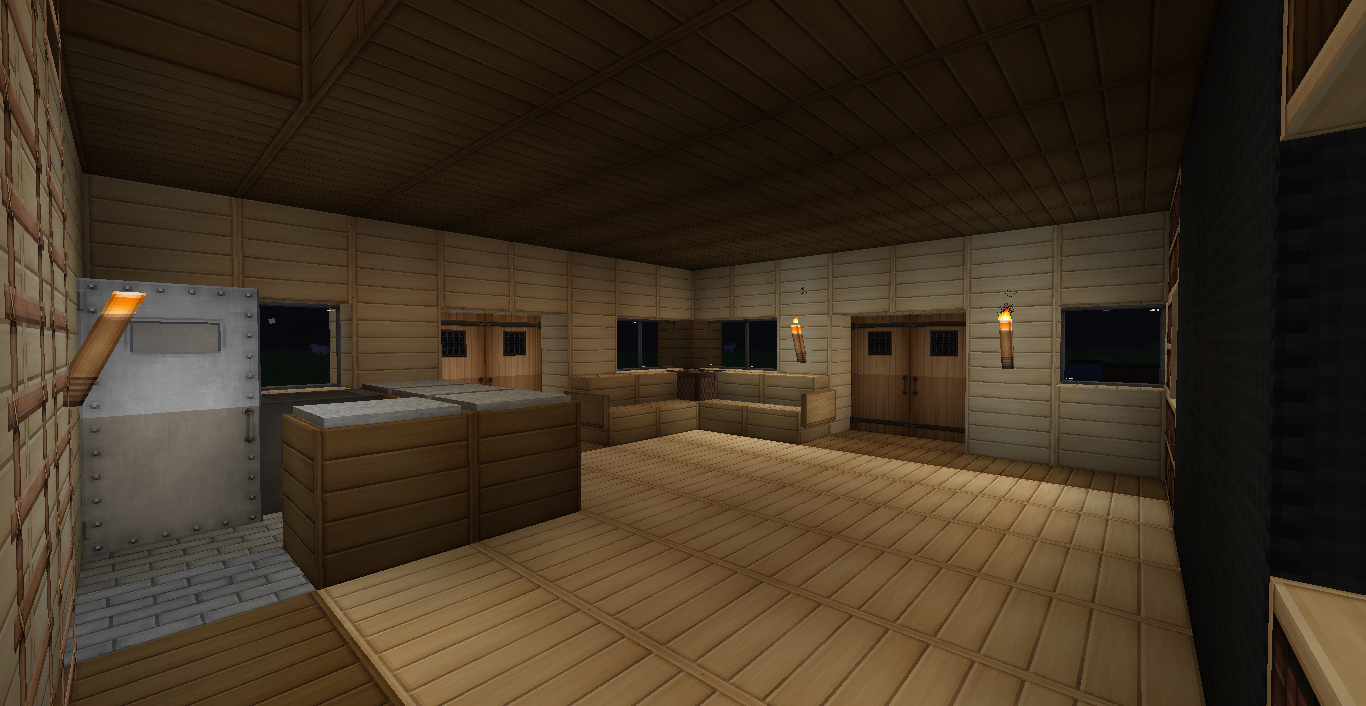
Step 10: Renovations
In this step, we'll be making your downstairs level look nice and pretty, and making some more entertainment areas just for you.
You'll want to first start out by designating an area for your kitchen. This area doesn't have to be big, but the kitchens always turn out nicer when they are larger. Start out your kitchen by completely surrounding it with a counter. Wood works the best, provided it's selection is based upon contrasting existing materials.
A fridge is a great place to keep your food cool, and you'll also want to make a sink to wash your hands in. Two iron blocks with an iron door on the front work great for the fridge, and cauldrons have found to be best for the sinks. Remove any windows from your kitchen that you may have to to make room for your fridge and sink.
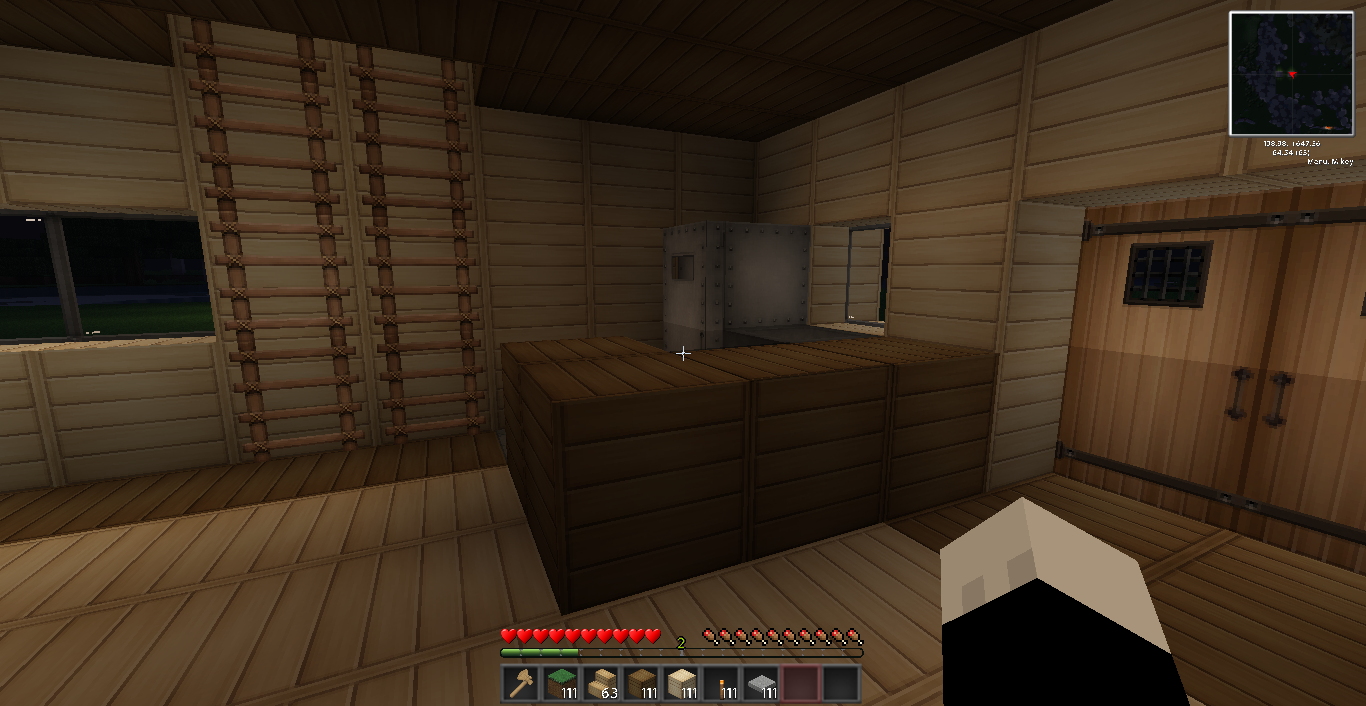
Next, you'll want to add pressure plates to the counters, to add a counter-top effect. Do this with the contrast rule in mind. A good example being wooden counters work best with stone counter tops, and vice-versa.
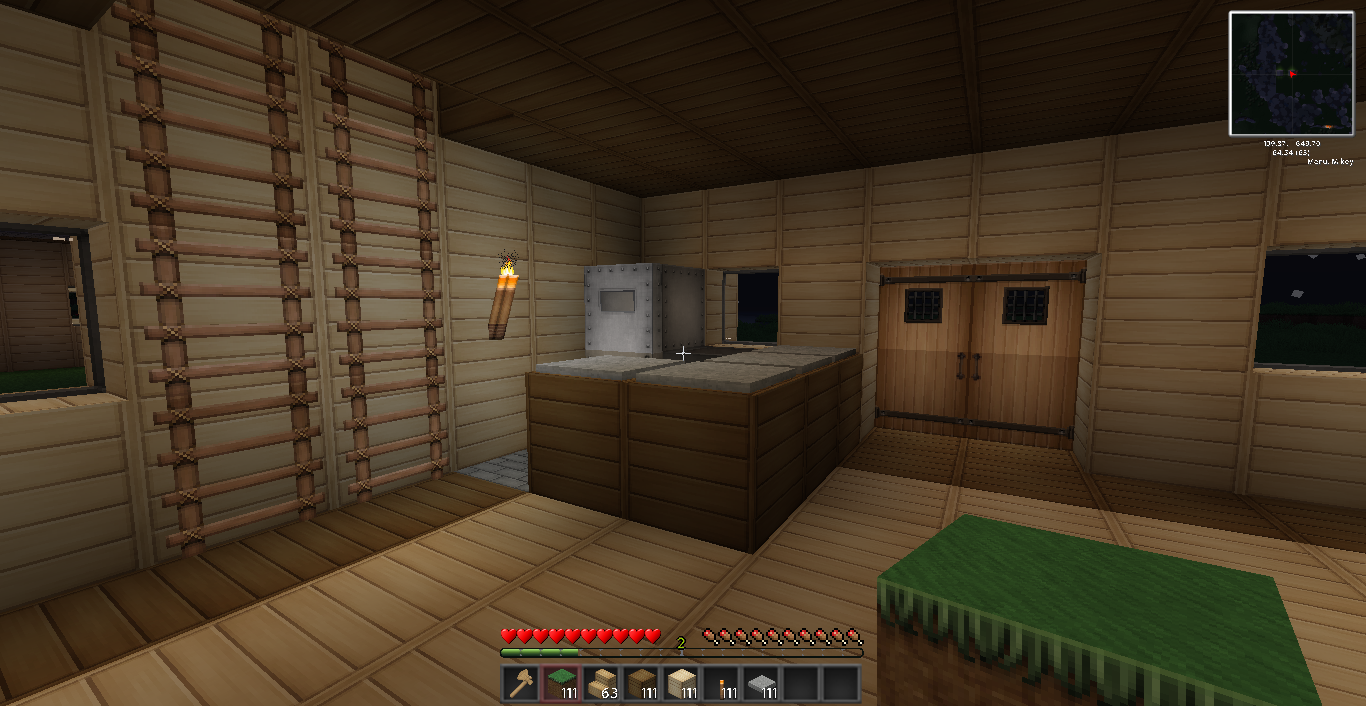
Once your kitchen is complete, a nice sitting area is a great addition!
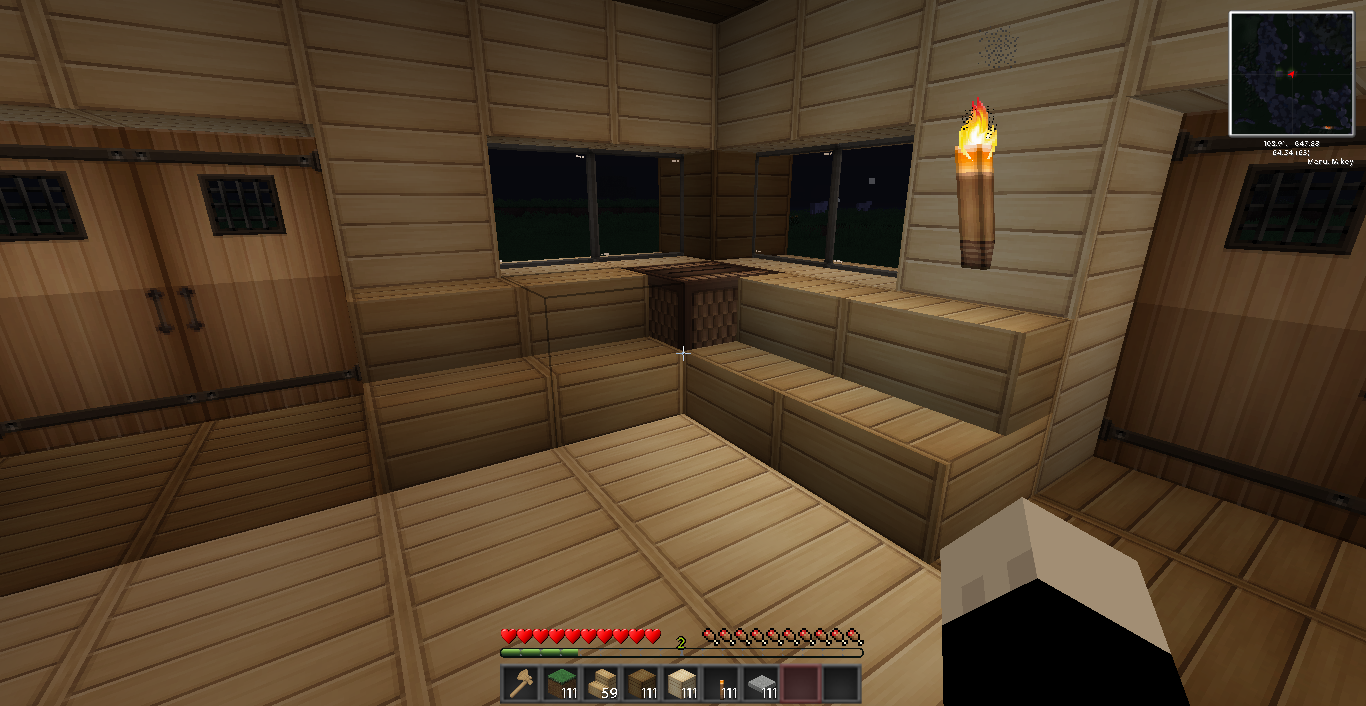
For the entertainment types, a big flat screen is a necessity.
I say we have a nice inside portion of home:
Downstairs:
Upstairs:
Thanks for reading! Hope you all enjoyed it!
Please Note: I designed, built, and photoed the entire home. I also wrote the entire tutorial.'
Texture Pack:
You must be registered for see links


")
