SystemSequence
Member
- Feb 10, 2016
- 48
- 14
- What's the project about?
This project is about creating a camera to move on a "rail" and shoot videos or photos. The camera will be able to slide on the rail, follow in 360 direction, and 180 degrees upside down making it able to shoot things in the sky, for an example a RC Airplane.
- Why a camera slider?
I really like technology and electronics combined with programming and that's why I am doing this. I really like shooting awesome pictures and want to make it even better. Therefor, I will create a camera slider. I also like the fact that It will require a bunch of programming to make this perfect.
- Blueprints
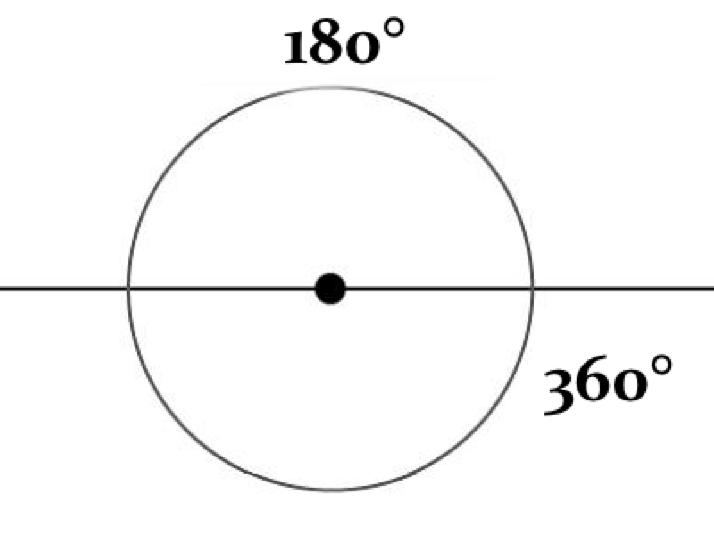
This picture would make more sense in 3D. The 180 degree is the Z axis, and the 360 degree is the X axis.
Full system blueprint will be uploaded soon.
- How does it work?
The projects is built using Arduinos, either one or two depending on how advanced this gets over time.
I will use a PTS (Path Tracing Sensor) making it able to calibrate on a human/objects and follow it all around (360 and 180 degrees) and shoot.
The rail will probably be out of some metallic material or something like it for best stability.
The slide will have 4 wheels moving along the rail and have some sort of holder mounted to it to fit real cameras or a smartphone.
The camera stand will be mounted on a slider which is attached to the rail. The slider is driven by a stepper motor to get perfect precision and move very slow or fast.
On the sides I will mount movement sensors to make sure a emergency can't happen. Why this? Well, if the camera is moving fast in direction you wan't to know if there is anything blocking the rails way that can damage the equipment, by using this we can stop the motor and call an error.
There will be some for of potentionmeter to adjust the speed of the stepper motor and some buttons for calibration on the slider. There will also be a LCD display showing the speed and active time. Maybe some more things will be added to this.
The code is written using Arduino IDE which is C++ish. - When is it finished?
Im currently waiting for my new order to arrive with the parts, but the project will be finished by this summer with updates every two weeks with pictures and documentation.
Best regards.
---
Still waiting for components
Last edited:


